Things You'll Need
Masking tape
Drop cloths
Tape measure
Utility knife
Wonderboard
Mortar mix
Acrylic additive
Large bucket
Electric drill with paddle bit attachment
Notched trowel
Cement nails
Hammer

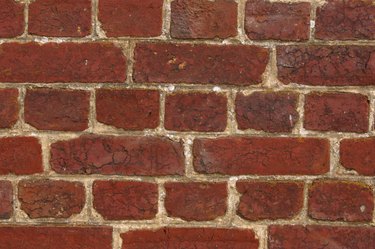
Wonderboard is a cement backerboard with a fiberglass mesh on both sides to provide extra strength and grip for any applied material. Placed over brick, Wonderboard provides a sturdy, level surface that you can use for the easy application of tile, wallpaper, plaster or paneling. After placement, the Wonderboard will hold for years, and the process of installing the backerboard leaves the bricks intact. So, if you ever wish to restore the original brick appearance, you can strip the board away and remove the thin layer of mortar on the surface of the bricks to do so.
Step 1
Place a strip of masking tape along the edges of any surfaces joined to the brick that you're covering in the Wonderboard, and then place a drop cloth along the floor beneath the bricks. Secure the drop cloths in place with masking tape.
Video of the Day
Step 2
Measure the brick surface with a tape measure, then cut the Wonderboard to match the measured area. Score the surface of the Wonderboard with a utility knife, cutting through the fiberglass mesh on one side, and then snap the board along the scored line. Fold the cut board over itself and then use the utility knife to cut through the fiberglass mesh on the other side. If multiple boards are necessary to cover the space, then cut the board to fit while leaving a 1/8-inch gap between adjacent boards for expansion and movement.
Step 3
Mix dry mortar mix with an acrylic additive instead of water to increase its strength. Use a large bucket to mix the mortar in, adding the additive while stirring the mortar with an electric drill containing a paddle bit attachment, until smooth and about the same consistency as peanut butter.
Step 4
Spread the mortar along the surface of the bricks, creating a level layer about 1/4-inch thick with a notched trowel. Turn the trowel on edge and raise ridges in the mortar with the notches by running the notched edge over the mortar at a 45-degree angle.
Step 5
Press the Wonderboard onto the mortar applying a firm amount of pressure to ensure that the board sticks over its entire length. Mark the location of all joint lines running between the bricks with a pencil on the board.
Step 6
Drive cement nails using a hammer through the boards into the marked joints every 8 inches to secure the Wonderboard in place.
Video of the Day