Things You'll Need
Boot repair kit with contact adhesive and replacement sole
Rubber gloves
Sharp razor blade or small sharp knife
Sandpaper, medium grain
Newspaper
Rubber gloves

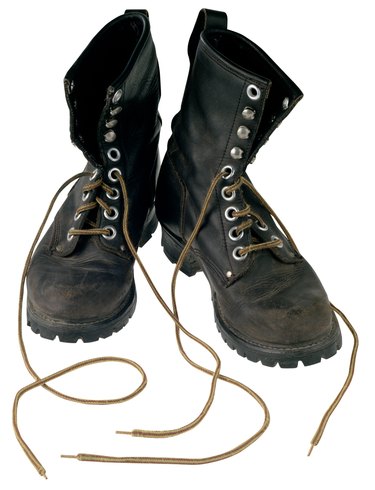
You may want to recycle an old pair of boots with worn down soles because of sentimental value or simply to save money. With some basic instructions and a repair kit, resoling your old boots to prolong their life is not difficult. Boot repair kits typically contain some adhesive, a rubber sole that matches the size of the boot and a set of instructions.
Step 1
Cut the old sole off using the razor blade or sharp knife slowly and carefully. Do not to cut into the boot itself.
Video of the Day
Step 2
Prepare the bottom of the boots by cleaning any remaining residue from the old sole and sanding them lightly with medium-grain sandpaper. Sand the new soles also on the side that will come into contact with the bottom of the boot. The point of sanding the sole and the underside of the boot is to ensure that both have a lightly rough texture, which will help the adhesive to stick.
Step 3
Put on the rubber gloves. Place the boots on the old newspaper to protect any exposed surfaces. Place some adhesive onto a gloved finger and spread the contact adhesive onto the new sole and onto the bottom of the boot.
Step 4
Wait for a few minutes for the adhesive to become slightly tacky to the touch. The duration of time you will have to wait will depend on the brand of glue you are using. Check the instructions for an approximate waiting time.
Step 5
Press the bottom of the sole to the bottom of the boot slowly and carefully to ensure correct placement. A bond is usually formed on contact with this type of glue, so if you get the placement wrong, it will be difficult to correct.
Step 6
Leave the boots to stand for at least 24 hours to allow the adhesive enough time to harden. Cut off any extra adhesive with the blade or knife. Sand any rough edges with the sandpaper for a smooth finish to your newly resoled boots.
Warning
Protect your skin, clothing and any exposed surfaces from the contact adhesive.
Video of the Day