Things You'll Need
Paper
Pencil
Polymer clay
Clay pasta machine
Acrylic roller
Aluminum foil
Waxed paper
Clay cutter or craft knife
Scissors
Baking sheet
Toaster oven
Sandpaper or emery board
Super Glue

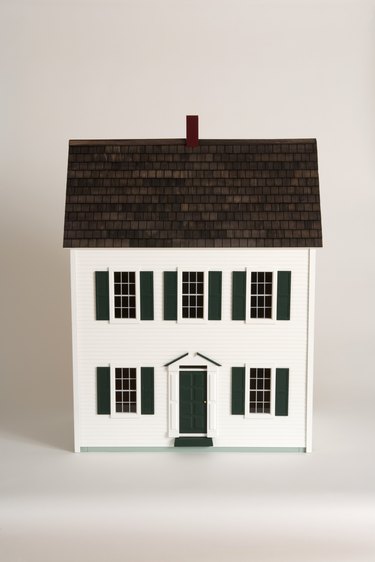
Whether you are making dollhouse or room box furniture or creating furniture in scale with a child's dolls, polymer clay is an ideal material to work with. Make a variety of furniture pieces that resemble wood, marble or leather textures with properly conditioned and prepared polymer clay. Create furniture by shaping rolled out sheets of clay. Paint the finished pieces with acrylic paints and enjoy your miniature creations.
Step 1
Draw a basic pattern for the shape and size of your furniture piece on paper. For a table, draw a rectangle or circle for the top. For a chair, draw the seat and back squares or rectangles. Adapt your pattern to the correct scale for your finished piece, depending on whether it is for a dollhouse or doll.
Video of the Day
Step 2
Condition the clay by running it several times through a clay pasta machine or kneading it by hand and rolling with an acrylic clay roller.
Step 3
Create a finish for your furniture. Make a marble surface by rolling two different colored pieces of clay together in your hands and running it through the pasta machine to create a sheet about 1/8-inch thick. Create a wood texture by laying two different brown tones together and running them through the pasta machine. For a leather finish, crumble a piece of aluminum foil, open it carefully, press it onto the clay sheet, and roll it once or twice with the acrylic roller. Remove the foil.
Step 4
Place the textured or finished clay onto a sheet of waxed paper.
Step 5
Cut the shapes and sizes for the flat pieces of furniture. Use a round, square or rectangular cutter or cut to size with a craft knife. Use the wood-finish clay to create tabletops, chair bases and legs, and the wood or leather-finish clay to create chair seats.
Step 6
Create the legs for the table and chair. Roll a piece of the prepared clay in your hands to form a long snake. Cut four table legs to the height needed for your table. Cut the remaining snake into four legs for the chair.
Step 7
Taper one end of each leg by rolling it between your hands. Alternatively, twist the clay snake to create a more detailed leg that looks carved.
Step 8
Place the individual pieces onto a baking sheet. Avoid stretching each flat piece of clay by cutting the paper around each piece with a scissors and sliding the pieces onto the baking sheet.
Step 9
Bake according to manufacturer's suggestion for the thickness of the clay. Allow the pieces to cool.
Step 10
Sand any rough edges with sandpaper or an emery board.
Step 11
Glue the legs to the chair seat and table with a drop of Super Glue on each leg end. Attach the back of the chair to the seat with a thin bead of Super glue along the edge.
Tip
Before baking your pieces, add detail to the chair back and table edge by cutting around the edge with a craft knife.
Warning
Use a dedicated toaster oven that is not used for food when baking polymer clay.
Use care when working with Super Glue as it will adhere to your skin.
Video of the Day