Things You'll Need
Large plastic lid
Small plastic lid
Pencil
Fabrics
Fabric shears
Needle
Thread
Fiberfill
Fabric starch (optional)
Paper towels (optional)

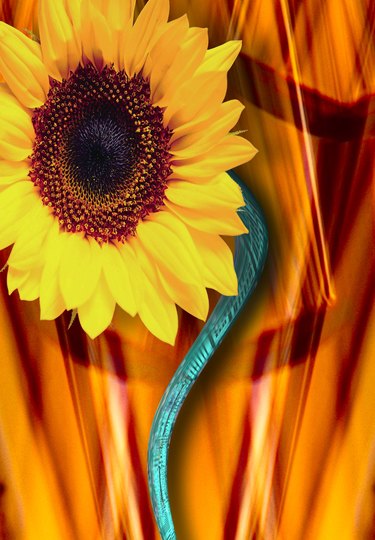
Sunflowers, with their large, colorful heads, are a favorite flower for summer and fall bouquets. They are available in colors ranging from white through various shades of yellow, orange and red, though yellow is the most widely seen. Recreate nature's beauty by making fabric sunflowers to display in vases, buckets, wreaths or to use as fashion accessories. Make a variety of colors and sizes to attach to dowels, twigs or pin backings to enjoy seasonally or year-round.
Step 1
Find a large plastic lid, such as from a coffee can, and a small lid, such as from a potato chip can, to use as templates for the flower and center. Use any objects that are the correct diameters for the size sunflowers you want to make. Remember that the center of a sunflower is large in comparison to the whole flower, unlike other flowers with small centers.
Video of the Day
Step 2
Collect the fabrics you want to use for the sunflowers. Use any fabric you like. A stiff fabric will make the petals stand up more, while a softer fabric will let the petals droop. Whichever style you prefer, choose appropriate fabrics. You will need small amounts of fabric for each flower, depending on the size flower you choose to make. Buy at least 1/4-yard of fabric to make one large flower or two or three small ones.
Step 3
Use the lids and a pencil to trace four large circles onto the petal fabric for each flower and one small circle onto the fabric for the center of each sunflower. Each flower has four layers of petals. You can mix and match the four fabrics for each flower if desired or make each flower in a single fabric.
Step 4
Cut out all of the layers of petal fabric and the flower center fabric with shears. You are creating circles right now, and the petal shapes later.
Step 5
Lay the four large circle fabrics on top of each other. The large circles are the petals and the small circle is the center of the flower. It does not matter if the circles are not perfect or do not line up perfectly, as long as they are in a stack. Center the single center fabric on top. You will have four large petal circles and one smaller center circle.
Step 6
Thread the needle with a thread that coordinates with the center fabric and knot the end.
Step 7
Stitch close to the edge of the center fabric, using small, straight stitches, around the circle, leaving a small opening for stuffing. Do not cut or remove the thread yet.
Step 8
Stuff a small amount of fiberfill into the opening of the center circle. Use a dowel to push it into the circle, then stitch the opening closed. Knot the end of the thread on the back of the sunflower and cut the thread.
Step 9
Separate the four layers of fabric and cut from the edge of the outer circle, in toward the stitches, to create a petal. Be careful not to cut into the stitches. Make cuts every inch or so around the fabric to create one layer of petals. Do the same with each of the four layers, staggering the cuts the way the layers of petals on a real flower are staggered behind each other.
Step 10
Prepare a solution of fabric starch, if desired, and submerge each flower for one minute. This will stiffen the fabric and cause some of the petals to curl. Squeeze the excess liquid out of the flowers and lay them out on paper towels to dry. If you prefer, leave the flower in its original state.
Tip
Use cans or draw circles with a drawing compass to create patterns if can lids are not available.
For very large sunflowers, use dinner and dessert plates as your templates.
Glue polka-dot fabrics for the centers to resemble seeds, or paint “seeds” with acrylic paint onto the sunflower centers.
Mix calico, homespun, checks and plaids for the centers and petals of the sunflowers for a country look, or use muslin and tea-dye for a prim look.
Video of the Day