Things You'll Need
Gel stain
Rag

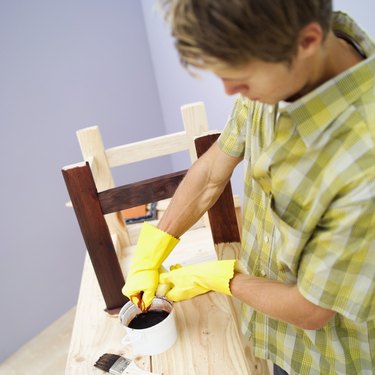
Whether you are using a rag, a ripped-up old T-shirt or a bristle brush, staining large portions of wood is hard to do. Some areas of wood are more porous than others and end-grain never stains to match the face. To try to correct a staining mishap, you can always just start from the beginning with sanding, or you can try your hand with a gel stain. Gel stain can be applied after original stain to even out any salient discolorations.
Step 1
Purchase a gel stain in a color that blends with your current varnish. Gel stain contains less solvent than other stains, so it does not require deep penetration into wood to create its color. This means gel stains can be applied on top of regular varnish to even it out.
Video of the Day
Step 2
Rub your gel stain onto the wood surface you are trying to even out. Apply more to light areas and less to dark areas. This will counterbalance the dark and light inconsistencies in your original coat.
Step 3
Remove the gel stain by rubbing it off with a clean rag. Make sure to make even strokes that align with the grain. This will ensure that any streaks (if any) will not be overly apparent against the grain. If you are working with a large area, try breaking the project into sections so you do not have to rush to remove the drying stain.
Tip
When removing the stain, keep wiping with your clean rap until the stain is almost dry.
Video of the Day