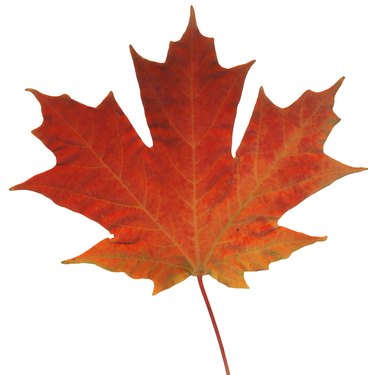
Preserving a leaf can be an entertaining endeavor for crafters of all ages. By laminating leaves, you protect them from decay and prolong their life so that they can be used for dozens of arts and craft projects. To get the best results, however, you must prepare your leaf before you begin laminating.
Selection
Video of the Day
Shape and size are important in choosing the leaves you wish to laminate. Try to select leaves that lack three-dimensional features like thick stems or attached flowers. Naturally flat leaves such as mint, sage or rose petals work well for lamination. Also, mixing bright green leaves with other colorful ones -- like those of a crimson king, coleus, poinsettia, or any tree that changes color in autumn -- are ideal for visual projects like collages. Hunt for your leaves during the warmest time of day, after the dew has evaporated and the leaves are relatively dry.
Video of the Day
Drying
To dry your leaves, place them between two sheets of wax paper, and then stick them inside the pages of a heavy book. After two to four weeks, your leaves will have dried out and be ready for lamination. You can tell if they are dry enough by touching them; if they feel hard, then they are ready for lamination.
Microwaving
If you don't want to wait, you can try drying your leaves in the microwave. Cover both sides of your specimen with a sheet of parchment paper, two sheets of tissue paper and a 4-by-3-inch piece of chipboard. Press the layers together gently and secure it with a pair of rubber bands. Microwave for around 30 seconds on medium heat and check to make sure the leaf hasn't burned. Continue microwaving at 15 second intervals until the leaf is dry. Microwaves and leaf specimens will vary, so be sure to practice this method before attempting it with your most prized finds.
Laminating
Depending on the thickness of your leaf, there are different methods of lamination. Thin leaves will fit through a laminating machine. Once the machine has warmed up, simply place the leaf inside a lamination pouch and run it through. For thicker specimens, you'll need to use the self-adhesive laminating sheets. Position your leaf on the sticky side of one sheet, and then align the sticky side of another over the top. Flatten the sheets with a roller to provide even pressure and prevent air bubbles.
Craft Ideas
Laminating leaves can result in some eye-catching crafts. With small, thin leaves, you can create distinctive and stylish bookmarks. Cut a 6.5-by-4-inch lamination pouch in half vertically for a perfectly-sized creation. For larger leaves, try making customized place mats. Arrange a collection of leaves inside the self-adhesive lamination sheets for a colorful autumn table decoration. You can also create leaf-themed wrapping paper for autumn birthday gifts. Or make unique works of art in any shape and size that you can simply hang on your wall.