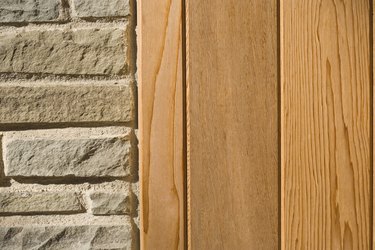
Tongue and groove paneling is an option for finishing the walls or ceiling of a room that is attractive and relatively easy to do. Paneling can be installed during construction or, almost as easily, over the top of existing finished walls. Several techniques for installing paneling are common, each with its own distinct aesthetic character.
General installation
Video of the Day
Tongue and groove paneling consists of individual planks that are milled to have a projecting ridge, called a tongue, on one edge and a groove on the opposite edge. When the paneling is installed, the tongue on one panel fits into the groove of the panel next to it. The first course of paneling is nailed through the face on the groove side and through the tongue on the other side so that the nail is flush with the surface of the tongue and the next panel can slide over it easily. This method of nailing results in a securely fastened expanse of paneling with no visible nails.
Video of the Day
Vertical Installation
To install tongue and groove paneling vertically, begin by nailing 1-by-3 furring strips horizontally either directly to the wall studs on a new wall or over the drywall on a finished wall. The paneling will be nailed directly to these furring strips. Nail up the first panel at a corner of the room, with the tongue side facing out. Leave at least a 1/8-inch space between the panel and the floor and ceiling to allow for expansion of the wood. Continue sliding new panel against the previous panel, tongue into groove, until you reach the next corner, at which point you'll likely need to cut a panel to fit.
Horizontal Installation
Horizontal installation of paneling follows much the same procedure as vertical installation, except that with horizontal installation, the paneling will be attached to vertical furring strips, or directly to the studs of an unfinished wall. Begin at the bottom of the wall, leaving a 1/4-inch space between the first panel and the floor, and using a carpenter's level to be sure that the panel is level. Nail the panel through the face and through the tongue, tongue edge facing up, then continue installing panels one on top of the other until you reach the top of the wall.
Diagonal Installation
Diagonal installation of paneling requires much more cutting and measuring than the other two styles of installation. Begin by nailing up vertical furring strips, then cut a triangular piece of panel by cutting a 45-degree angle at both ends of the piece with the cuts meeting at the grooved edge. The tongue side will form the long edge of the panel. Install the panel with one end at the bottom corner of the wall, tongue side up, leaving a 1/8-inch gap at the floor. Cut the next panel, using the measurement of the tongue side of the previous panel as the length of the groove side. Continue cutting and installing panels to cover the wall. To make a herringbone pattern, begin with two mirror-image triangular pieces and install them back to back, tongue sides out, at the center of the wall. Continue installing panels in both directions.