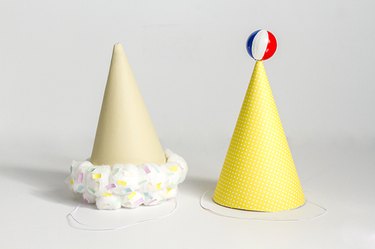
Ring in the warmer months with these two party hat projects. Whether you choose to go with the upside-down ice cream cone or the beach ball-themed hat, you'll be feeling appropriately festive as soon as you place one atop your head. You could even turn the crafting process itself into a summertime party—just invite friends over and provide the supplies. See the step-by-step process for each below.
Things You'll Need:
Video of the Day
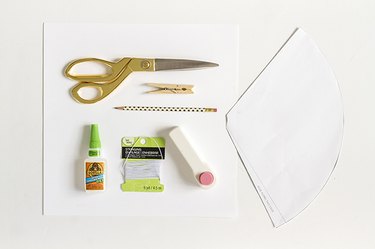
The foundation for both projects starts with a DIY paper hat. To make the hat, gather your supplies. You'll need:
Video of the Day
- White cardstock paper
- Paper party hat template (download available)
- Scissors
- Super-hold glue
- Wooden clothespin
- 1/8-inch hole punch
- Elastic cord
Step 1: Trace And Cut Hat Shape
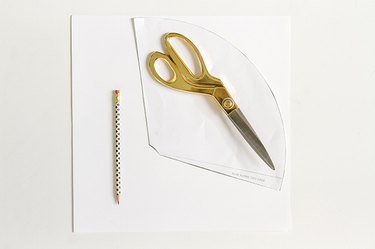
Print and cut out the paper party hat template, and then trace it onto a sheet of white cardstock paper with a pencil. Cut out the shape from the cardstock.
Step 2: Glue The Edges Together
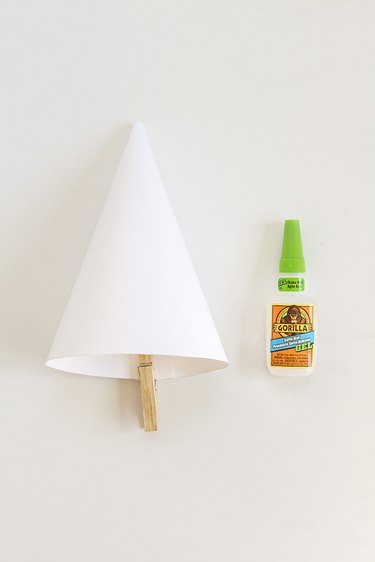
Add a line of super-hold glue down one of the straight edges of the cut party hat, and then curve the paper to bring the edges together. Overlap the paper so that the glue sticks to the underside of the paper. Hold the edges together with your fingertips for 30 seconds so that the glue has a chance to set, and then clip on a wooden clothespin to allow the glue to fully cure. Let the hat dry for 30 minutes before handling.
Step 3: Add An Elastic Strap
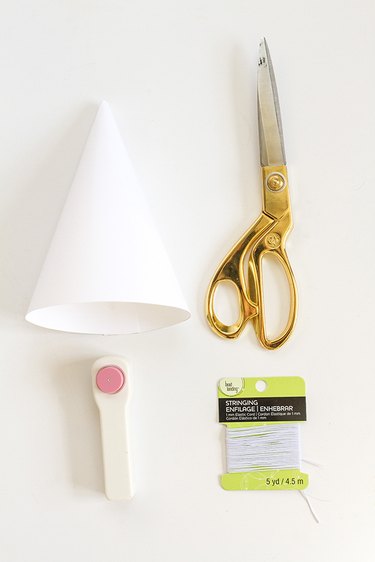
Use a 1/8-inch hole punch to add holes through the paper on opposite ends. Position the holes about 1/2-inch from the bottom edge of the hat. Cut a 12-inch piece of elastic cord and string each end through the holes you just punched, from the outside in. Once pulled through the hat, tie each end of the elastic cord into a thick knot so that the strap stays in place when lightly tugged. For this project, you'll need to repeat the steps a second time in order to make two themed hats.
Party Hat DIY #1: The Beach Ball Hat
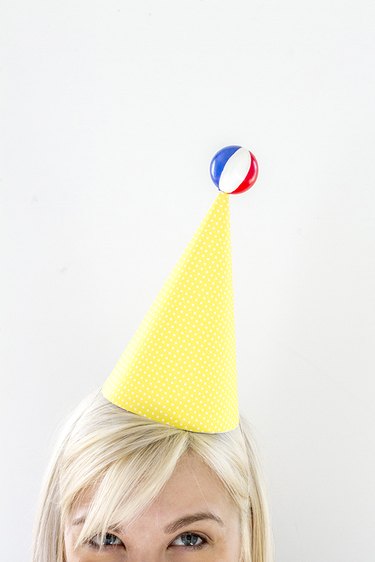
What says "summer party" more than a beach ball? A beach ball-themed party hat!
Step 1: Create The Beach Ball
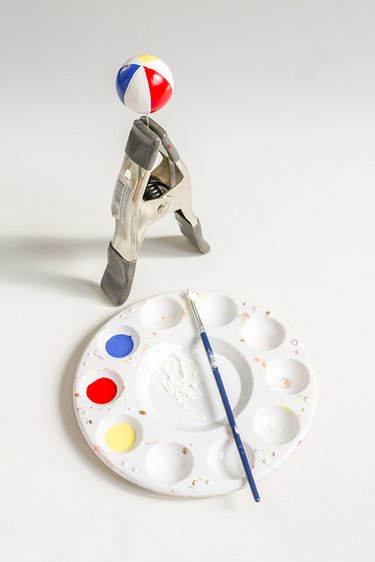
To make the beach ball-themed hat, grab a ping pong ball and pierce one end of the ball with a piece of 12 gauge craft wire. It's easiest to push the wire through the seam of the ball. You can use a needle to get the hole started if needed.
Next, use a detail paint brush to paint on sections of primary colored acrylic craft paint. Clamp the wire so that you can hold the ball away from your fingers as you paint it. Paint 1-3 coats of paint until you can't see the white surface of the ball through the paint. Finish by adding a white dot at the top of the ball where the colors meet to mimic the look of a real beach ball.
Allow the ball to dry for 1 hour before handling.
Step 2: Attach The Ball To The Hat
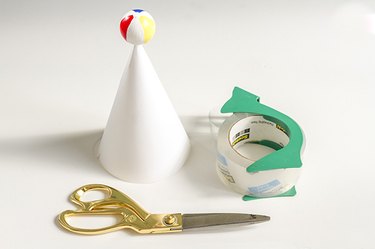
With the wire still in place and pierced through the painted ping pong ball, push it down into the top of the paper hat form that you created. Hold it in place with your fingers and cut a piece of heavy-duty clear packaging tape with scissors. Slip the cut piece of tape inside the hat and press it over the wire, thereby attaching it to the paper hat.
Step 3: Retrace The Template
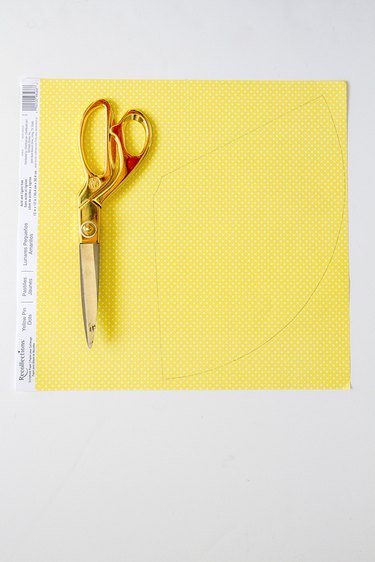
Retrace the original paper party hat template on a new sheet of color coordinated cardstock paper and cut it out with scissors. Glue the top layer of paper onto the white paper hat form and let it dry for 30 minutes.
Step 4: Try The Hat On
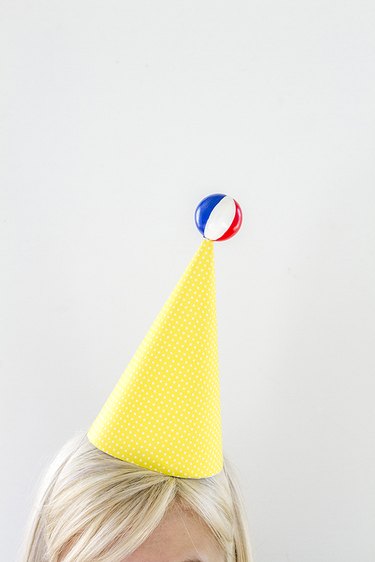
Loop the strap under your chin and wear the beach ball-topped hat at your next summertime gathering. Make multiples so that your guests can join in on the fun!
Party Hat DIY #2: The Ice Cream Cone Hat

The upside down ice cream cone motif is perfect for summertime parties.
Step 1: Create the Party Hat Base
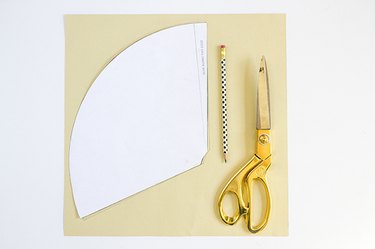
To make the upside down ice cream cone, trace the original paper party hat template on a sheet of cream-colored cardstock paper and cut it out with scissors. Try to intentionally match the color of the paper to that of a natural ice cream cone. Glue this top layer of paper over the white paper hat form, and allow it to dry for 30 minutes.
Step 2: Add Cotton Balls To The Rim
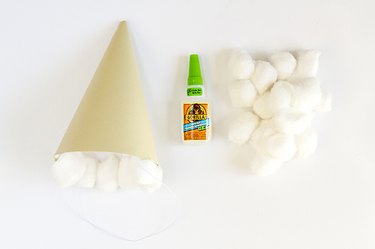
Run a line of super-hold glue along the inside bottom edge of the paper party hat, and press on white cotton balls. Hold each cotton ball in place for 30 seconds before moving on to the next one. Once the inside rim is filled with cotton balls, run a second line of super-hold glue along the outside edge of the paper hat and press more cotton balls onto the hat. Hold these in place for 30 seconds each, too.
Step 3: Cut Out Colored Paper Sprinkles
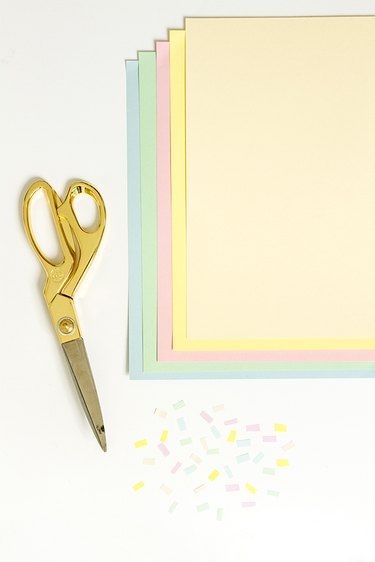
Cut sprinkle-shaped confetti out of colorful cardstock paper with scissors. Use more super-hold glue to attach the paper sprinkles to the cotton balls as though it were scoops of ice cream. Allow everything to dry for 30 minutes before handling.
Step 4: Try The Hat On

Loop the elastic strap under your chin, and enjoy your handiwork come party time.