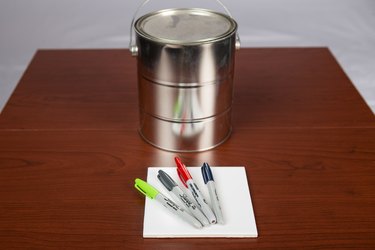
Plain white ceramic tiles serve as inexpensive crafting supplies for items such as trivets, coasters or paperweights. Sharpie markers are colorful tools for creating abstract or drawn decorations; no paints necessary. Apply a clear sealer over your work or bake the tile to protect it and ensure the designs won't smear, smudge or disappear entirely. Sharpies may be used with any color of smooth, glazed ceramic tile, although colorful designs show up best on a white or light tile.
Proper Preparation
Video of the Day
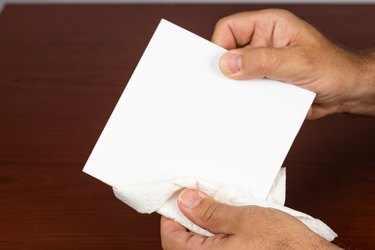
Using a Sharpie on a tile requires a clean surface; otherwise, the ink may skip in places, resulting in an incomplete design. Wipe the top of the tile with a damp cloth or sponge dipped into a mildly soapy water; dish soap works well. Wipe away the soap with a fresh damp cloth or paper towel. For an even more thorough cleaning, wipe down the glazed tile surface with rubbing alcohol or white vinegar to remove any residue that may be left behind from manufacture.
Video of the Day
Drawings and Doodles
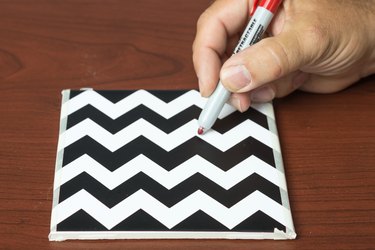
Sharpies in any color, even black, gold and silver, may be used to whip up a design on the ceramic tile. Sketch out an idea for a drawing in advance on paper so your marker handiwork turns out as intended on the tile. Create stripes, chevrons, squiggles, cartoon characters or sayings, such as "Home Sweet Home" or "Gina's Kitchen." Tape a flat stencil on the tile with painter's tape to create an intricate design or lettering style, sketching through the holes in the stencil as you press the stencil completely flat.
Abstract Art
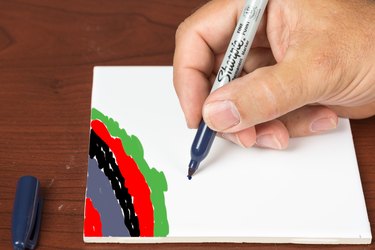
Sharpies may be used to create abstract, colorful designs on tiles as well. Scribble with assorted Sharpies over the tile, using different colors in different areas. When the tile is mostly covered, use a straw or an eyedropper to drip rubbing alcohol over the tile in random locations. The alcohol reacts with Sharpe ink to create colorful pools similar to watercolor paints, blending adjacent shades into one another. Once the alcohol dries, the project is complete. If desired, draw a message or image over the design in black or gold Sharpie for added embellishment.
Protecting Your Project
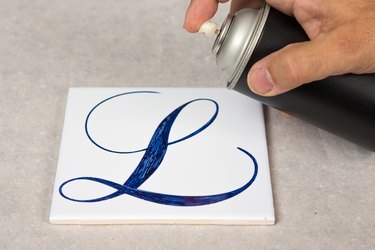
Sealing or baking your work sets the Sharpie so it will not rub away. Decoupage medium seals it, or use a spray-on polyurethane sealer. Baking the piece is also an option if you haven't used alcohol on the tile. Allow the Sharpie to dry on the tile for a day or two to help the ink set, then bake the tile in a preheated 250-degree oven for 20 to 30 minutes. Turn off the oven and allow the tile to cool back down to room temperature in the oven before handling, which may take an hour or so. Hot-glue felt to the bottom of the tile if using the tile as a coaster or trivet, or use stick-on rubber pads in each of the corners.