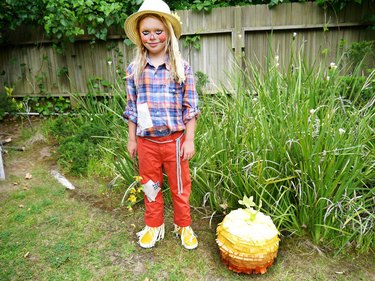
An adorable scarecrow costume is easy to make and doesn't require any sewing. You can alter the size of the costume to fit anyone and change the gender by adding or removing simple accessories. Consider a group theme, pairing this costume with a tin man and a lion, and you'll be set to walk the yellow brick road this Halloween.
Video of the Day
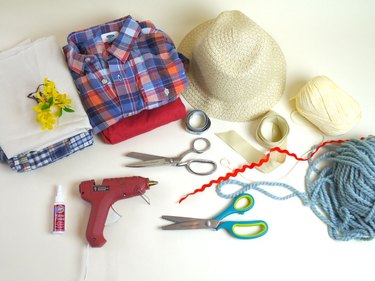
Things You'll Need
Straw-colored yarn
Scissors
1- to 2-inch neutral-colored fabric ribbon, 1 yard
Hot glue gun and glue
Flexible measuring tape
Straw hat
Orange rickrack decorative ribbon (optional)
Small bunch of silk flowers in fall colors
Fabric swatches in neutral and plaid
Pinking shears (optional)
Fabric glue
Plaid shirt
Pants
Face paint
Thick yarn or rope
Tip
- When choosing fabrics, stick to a color scheme of three basic colors that will repeat throughout the costume. For example, this scheme is dark orange, light straw and blue with accents of yellow. Try to match all fabrics in the color scheme to give your costume uniformity.
- For cooler weather, choose an extra large plaid shirt to fit over a warm jacket.
Section 1: Make the Hat
Step 1: Loop the Yarn
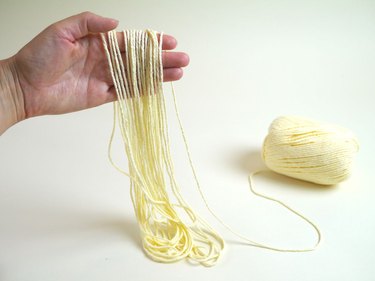
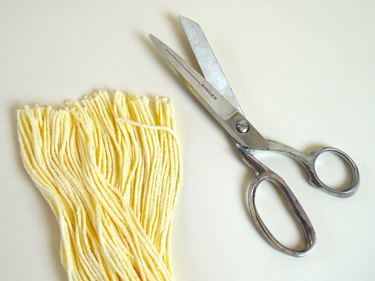
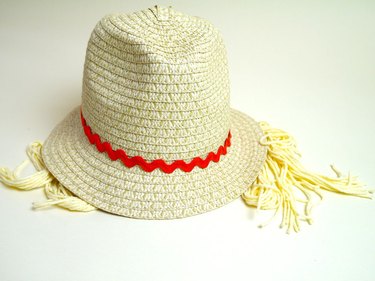
First, preheat your glue gun. Then, loop straw-colored yarn around your hand about 75 times. Make the length of the loops about 12 inches.
Video of the Day
Step 2: Trim the Loops
Cut the yarn bunch in half at the top of the loops. Set them down carefully so that the cut edge stays even.
Step 3: Glue the Yarn to Ribbon
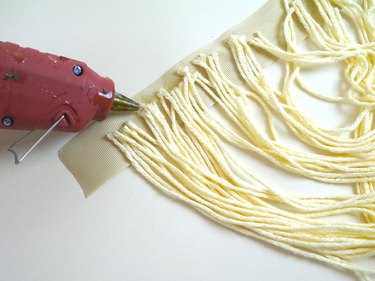
Measure the inside perimeter of the straw hat and cut a fabric ribbon to this length. Lay the ribbon flat and then lay the cut edge of the yarn on top of the ribbon. Spread the yarn tips evenly over 1/2 to 3/4 of the ribbon's length. Use the glue gun to glue the yarn down.
Tip
When working with a hot glue gun, keep a dish of ice water nearby just in case of small burns. If you do accidentally touch hot glue, dip your finger in the ice water for immediate cooling.
Step 4: Attach Ribbon to the Hat
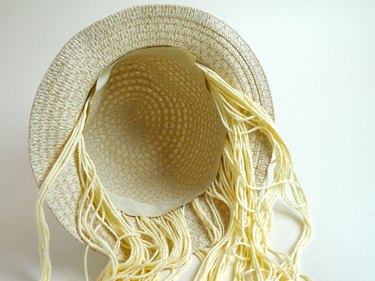
Now, attach the ribbon to the inside of the hat. Plan to leave the front of the hat free from yarn so it doesn't dangle over the wearer's face. Add one final bead of hot glue to the ribbon, and attach it to the inside of the straw hat, with the yarn facing in.
Step 5: Trim the Yarn Size
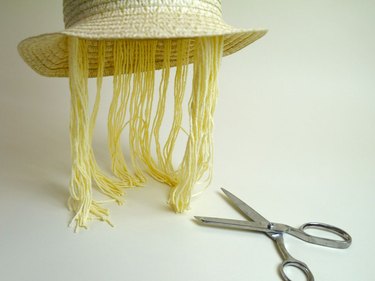
Depending on how you long you'd like the "straw" to hang, trim accordingly. This example falls 12 inches.
Step 6: Add Rickrack and Flowers
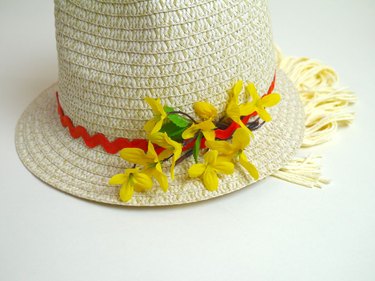
Add rickrack around the brim of the hat with the glue gun. Then glue on a cluster of fall-colored flowers on the side of the hat. Set the hat aside for now.
Tip
To make a more gender-neutral hat, omit the rickrack and glue a plaid patch of fabric on the hat instead.
Section 2: Add Patches to the Costume
Step 1: Make Fabric Patches
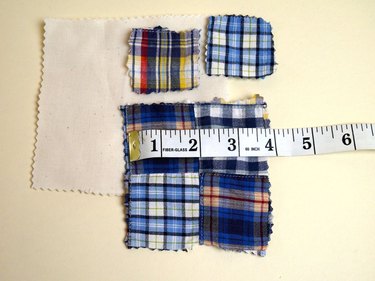
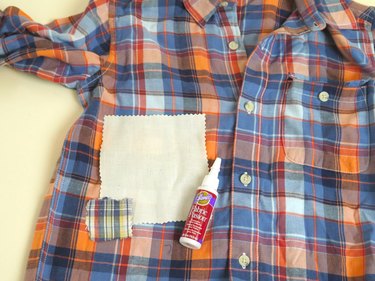
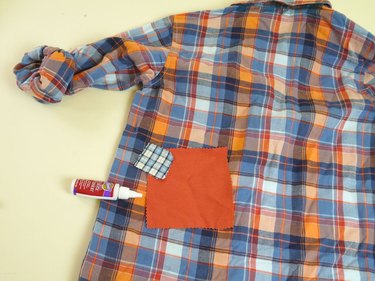
Make fabric patches from fabric swatches, remnants or old clothing simply by cutting them into squares. Have the sizes of the patches range from 2 inches to 5 inches. Use some solid colors and some in coordinating patterns. Plaid always works. Pinking shears give the patches an edging but are not required.
Step 2: Crop the Pants
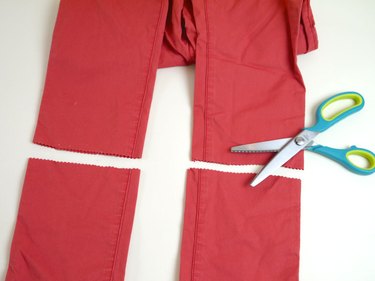
Use pinking shears (if available) to trim 6 to 8 inches off the bottom of the pants. You can use the excess fabric to make coordinating patches for the shirt.
Step 3: Glue Patches to the Costume
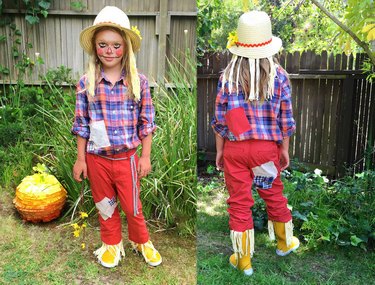
Glue an assortment of patches to the shirt and pants of the costume with fabric glue. Experiment with overlapping sizes, and place them on the front and back of the costume. Don't forget to add some to the pants. Note: Hot glue is not recommended for this step.
Section 3: Add Straw to the Costume
Step 1: Loop the Yarn
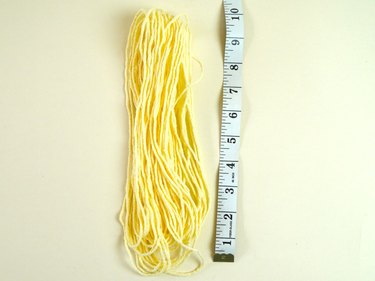
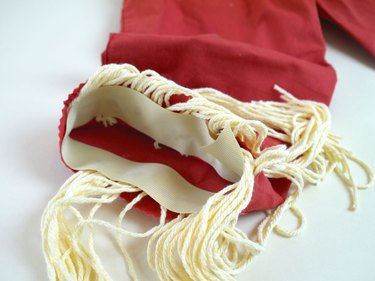
Add straw to the bottom of the pants by repeating the looped yarn technique. Measure the cuff of the cropped pants and cut a ribbon to this measurement. Do this for both cuffs. Loop the yarn about 60 times, and make the loops about 10 inches long.
Step 2: Glue "Straw" Inside the Pant Cuffs
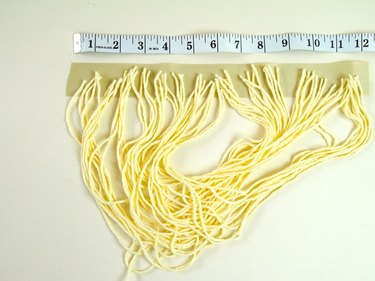
Cut the yarn loops in half and spread them out flat on a ribbon. Glue the yarn tips down with hot glue and then attach the ribbon to the inside of the pant cuffs. Trim to size.
Section 4: Paint a Scarecrow Face
Step 1: Mix a Peach Shade
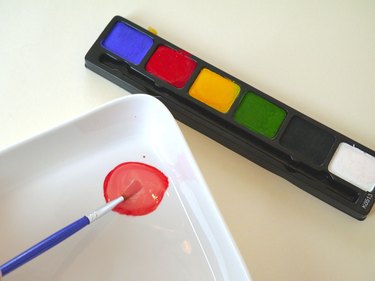
Use a face paint palette to mix a warm color that matches your color scheme. This example shows a peachy orange mixed with red, yellow and white.
Step 2: Paint the Nose and Cheeks
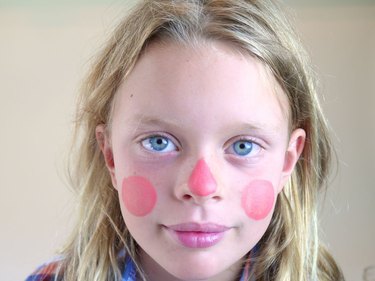
Use the peach face paint to make two large circles on the cheeks and a teardrop shape or triangle on the nose.
Step 3: Add Eyeliner
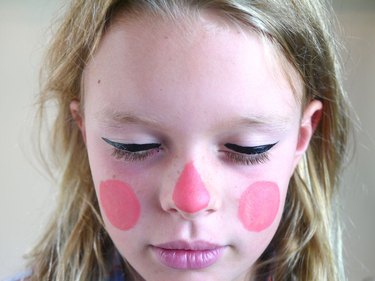
Add a thick line of black paint just above the eyelashes on the eyelids. Keep eyes closed for two minutes until the paint dries. Alternatively, you can use black eyeliner.
Step 4: Add Lashes and Stitches
Use the black paint to make a thick black line under the eyes and add some extra long lashes. Then use black to add a line extending the corners of the mouth toward the ears. Stop when the line is even with the corner of the eyes. Add stitch marks to the lines.
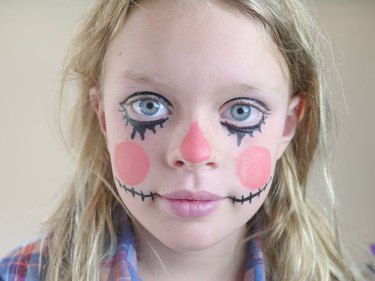
Step 5: Add Stitches to the Nose
Outline the peach around the nose with black and add horizontal lines to make stitches.
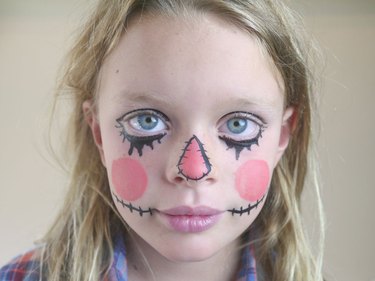
Step 6: Finish With Highlights
Complete the look with a gold highlight added to each cheek and to the nose. Then add a dot of white on top of the gold.
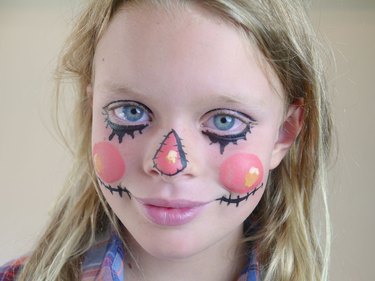
Assemble the Costume
Put on the shirt, pants and hat. Finish the costume by adding a yarn or rope belt and boots. You can also hold a sprig of flowers.
