Things You'll Need
Cooking oil
gloves

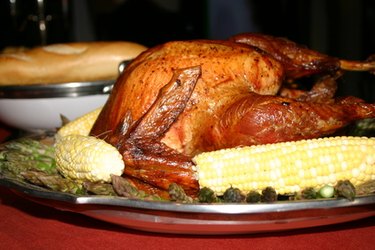
You've purchased a Masterbuilt Turkey Fryer, and now you want to fry up a turkey. You can just smell the bird frying now, and you can imagine slicing into a juicy-on-the-inside yet crisp-on-the-outside bite. With a little know-how, this fantasy can become your reality fairly quickly. Have a little patience before you begin to fry your turkey and you'll enjoy your dinner safely.
Cooking
Step 1
Thaw the turkey completely, and ensure the bird is absolutely free of ice and water. Double check the inner cavity.
Step 2
Fill the inside pot of the fryer with oil to the fill line. Do not overfill. Set the outer control dial to 400 degrees and cover with the lid.
Step 3
Allow a minimum of 55 minutes for the oil to heat through. During this time, prepare the turkey with a marinade of your choice and rub it with spices.
Step 4
Calculate the cooking time before inserting the turkey into the pot. Cook time is three minutes per pound, plus five minutes. Always round to the next full minute.
Step 5
Lift the basket out of the pan and place the turkey inside, breast side up. While wearing gloves, slowly insert the turkey into the hot oil. Cover with the lid.
Step 6
Using a food thermometer, make sure an internal temperature of 180 degrees is reached before taking out the turkey. Slowly lift the turkey out of the oil when finished, and hook the basket on the side of the pot to allow excess oil to drain.
Tip
Be creative with your seasonings and rub them on the bird generously.
Warning
Make sure your turkey is completely dry. This can’t be stressed enough. Any leftover ice or water will most certainly cause a fire.
Video of the Day
Check out this related video from ExpertVillage on Youtube