Things You'll Need
Plastic container with lid
Tape measure
Marker
Utility knife
Nail file
Duct tape (optional)

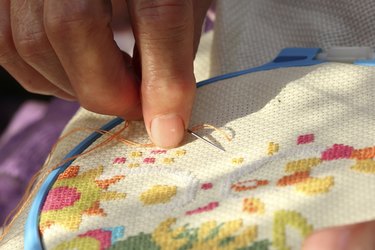
While embroidery hoops are readily available and not generally considered expensive, there are times when you just cannot make it to the store to purchase a wooden hoop. But there's no need to fret. You can create your own DIY embroidery hope with a throw-away plastic container.
Step 1
Measure the plastic container about 1/5 inch down from the raised edge. Draw a circle around the entire container with a marker. This is the larger outer hoop.
Video of the Day
Step 2
Measure the lid 1/5 inch in from the raised edge. Use this measurement as a guide and draw a circle on the lid that measures 1/5 inch from the edge. This is the smaller inner hoop.
Step 3
Cut out the large and small hoops you've drawn with the utility knife.
Step 4
File down the cut edges with a nail file to smooth and eliminate any sharp edges. You could also cover the edges with duct tape. Smoothing the edges insures the hoop will not catch and damage the fabric you are embroidering.
Step 5
Place the desired fabric face up directly on top of the larger outer circle. Position the area of the fabric where you will work in the center of the circle. Place the smaller inner hoop over the bottom and press together. When you're ready to remove the fabric, simple pull the two circles apart.
Tip
This makeshift embroidery hoop will only work with thin fabrics. If the fabric is too thick, the inner and outer rings cannot snap together properly to hold the fabric.
A picture frame without the backing or glass works well as a quick and simple embroidery hoop.
Warning
Use caution when using a utility knife and keep it out of the reach of children.
Video of the Day