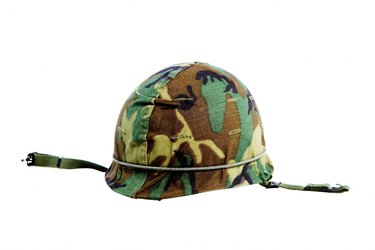
Making a Kevlar Helmet requires patience but isn't a terribly hard task to complete, according to Sgt. Danny Smith of the United States Marine Corps. You will need a helmet mold or an old Army/Marine helmet, Kevlar fabric strips, fiberglass resin, a paintbrush, 100-grit sandpaper and two-part polyurethane paint.
The Process
Video of the Day
First find a helmet mold or an old Army/Marine Corps. helmet. Either of these items can be found at an Army surplus store. Kevlar strips can be found online, as well. Add strips of Kevlar to your helmet mold or old helmet to begin the process. To do this, dip a paint brush into fiberglass resin. Begin brushing the fiberglass resin onto the Kevlar strips you placed on the helmet or helmet mold making sure you cover the entire surface.
Video of the Day
After you have completed your first layer, you can begin placing your next layer of Kevlar immediately. Be aware that your helmet will not be bulletproof unless you layer each strip of Kevlar fabric 45 degrees or 90 degrees against the grain of the Kevlar fabric strips already attached. This means that you will be creating a cross-hatched pattern across the entire surface of your helmet. Make sure to apply a total 14 layers of Kevlar on your helmet mold/helmet. Each Kevlar layer will have to cover the entire surface of your helmet.
Once you have completed the layering process, allow the Kevlar to dry overnight or until the exterior of the helmet is smooth to the touch. Once your helmet is dry--if you used a helmet mold--twist the mold to the right and left until it breaks free. Sand your helmet with 100-grit sand paper will smooth it out and make it more aesthetically pleasing. Once you have completed the sanding process, choose your paint in the color of your choice. Smith recommends using a two-part polyurethane paint. Two-part polyurethane paints are the most durable, hardest, highest-gloss paints available and are widely used in marine settings. Once your paint has dried, your new Kevlar helmet is ready to be used.