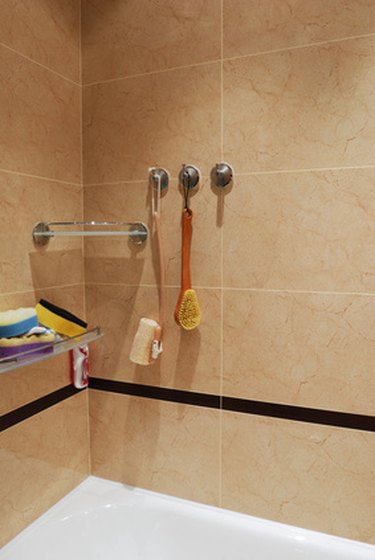
The joint around the bathtub where it meets the tile is a problem area. During tile installation, grout is used to fill this joint. Often times during the life of the tile/tub, cracks begin to appear or mold and mildew set in. Homeowners sometimes use a quick fix for this problem by simply caulking the joint with some sort of tub and tile caulk they picked up from the local hardware store when they should have used grout to restore this joint to its original state.
Grout Types
Video of the Day
There are two kinds of grout commonly used for ceramic wall tile. The size of the grout joint determines which type of grout to use. A grout joint that equals 1/8 inch or less requires a non-sanded grout. For grout joints larger than this, use a sanded grout. The difference in the two is one contains sand while the other does not. There is another type of grout called an epoxy grout. It is very difficult to work with, as it requires adding a hardener that activates the grout and limits the time you have to work with it. It is also difficult to clean up.
Video of the Day
Preparation
Prepare the joint for grouting by removing the old grout, caulking and any debris. A razor and putty knife should do the trick. Take care not to scratch or damage the tub while using these tools. Use a mildew/mold remover and thoroughly clean the joint. You should match the grout as close as possible to the existing grout. Home improvement centers have grout color charts available to help with choosing grout colors. Match the chart to the tub's grout when it is dry, as water will darken the grout's appearance. The tools required to grout the joint are as follows; a margin trowel, grout float, sponge and two clean buckets.
Applying Grout
When mixing grout, use a margin trowel and extremely clean water and mix to achieve the consistency of peanut butter. Allowing the grout to rest about five minutes and then mixing it again helps to ensure proper texture and color consistency. Grout floats apply the material to the joints. Eliminate any voids or air pockets by working the grout completely into the joint. A damp clean sponge wipes away any excess material. Rinse the sponge frequently to avoid hazing. Allow the grout to dry at least 24 hours. A high quality sealer will help by repelling water and prolonging the life of the grout.