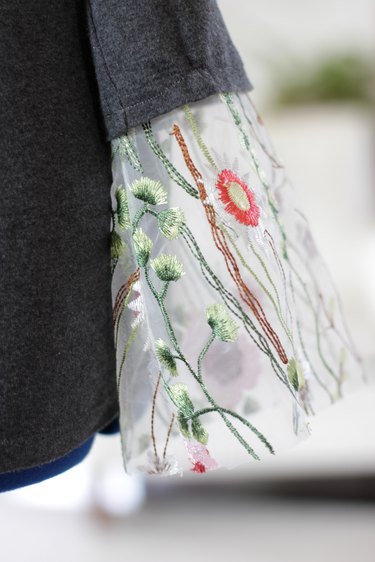
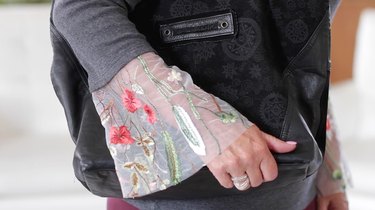
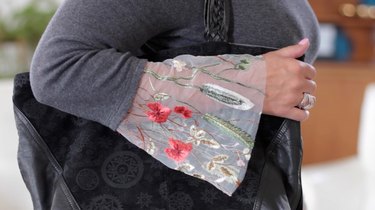
If you'd like to add some fun unexpected detail to an otherwise plain sweater or shirt, a bell sleeve is a nice option. You can use plain fabric to match your shirt or make a fashion statement using something more colorful like an embroidered mesh. Flared sleeves have been around for centuries–from the medieval era to the 70's–and now they're having another moment in fashion. Casual or dressy, these bell sleeves will make your outfit more fun no matter what the occasion.
Video of the Day
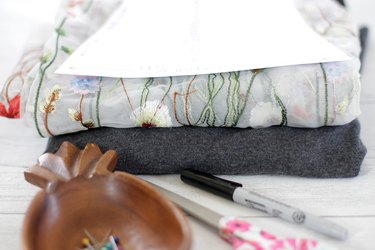
Things You'll Need
Sweater with 3/4 sleeves
Paper for pattern
Scissors
Pins
Embroidered mesh fabric
Step 1
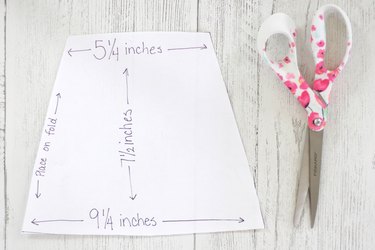
Cut a paper bell-shaped pattern that is 5 1/4-inches across the top, 9 1/4-inches across the bottom and 7 1/2-inches tall.
Step 2
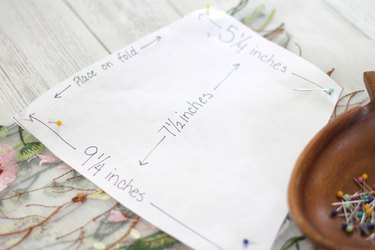
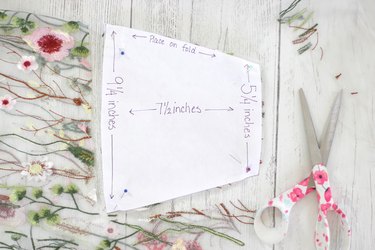
Fold your fabric in half and place one side edge of the pattern along the fold. Pin in place.
Step 3
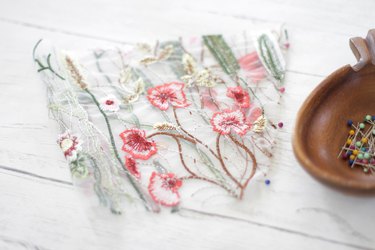
Cut around the pattern, remove the pins and open the fabric.

Step 4
Fold the fabric in half again, this time with right sides together. Pin along the side edge.
Step 5
Sew along the pinned edge with a ball point needle. Be sure to remove the pins as you sew and back stitch at both ends to lock the stitches in place.
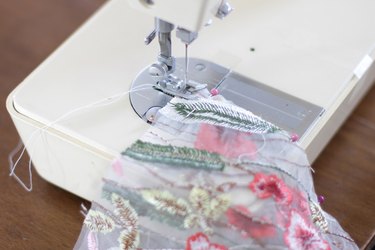
Step 6
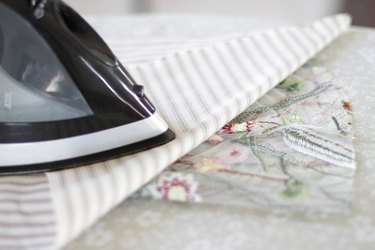
Press the seam open using a cotton pressing cloth and low heat. If you were to place the iron directly on the mesh fabric it will melt, so be very careful on this step.
Step 7
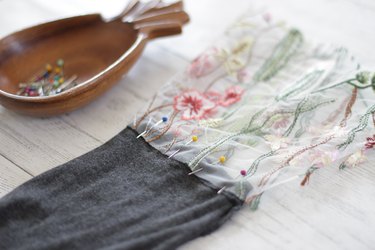
Turn your sleeve inside out and keep the mesh inside out. Place the small edge of the bell over the end of the sleeve. Pin in place. It's tricky to only get the pins in one side of the sleeve so you might need to slip your hand inside the mesh to help pin.
Step 8
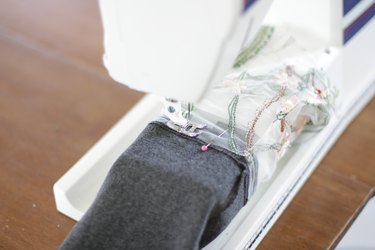
Use your sewing machine's sleeve arm to sew the mesh onto the sleeve. If you don't have a sleeve arm on your machine, you might need to hand sew. Remove the pins as you sew.
So, the next time you're looking for an easy alteration to make your outfit more fresh and interesting, try adding a bell sleeve.
