Sweater weather is here and cute little girl's hand-knit sweaters are blowing up social media news feeds. But what if sewing is more your thing than knitting? No need to keep scrolling, you can still wrap your little one in a "handmade" sweater. You could even give your little girl a "hug" from a lost loved one by using one of their sweaters that has been carefully folded on a shelf for years. Just grab a big sweater, a little bias tape and a few buttons. Once you learn this upcycle technique, no sweater will be safe around you and scrolling past all those cute little hand knit girl's sweaters will be a thing of the past.
Video of the Day
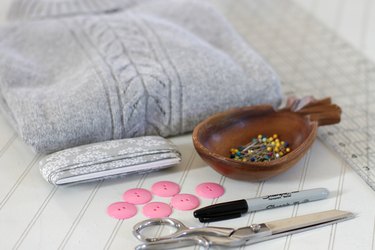
Things You'll Need
Sweater
Straight edge
Marking pen
Sharp scissors
Bias tape (pre-made or make your own)
Pins
6 buttons
Needle and thread
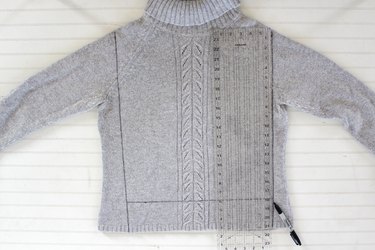
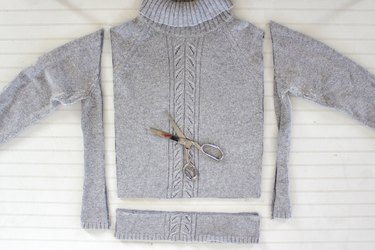
Step 1
Measure across your little girl's shoulders and from elbow to elbow. Then measure from her shoulder to right below her bum. Use these measurements to mark the sweater with a straight edge ruler and a marking pen.
Step 2
Use a sharp pair of scissors to cut along the marked lines through both layers of the sweater.
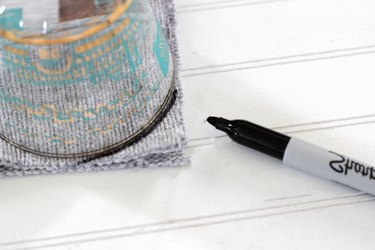
Step 3
Next use a rounded edge to mark the bottom corners of the sweater.
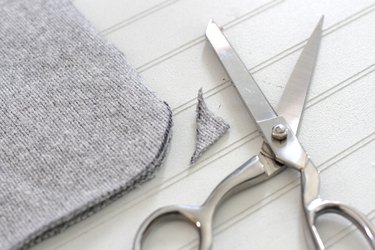
Step 4
Use a sharp pair of scissors to cut through both layers of the sweater along the curved line.
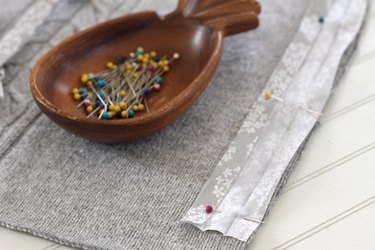
Step 5
Open the sweater so you are working with one layer of the sweater. Open the bias tape and pin it all around the raw edges of the sweater with the right sides together.
Tip
You could use pre-made bias tape available in the stores, but you are limited to plain colors. If you'd like to jazz up your bias tape to any color or pattern, you can easily make your own. Find out how to make bias tape here.
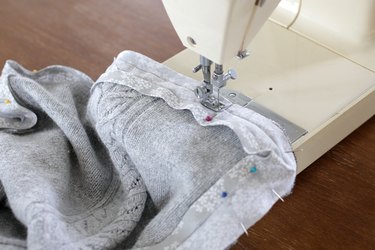
Step 6
Attach the bias tape by sewing along the fold of the bias tape that is closest to the edge. Be sure to remove the pins as you sew.
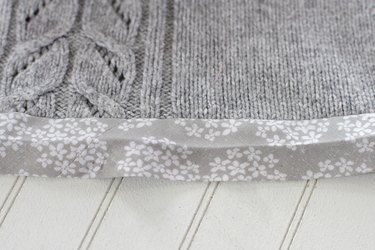
Step 7
Next, fold the bias tape over, wrap it around the raw edge of the sweater to sandwich the raw edge of the sweater in between the bias tape and pin in place.
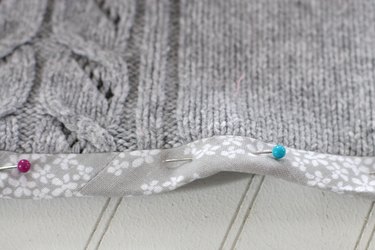
Step 8
Sew along the folded bias tape to catch the sweater's raw edge in the fold and create a nice finished edge on the sweater. Be sure to remove the pins as you sew.

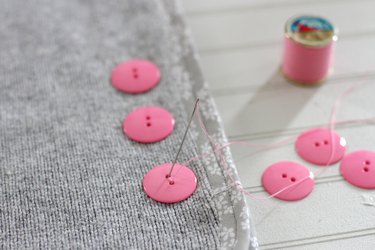
Step 9
Fold the sweater in half again so the front and the back of the sweater are layered on top of each other. Sew three buttons along each side of the sweater through both layers.
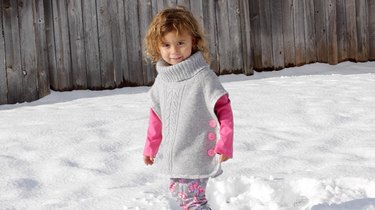
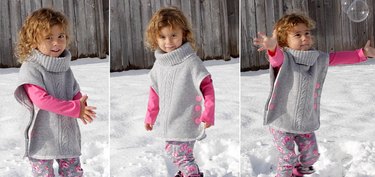
Now your little one is ready to enjoy the cold wearing her very own "handmade" sweater.
