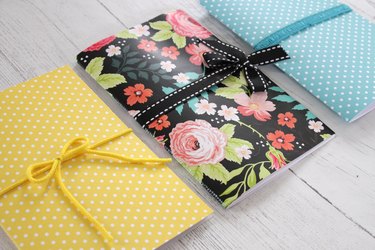
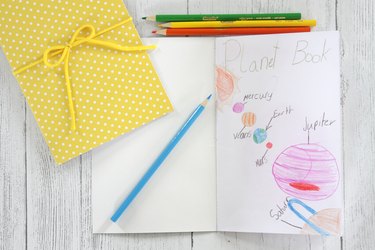
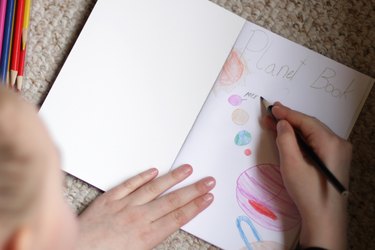
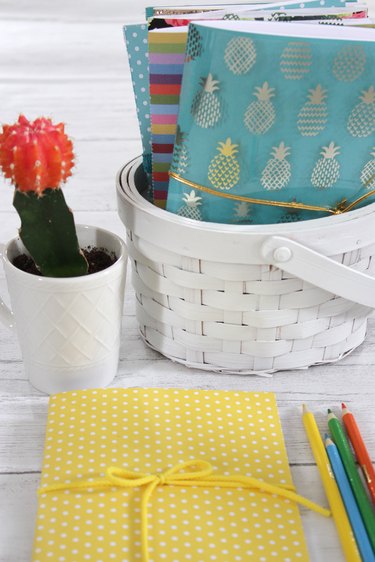
Blank journals are perfect for capturing all those creative ideas in your head, recording memories, doodling, practicing letters, writing lists, sketching, or even reminders. Why not personalize them by using some of the fun papers available today and have one for every occasion. Keep a blank book on your counter, your nightstand, in your purse, your car, and your backpack. You never know when a bright idea is going to hit you and you'll need to record it. These blank books take just a few minutes to make and once your friends and family see your beautiful books, they'll be begging you to make some for them.

Video of the Day
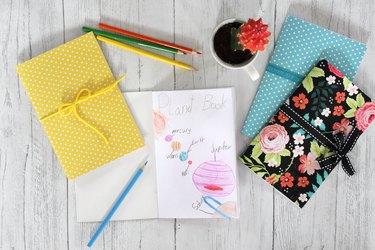
Things You'll Need
8 1/2 x 11 inch patterned cardstock
8 1/2 x 11 inch copy paper
Paper clips
Sharp scissors
Ribbon, elastic, rick rack, or cord
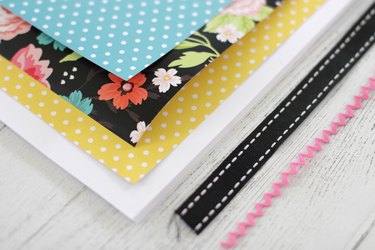
Step 1
Cut a piece of patterned card stock to 8 1/2 x 11 inches. Count out 4 or 5 pages of 8 1/2 x 11 inch copy paper and stack together.
Video of the Day
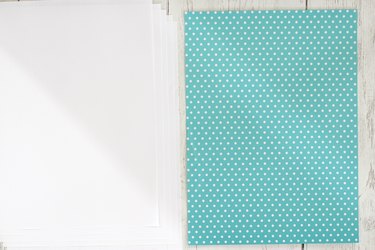
Step 2
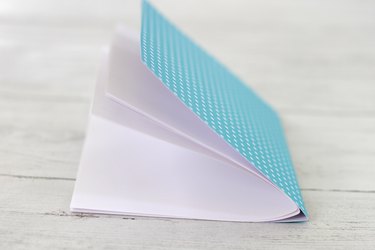
Fold the card stock and the copy paper in half.
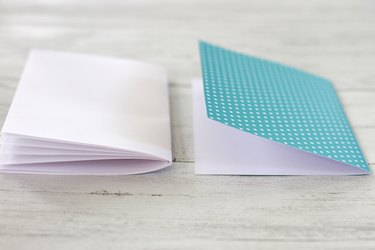
Step 3
Place the folded copy paper inside the folded card stock.
Step 4
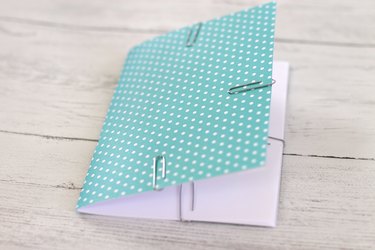
Use paper clips to hold the paper in place.
Step 5
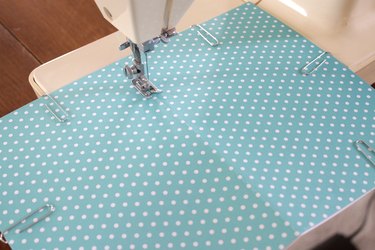
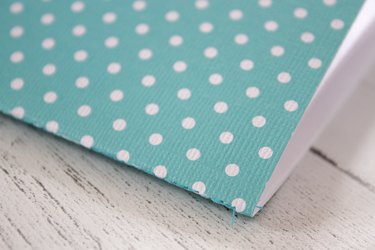
Use a 9/14 needle to sew along the fold line through all the layers of paper. Remove the paper clips and fold in half.
Step 6
Open the book and cut a piece of elastic just a bit larger than the width of the book.
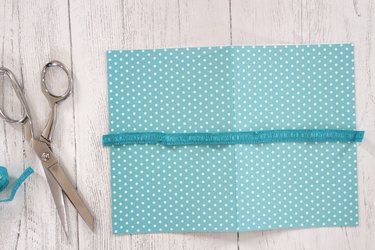
Step 7
Overlap and sew the ends of the elastic together with a zig zag stitch.
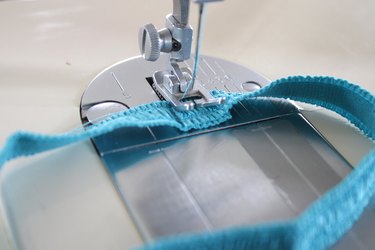
Step 8
Place the elastic on the center of the book spine.
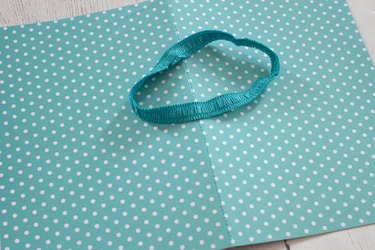
Step 9
Sew the elastic in place.

Step 10
Close the book and wrap the elastic around the book to hold it closed. You can also add ribbon, rick rack or cord to the book by cutting a 20-inch piece, folding it in half and sewing it to the center of the spine of the book. Close the book and tie a bow to hold the book closed.
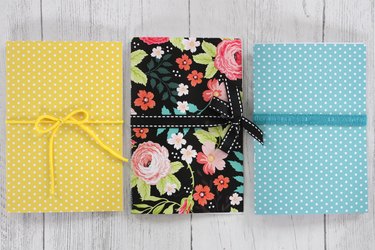
Step 11
Place these little books all around your house and see what creative ideas they inspire.
