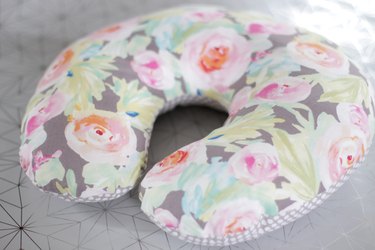
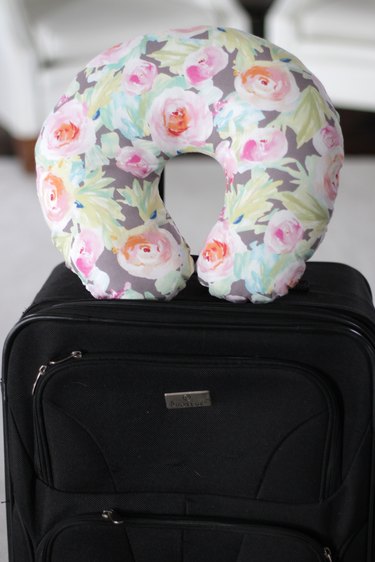
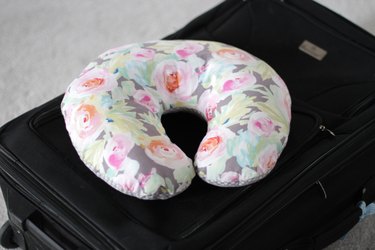
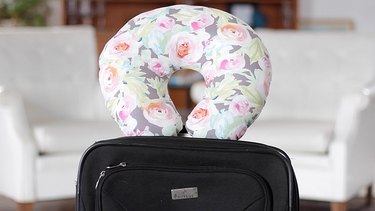
In-flight snoozing on those red-eye flights just got easier and much more fashionable. When sleeping upright is your only option, this soft and comfortable DIY neck pillow will help you get the Zzz's you need. Make one to match your luggage or make one to match your traveling clothes. Whatever colors you choose to make this pillow, it most certainly will ensure sweet dreams during your next trip.
Video of the Day
Things You'll Need
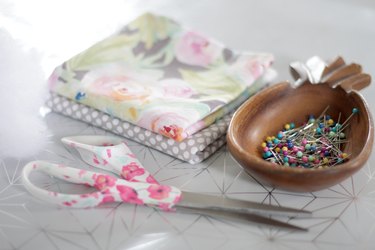
1/2 yard of pre-washed cotton for the top
1/2 yard of pre-washed cotton for the bottom
Pattern (downloadable or DIY)
Sharp scissors
Pins
Polyester stuffing
Hand needle and thread
Step 1
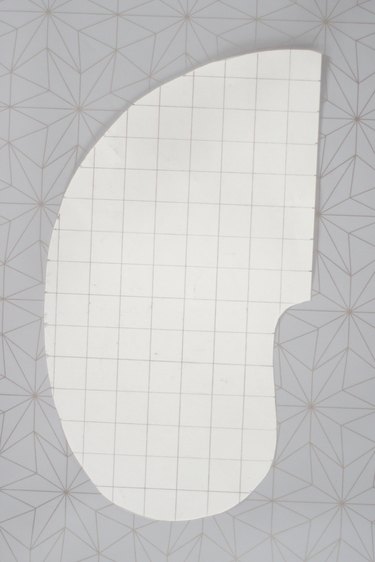
You can download a pattern of your choice or you can create your own pattern. If you choose to create your own, use a large sheet of paper or cardboard and mark off 1-inch sections to use as a guide. Draw a 1/2 pillow pattern that is approximately 8 1/2 inches wide and 15 inches tall and cut it out.
Step 2
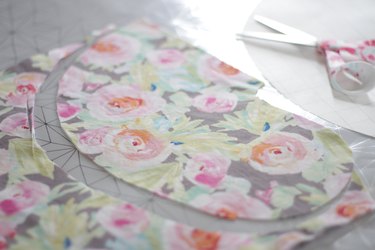
Place the flat side of the pattern on the fold of the fabric, pin in place and cut one piece of fabric for the top of the pillow and one piece of fabric for the bottom of the pillow.
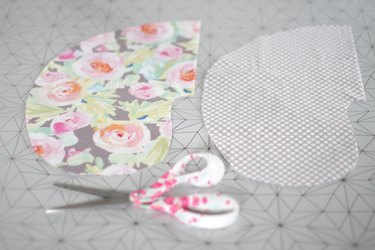
Step 3
Open up each piece and place them with right sides together. Pin in place and sew a 3/8-inch seam all around the pillow. Leave a 3-inch opening in the side.
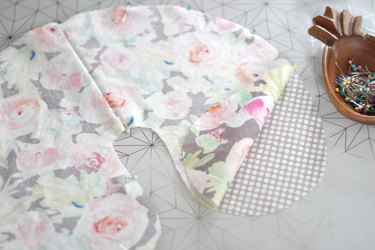

Step 4
Clip the seam allowances being very careful not to cut the stitching.
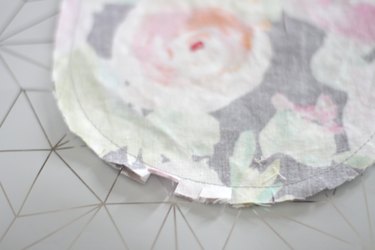
Step 5
Turn the pillow right side out through the opening.

Step 6
Press the seams with an iron.
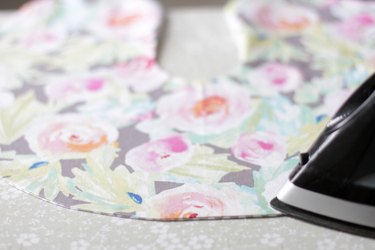
Step 7
Fill the pillow with stuffing through the 3-inch opening.

Step 8
When the pillow is filled to your desired firmness, hand-stitch the opening closed with a needle and thread.

Happy travels!
