Now that all of your Christmas decorations are packed away, it's the perfect time to spruce up your space and bring some color and warmth back into your world—especially if you've got a soft spot for everything that celebrates love. This delightful DIY rose pillow can be made in an afternoon and will look great on your couch, chair or even your love nest.

Video of the Day
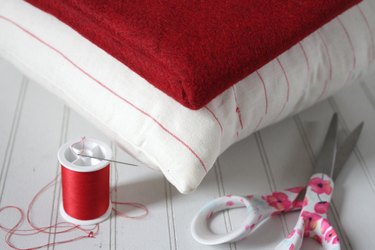
Things You'll Need
1 yard of felt
Sharp scissors
Needle and thread or a hot glue gun
Accent pillow (or make a new cover for an existing pillow)
Step 1
Cut 25 to 35 5-inch x 5-inch squares of felt.

Step 2
Use a sharp pair of scissors to cut the corners of each square and round the edges.

Step 3
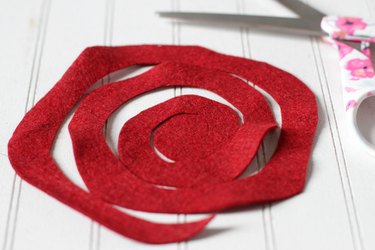
Start on the side of the felt and continue to cut a narrow spiral until you get to the center of the felt.
Step 4
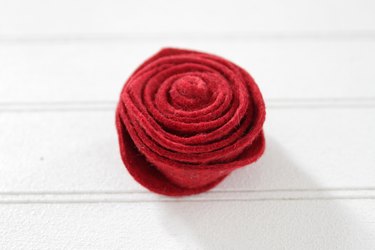
Start rolling the felt at the spot where you started cutting into the square. Continue to roll until you get to the end of the spiral strip to create the rose.

Step 5
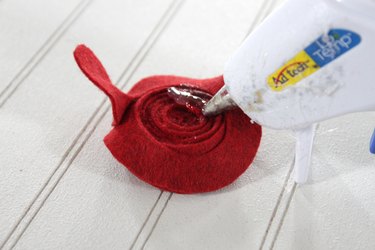
Turn the felt rose over and use a needle and thread to sew through the flower to keep everything in place. Or, if you'd rather not sew, you can use a hot glue gun.

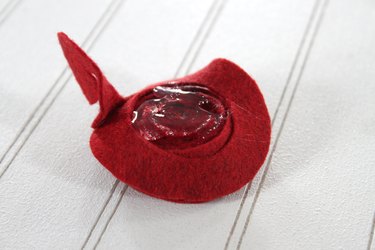

Step 6
Continue to cut spirals, roll and glue until you have as many roses as you'll need to cover your pillow or to make a design with the roses.

Step 7
When you have your desired rose placement, you can hand sew or hot glue the roses to the pillow.

Amore!

