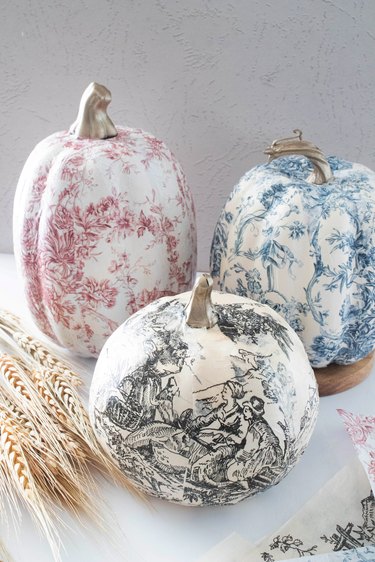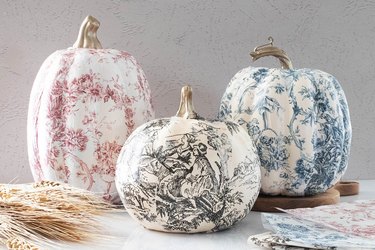
'Tis the season for Halloween decorations! But if scary isn't your style, you'll want to check out this elegant twist on pumpkin decorating. Featuring toile tissue paper and gold acrylic paint, the following pumpkin craft is equal parts chic and sweet. Not to mention, this DIY project isn't specific to Halloween, so you can display it well after the holiday. In fact, you could even use it as a centerpiece for this year's Thanksgiving table.
To make these DIY pumpkins, you'll need tissue paper or decoupage napkins with a toile print. Another option is scrapbook paper, though this can be trickier to mold around a faux pumpkin. If you must use scrapbook paper, we recommend using a pumpkin that's free of ridges and deep crevices. This will make it a bit easier to decoupage the paper.
Video of the Day
Video of the Day
Once you've finished your pretty fall pumpkins, try styling them with natural materials like wood, dried wheat, and burlap or canvas. They'd also work well with gold elements and neutral colors like beige or tan.
Ahead, learn how to make toile decoupage pumpkins, plus tips for mastering this fall craft.
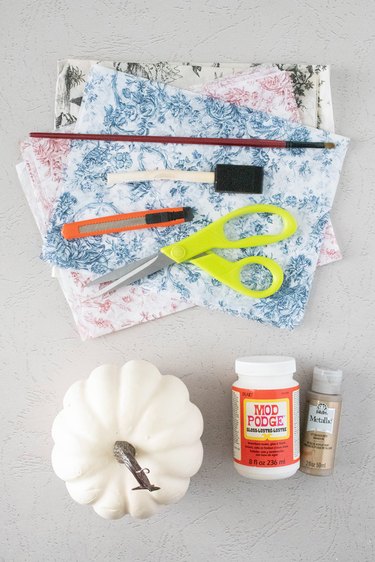
Things You'll Need
Toile tissue paper
Ivory or white faux pumpkin
Scissors
Foam brush
Decoupage glue, such as Mod Podge (glossy or matte)
Craft knife (if needed)
Paintbrush
Gold acrylic paint
Tip
You can purchase toile tissue paper on Etsy or Zazzle. The amount of paper required depends on the exact size of your pumpkin, so we recommend buying more than you think you will need, just to be safe. Also, if you’re unable to find ivory or white pumpkins at the craft store, you can paint any faux pumpkin or use a real pumpkin (though it will have a shorter shelf life). White spray paint or acrylic paint will work best.
How to make toile decoupage pumpkins:
1. Arrange the toile paper
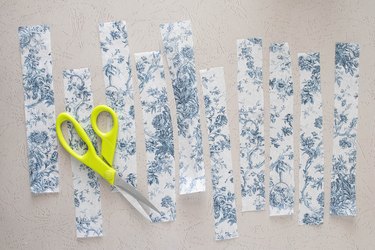
Cut the tissue paper, paper napkins or scrapbook paper into strips, about 1 to 1 1/2 inches wide. If your foam pumpkin has ridges, cut strips that are slightly wider than each ridge.
Tip
As you cut the paper, place the strips side by side so that the pattern lines up. This will ensure the pattern stays on your pumpkin.
2. Decoupage your pumpkin
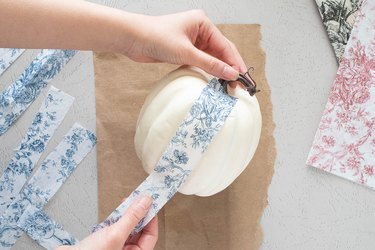
Using the foam brush, apply a vertical coat of Mod Podge on the pumpkin, moving from top to bottom. Apply just enough for one strip of paper. Next, place a piece of toile paper on top, smoothing it down with your fingers.
Cut or rip the excess paper. Alternatively, you can decoupage the excess along the bottom of the pumpkin.
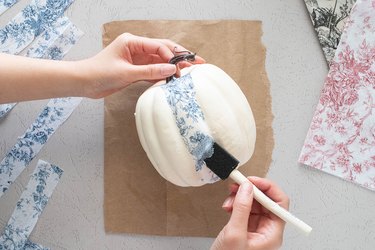
Apply a thin layer of Mod Podge on top to seal the paper. Avoid using too much. Otherwise, the paper might break apart.
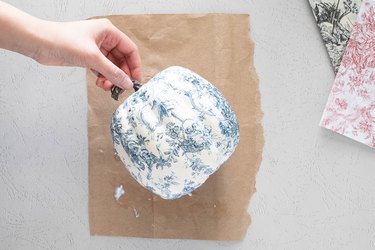
Repeat until the entire pumpkin is covered, making sure to add the strips in order so that the pattern lines up. Try to apply them side by side, but it's okay if they slightly overlap.
Tip
If needed, use the craft knife to trim excess paper around the stem.
3. Add a gilded touch to the stem
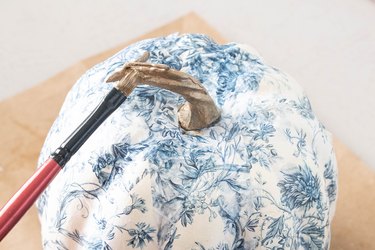
Using the paintbrush, apply gold acrylic paint to the pumpkin stem.
Tip
Regular acrylic paint will likely slip and slide on a plastic stem. If it looks streaky, simply wait until the first layer dries, then apply a second layer. This will make the gold paint look more opaque.
And just like that, you have homemade fall decor! We used a classic blue and white print for this tutorial, but feel free to mix it up with toile paper in other colors. When styled together, these fall pumpkins will create the perfect centerpiece for your next seasonal tablescape.
