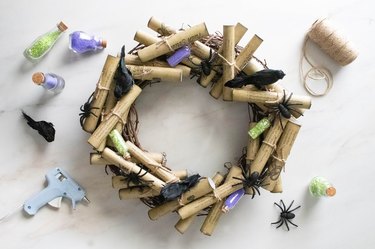
Get your cauldrons ready! It's time to brew a potion-themed Halloween tablescape complete with a centerpiece of potion "scrolls." After all, who says you need to stick to pumpkins and monsters during Halloween? With this DIY, you can make Halloween party decor with more subtle motifs (and vintage vibes!) while still getting in the spirit.
To make things easier, we've even included printable potion notes. Our apothecary-inspired potion "recipes" can be printed on any paper you'd like, but we recommend using tan or faux parchment paper for that magical vintage look. You could even add a wash of brown watercolor or coffee on white paper to mimic parchment.
Video of the Day
To complete the potion-themed tabletop decor, we've also included two matching projects: napkin rings with mini potion charms and apple-flavored cocktail potions. When styled together—with candles, of course—the result is a delightfully witchy setup that's perfect for any Halloween dinner party.
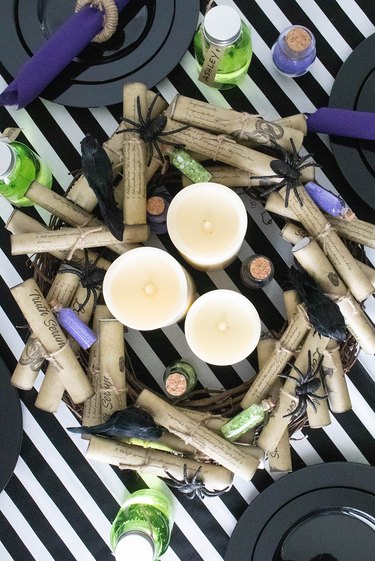
Read on for the step-by-step DIY project plus tips and decorating ideas for customizing potion-themed Halloween table decor.
Video: Scrolls, Potions, Spiders, Oh My! A Spellbinding Halloween Table
Potion Scroll Centerpiece
Things You'll Need
Printable potion notes
Faux parchment paper
Grapevine wreath
Faux spiders and crows
Glass or plastic bottles
Mini glass bottles
Vase fillers, sand and/or beads
Twine
Black ink pad
Hot glue gun (or craft glue)
Decoupage glue (optional)
Clear tape
Scissors
Foam brush
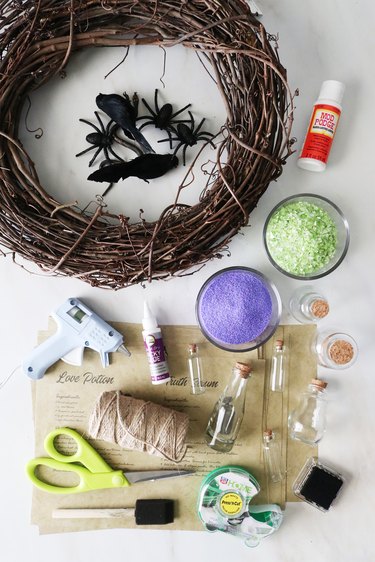
1. Make potions
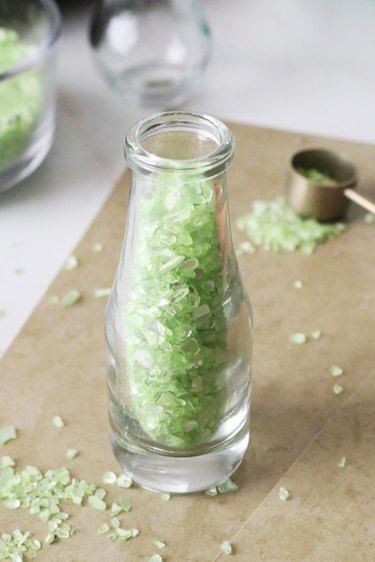
Fill each glass bottle with vase fillers, such as sand or beads.
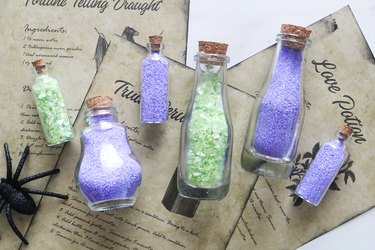
Glue stoppers on bottles to secure. Note that mini glass bottles (pendants work great) will be glued onto the centerpiece, while slightly larger bottles will be styled at the center. Fill according to preferred colors.
Tip
If you’d like, decoupage potion labels from our DIY potion bottle project onto larger bottles.
2. Prepare potion notes
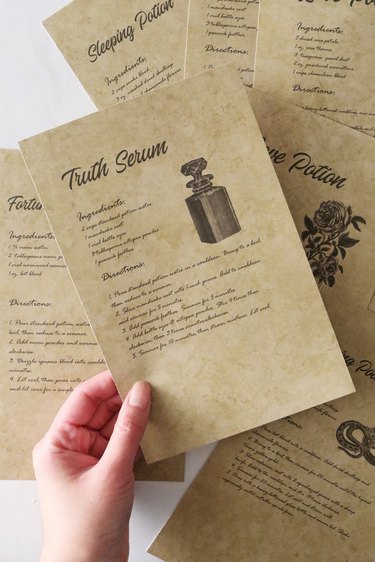
Print potion notes on faux parchment paper, making sure to print two pages per sheet. Cut down the middle with scissors or a paper cutter.
Tip
Printing two pages per sheet will yield potion scrolls about 6 in. wide. You’re welcome to make them bigger or smaller.
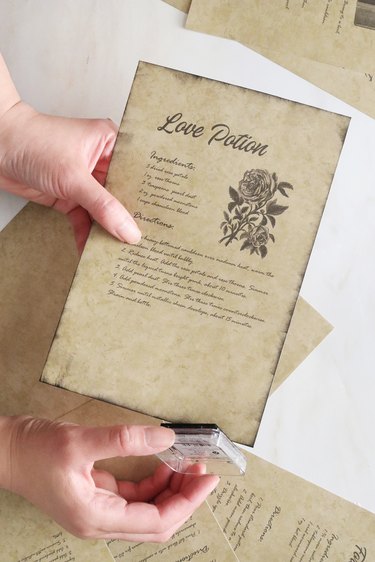
Swipe black ink pad across edges to "age" notes. Let dry.
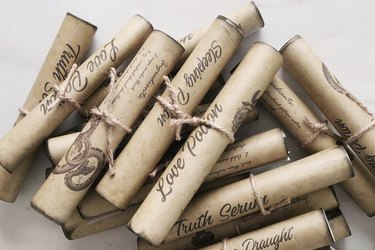
Roll up each potion note and tape to secure. Tie a strand of twine around each rolled note. Trim excess twine and apply a dot of hot glue to secure.
Repeat with remaining notes.
Tip
To vary visible part of each note, switch up your rolling method. For example, alternate between starting at bottom or top. You can also trim the empty space along bottom or top so more text is visible.
3. Decorate wreath
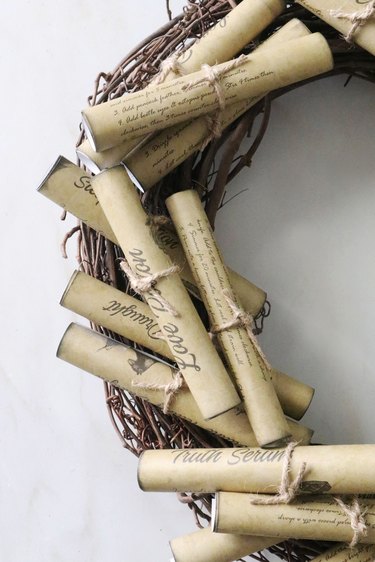
Hot glue at least two layers of potion scrolls onto wreath, placing them at different angles. Hot glue faux spiders, crows and mini potion bottles on top of scrolls (or in crevices). Feel free to add other seasonal elements to your Halloween centerpiece, such as fake spiderwebs or eyeballs.
Tip
To turn this Halloween decoration into a pumpkin centerpiece, add mini pumpkins (the foam kind!) to your wreath. Depending on your desired color scheme, keep them as is or apply a coat of black spray paint for ultimate witchy vibes. Craving a more traditional autumn look? Add faux leaves for a general fall centerpiece.
Potion Bottle Napkin Rings
Things You'll Need
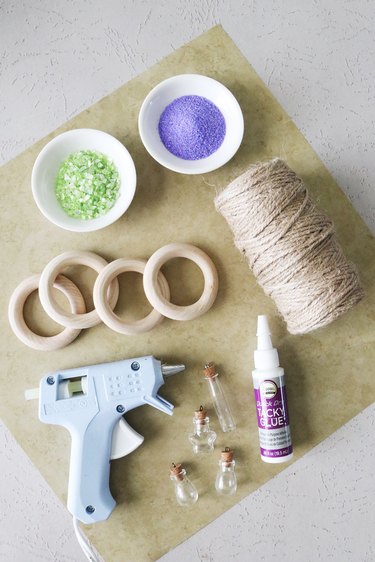
Wooden rings
Twine
Glass bottle pendants
Vase fillers, sand and/or beads
Hot glue gun or craft glue
Scissors
Tip
If you’d rather upcycle, use old napkin rings from the thrift store instead of wooden rings.
1. Wrap rings in twine
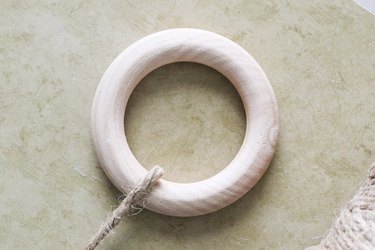
Hot glue a long strand of twine to wooden ring.
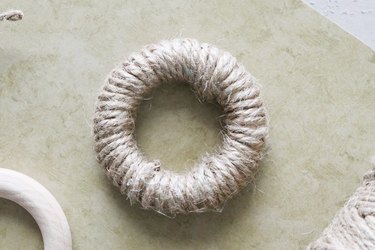
Apply a short, horizontal line of glue to ring and then tightly wrap twine. Glue will keep twine in place. Repeat until entire ring is covered.
2. Add potion bottles
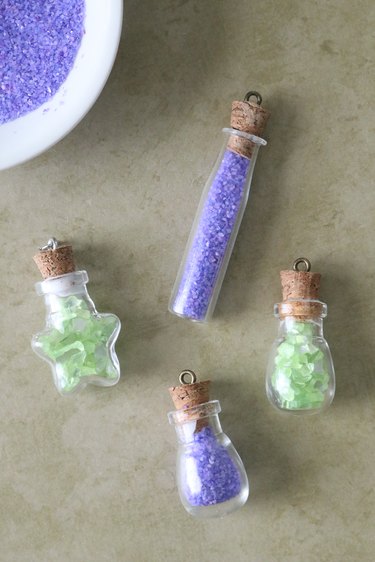
Fill glass bottle pendants with vase fillers, sand or beads.
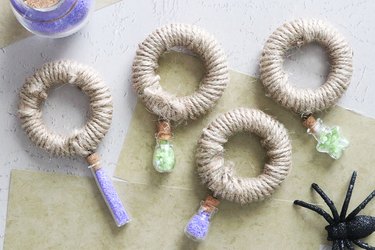
Tie a bottle to each ring and then cut away excess twine. Your napkin rings are ready to adorn the dining table!
Green Apple Potion Drinks
Things You'll Need
Food-safe glass or plastic bottles
Printable potion labels
Green apple schnapps
Seltzer
Tequila
Paper
Black marker
Twine
Tape
Hole puncher
Scissors
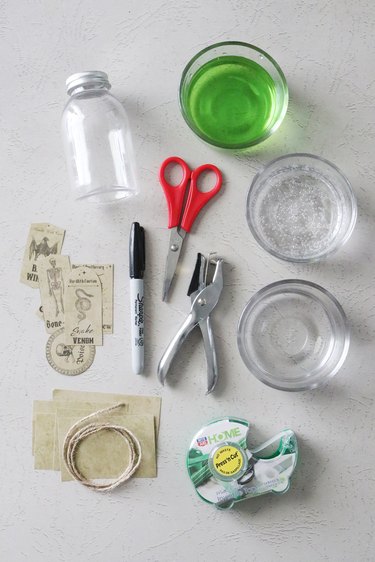
Tip
Make this drink alcohol-free by using green Gatorade or Powerade and replacing the tequila with more seltzer.
1. Make cocktails (or mocktails)
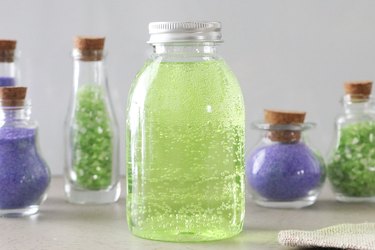
To each bottle, add equal parts green apple schnapps and tequila (or nonalcoholic substitutes). Top with seltzer.
2. Add potion labels
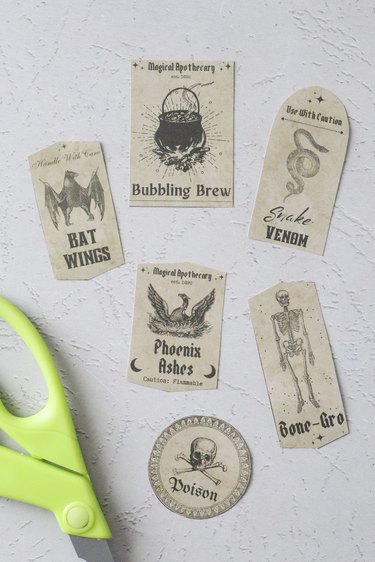
Print potion labels, scaling document to fit bottles. For reference, we printed at 35% scale.
Tip
Test print labels on scrap paper before printing the real thing.
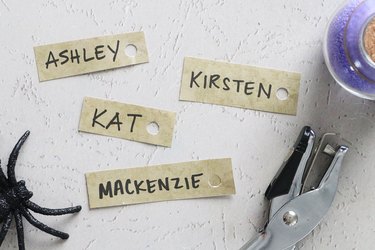
On paper scraps, write your guests' names and punch out holes.
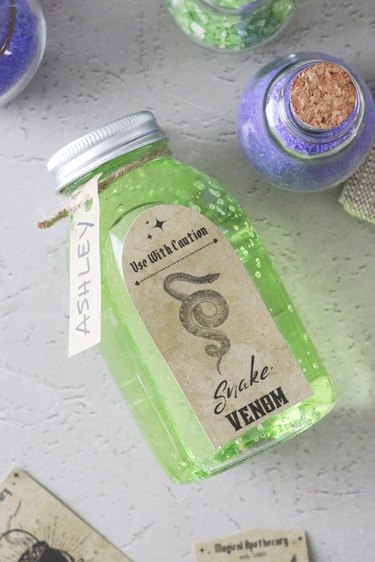
Tape labels onto bottles. Tie on name tags with a strand of twine.
Note that decoupage glue is not water-resistant, so avoid using it to apply labels. Otherwise, you won't be able to wash the bottles or easily remove labels.
DIY Candy Potion Bottles
If you don’t want to serve drinks as part of your tablescape, fill bottles with Halloween candy instead! Sweets like Skittles, M&M's and Nerds work great, but any small Halloween treats will do the trick.
3. Style table
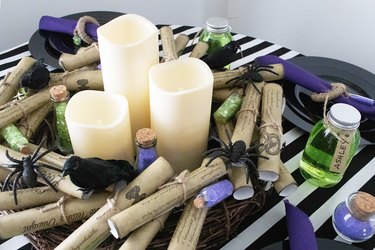
To style completed DIY Halloween decorations, cover your table with a black and white striped tablecloth or table runner. Position potion scroll wreath in middle of table and add LED votive candles or a candelabra with candlesticks to center. You could even add a single large black Halloween pumpkin, a jack-o'-lantern or an eerie floral arrangement!
Set plates around the centerpiece and then add napkins with potion bottle napkin rings. Serve potion drinks alongside your Halloween party menu.
Who knows? Your DIY Halloween table setting might be such a hit that you decide to use it all year long!