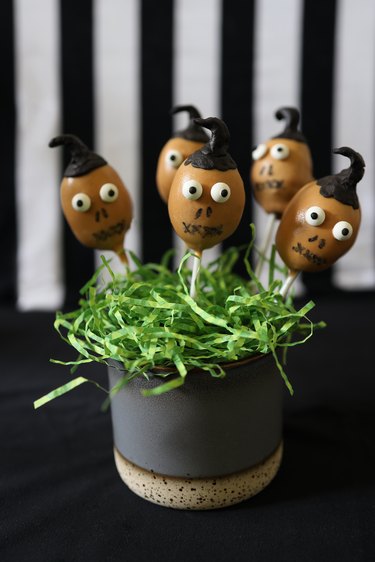
After 36 long years, the "ghost with the most" is finally back in the upcoming Beetlejuice sequel. What better way to celebrate the film's highly anticipated cinematic return than with cake pops featuring one of its most iconic characters: the shrunken head guy. They're perfect to serve before or after seeing the movie!
There's no need to consult the Handbook for the Recently Deceased (or be a skilled baker), as these cake pops are super easy to make. With a chocolate cake center and peanut butter candy coating, they're also incredibly delicious and so much fun to eat. Just be sure not to say you-know-who's name three times while enjoying them.
Video of the Day
Video of the Day
Things You'll Need
Chocolate cake
Chocolate frosting
Parchment paper
6-in. treat sticks
Peanut butter candy melts
Styrofoam, floral foam, or cake pop stand
Candy eyes
Toothpick
Black edible marker
Black modeling chocolate
1. Bake the cake
Make a chocolate cake using either a boxed cake mix or your favorite homemade recipe. Allow it to cool completely. I baked a boxed cake mix in a 9-inch by 13-inch pan and was able to get 24 cake pops out of it.

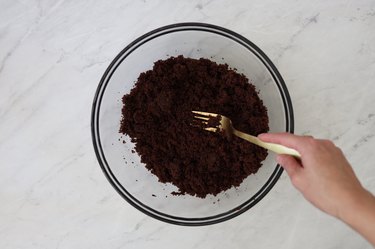
2. Crumble the cake
Once cool, add the cake to a large mixing bowl and use a fork to crumble the cake into fine morsels resembling bread crumbs.
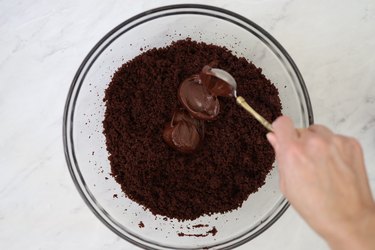
3. Add the frosting
Start by adding 2 tablespoons of chocolate frosting to the cake crumbs and mix it until thoroughly combined. If needed, add another tablespoon at a time to the mixture until you get the consistency of cookie dough (I ended up using 4 tablespoons). You want the mixture to be moist enough to form into balls but not so moist that it falls apart and won't hold its shape.
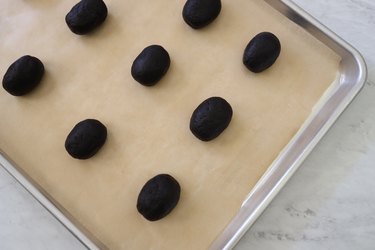
4. Roll the cake pops
Scoop one heaping tablespoon of the cake mixture and use your hands to roll it into an oval-shape ball. Set it on a parchment-lined baking tray. Continue rolling the cake pops and placing them on the tray an inch apart until the tray is full. Place the cake pops in the freezer for 30 minutes. This will firm them up and make them easier to dip into the melted candy.
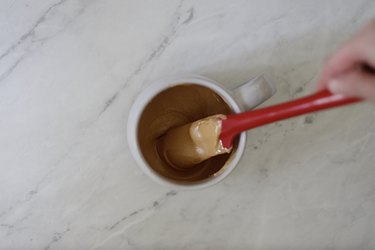
5. Melt the candy melts
Pour a package of peanut butter candy melts into a microwaveable mug (you could also use a glass measuring cup). Place the mug in the microwave and follow the directions on the package to melt the candy. I found that using a mug or similar vessel provides a deep enough container to submerge the cake pops entirely into the melted candy and completely coat them in one dunk.
Tip
It's best to undercook the candy melts than to overcook them since the mixture becomes too thick and hard to stir if overcooked. I microwaved mine at 15-second intervals until the candy had just melted and was easy to stir. If your melted candy is too thick, you can add a teaspoon of vegetable or coconut oil to thin it out a bit.
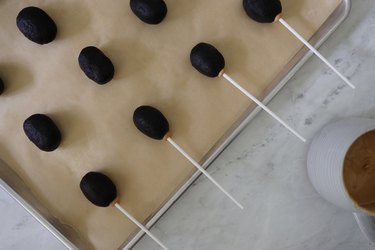
6. Insert the treat sticks
Dip the tip of the treat sticks into the melted candy and immediately insert them into the ends of the cake pops. You want to push the treat sticks about halfway through the center of the cake pops. Allow the cake pops to sit for a few minutes so the candy can harden around the sticks.
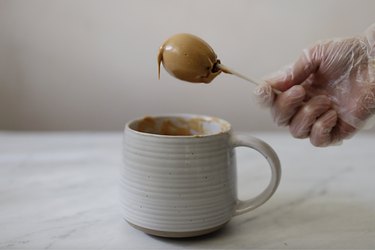
7. Dip the cake pops
Dip the cake pops into the melted peanut butter candy and gently swirl/tap off any excess peanut butter. Press the treat sticks into a piece of Styrofoam or floral foam so that they stay upright while drying. You could also use a cake pop stand. Allow the candy coating to harden completely, about 15 to 20 minutes.
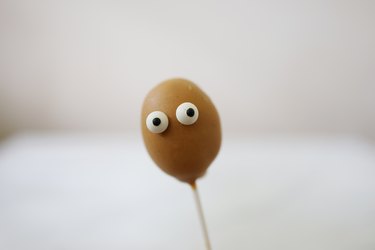
8. Add the eyes
Use a toothpick to place two small dots of melted peanut butter candy onto the front of the cake pop and press the candy eyes onto the melted dots of candy.
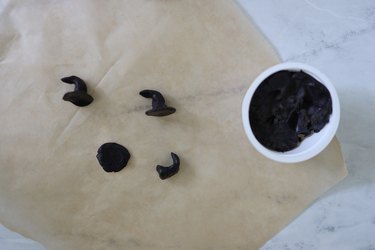
9. Make the hair
Pinch off a marble-size piece of black modeling chocolate, place it on a sheet of parchment paper, and press it into a flat disc shape about the size of a quarter.
Pinch off another marble-size piece of modeling chocolate and roll it into a log shape about the size of a Tootsie Roll. Form one end of the log into a point and then bend the log into an arch shape. Press the flat end of the log on top of the flat disc shape and smooth the edges of both together so they fuse into one piece. The shape should now slightly resemble a witch's hat.
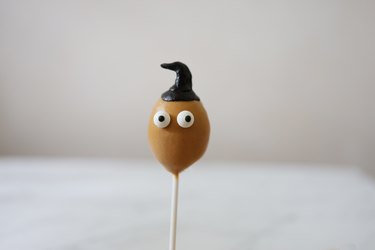
10. Attach the hair
Place the flattened end of the hair on top of the cake pop and press it firmly around the edges so that it's securely attached. The modeling chocolate is very malleable and will stick to the cake pop on its own, but you could also use a bit of melted peanut butter candy to secure it if you'd like.
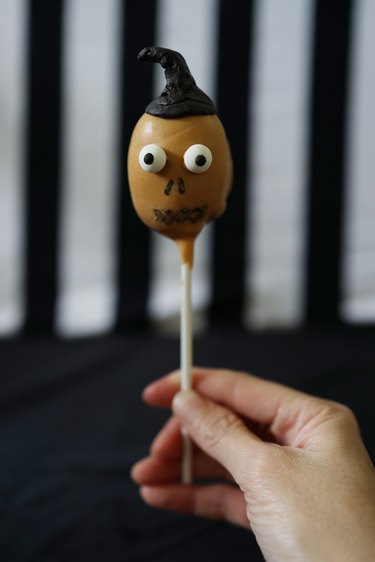
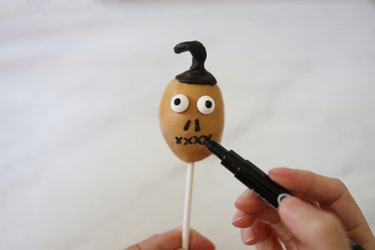
11. Draw the nose and mouth
Use a black edible marker to draw two nostrils under the eyes. The nostril shape should essentially be an imperfect oval, and be sure to draw one nostril slightly longer than the other. Then, draw four small "x" shapes under the nostrils to create the look of mouth stitches. You may have to go over the nostrils and mouth stitches several times with the marker to get the desired color.
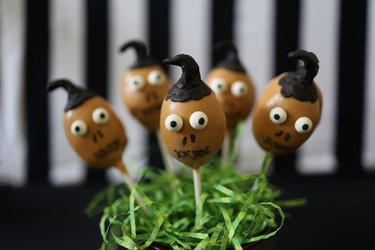
Place your finished shrunken head cake pops on a platter or display them in a stand and enjoy! They're so frighteningly delicious that they may just "make your millennium."