No pilot's license is required for this simple and creative DIY project that transforms ordinary sticks and twine into a charming witch's broom. It is the perfect excuse to wander through a crisp autumn forest (or your backyard), gathering the ideal branches to craft your enchanting new accessory.
Not only does this homemade broom add a whimsical touch to your Halloween decor, it also brings a sprinkle of magic to your crafting experience. So, grab your cauldron of creativity and let's get sweeping into the fun!
Video of the Day
Video of the Day
Video: Wicked Witch Broom DIY
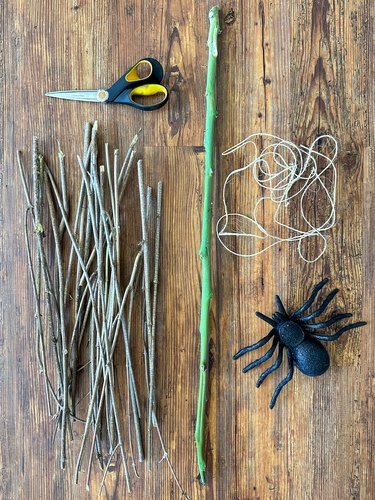
Things You'll Need
Small sticks for bristles
Large stick for handle
Twine
Scissors
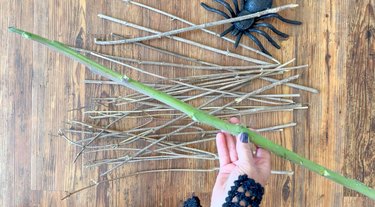
1. Gather sticks and branches
Take advantage of the crisp fall weather and head outdoors! Whether you explore a local park or just step into your backyard, it's time to hunt for the perfect sticks.
You'll want to find smaller sticks that are about 20 inches long for the broom bristles and a sturdier 40-inch stick for the handle. We picked a sumac branch for the handle and some elderberry branches for the bristles.
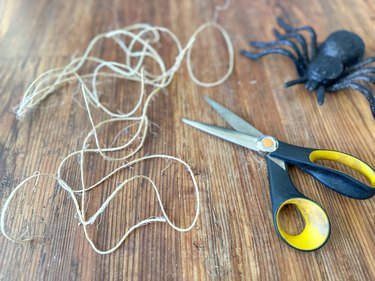
2. Cut the twine
Once you've gathered the ideal sticks, the real magic begins! Grab a 12-foot length of twine and get ready to weave some enchantment into your broom-making adventure.
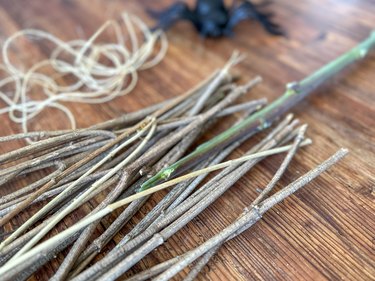
3. Position the sticks
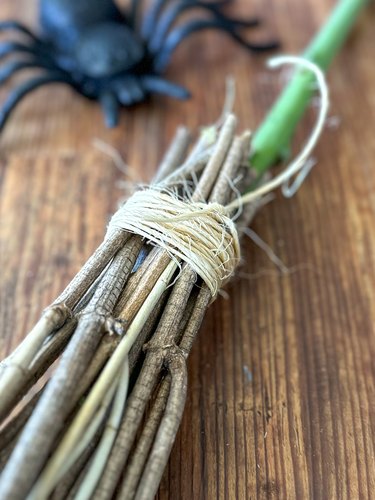
It's time to bundle up your bristles and handle, transforming them into a broom worthy of any witch's workshop. Simply position the smaller sticks around the bottom of the larger stick.
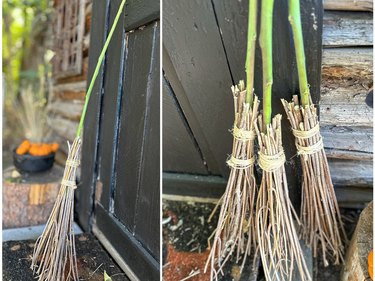
4. Wrap the sticks with twine
Wrap that twine around your bundle of sticks like you're cinching up a wizard's cloak! Pull it snug and tie a firm knot to hold the bristles in place. Keep wrapping the twine tightly, and finish with another secure knot to ensure your magical broom is ready for its first flight!
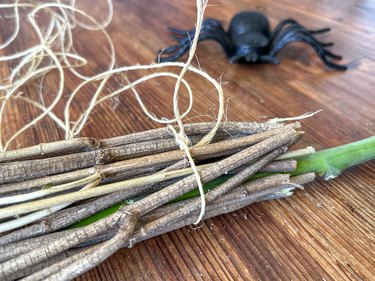
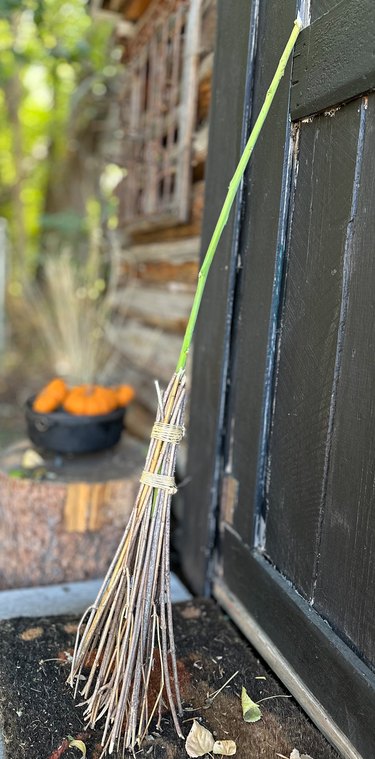
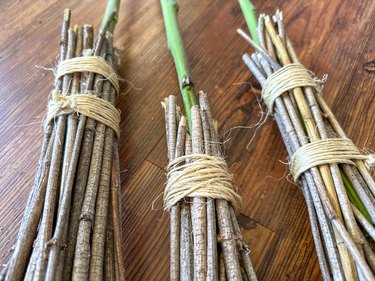
Give your broom some flair by wrapping the bundles in multiple spots with twine — it's like adding a stylish belt! This extra touch not only secures everything but also adds a dash of character, making your broom truly one of a kind and ready to dazzle in any witchy escapade.
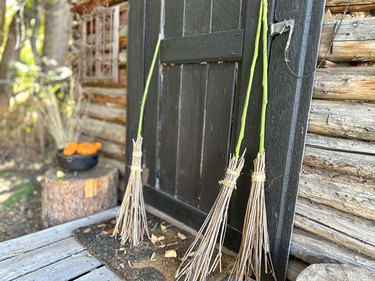
Whether it's proudly displayed by your front door, nestled in your garden under the moonlight, or even taking center stage as a festive centerpiece, your broom is sure to cast a spell wherever it rests. Flaunt your magical creation to friends or share a snapshot on social media — after all, creativity this enchanting deserves the spotlight! With your mystical broom ready, you're all set to sweep into the spookiest season with flair. Happy haunting!