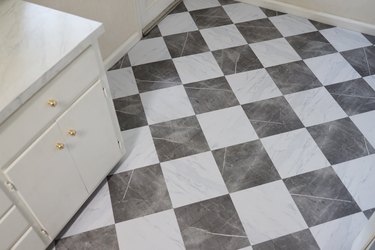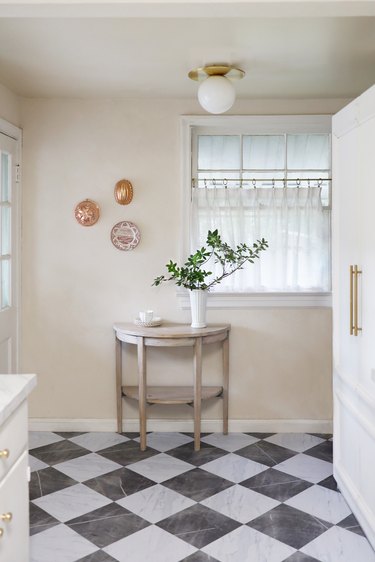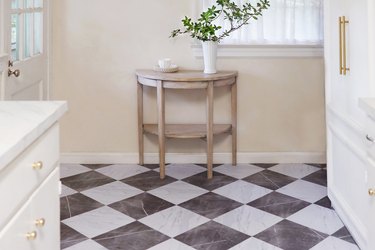
If you have outdated or worn flooring in your home and it's not within your budget to replace it entirely, consider covering your flooring with peel and stick vinyl floor tiles. They're incredibly affordable and highly durable, and they come in many stylish patterns. It's a great option if you're looking for a quick fix while you save up for a full renovation. They're also renter-friendly: you can pull them up and take them with you when you move.
While it's not difficult to install peel and stick floor tiles, there are a few tips that can help the process go smoother. I'm sharing how I installed faux marble floor tiles in a harlequin pattern on my kitchen floor — you can use this same method with any vinyl floor tiles. With just a weekend of work, you'll be amazed at how dramatically they can transform your space!
Video of the Day
Video of the Day
Things You'll Need
Peel and stick floor tiles
Tape measure
Pencil
Chalk line reel or laser level (optional)
Ruler
Utility knife
Scissors
Keep these things in mind before getting started
- Vinyl floor tiles can be installed over concrete, wood, subflooring, and tile floors. You should prime any porous surfaces (like wood and concrete) with a latex floor primer first. It's not recommend to use them on old vinyl, unsealed tile, rough surfaces, or heated floors. They are also not meant to be used as outdoor flooring.
- The tiles are very thin, so you may not have to remove any baseboards before installing them. If, however, there is no space to slide the floor tile underneath the baseboard, then you can either remove the baseboards before laying the floor or add a quarter-round molding along the baseboards after you're finished installing it.
1. Calculate how many tiles you need
Measure the length and width of your room, and multiply these together to find the square footage of your room. This will help you determine how many tiles you'll need. It's usually a good idea to order one extra box of tiles in case there are any cutting errors or if you ever need to replace a tile down the road.
2. Clean the floor
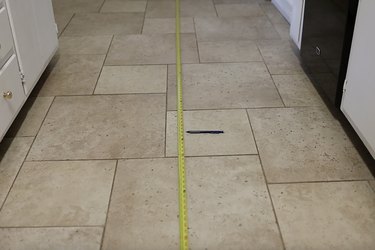
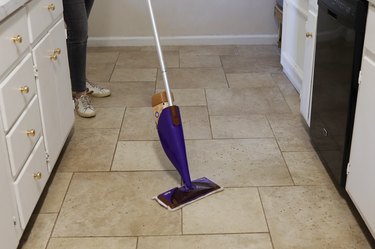
To ensure the adhesive on the tiles can adhere properly to the surface, be sure to give your floor a thorough cleaning. Start by vacuuming to remove all dust and dirt and then use a wet mop and floor cleaner to break down any grease or grime. Allow the floor to dry completely.
3. Find the center of the room
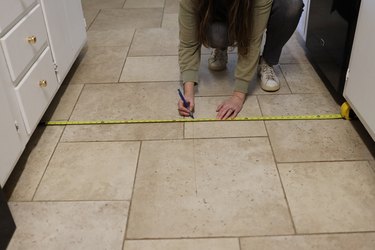
Use a tape measure to find the exact center of the room. Then, either make a chalk line from the center of each wall or use a laser level. Where these lines intersect is the center point. You could also lightly draw pencil lines if you don't have these tools (which is what I did).
4. Lay out the tiles
Starting at the center point, lay out the tiles on the floor without removing the backing papers yet. This will help you visualize how the floor will look and whether you need to shift the tiles a bit off center to avoid having any super-tiny cuts along one edge.
Once you're happy with the layout, lift away all but the center tile — being careful not to move the center tile — then trace a pencil line along all four sides of the center tile, to mark its position.
5. Peel and stick the tiles in place
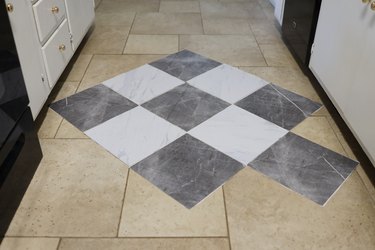
Beginning with the center tile, remove its backing paper, and carefully set it within the penciled outline. Press down firmly around all edges to ensure a strong bond.
Install the remaining full tiles in the same way, working out from the center tile. Make sure to stick the tiles as closely together as possible without any gaps along the seams.
Tip
Keep a trash bag or garbage bin nearby for the backing papers, as they pile up quite quickly.
6. Make templates for cut tiles
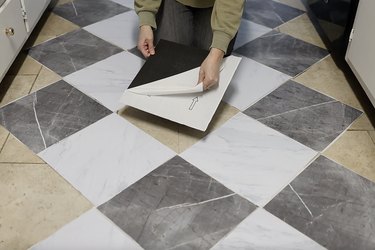
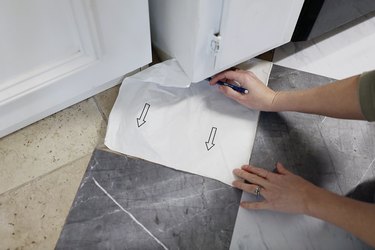
Since the backing papers from the tiles you've already stuck to the floor are the same size and shape as the tiles, they're perfect to use for making templates for any tiles that need to be cut.
Simply place the backing paper on the area of the floor where you'll be installing the tile and trace along the edges of the wall, cabinetry, or appliances where it needs to be cut. Then, cut along the line(s) with scissors to create a paper template.
7. Trace the template onto the tile
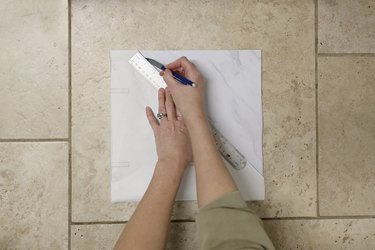
Place the paper template on top of the floor tile so their edges are aligned. Set a ruler along the edge of the template where you'll make the cut. Draw a pencil line along the ruler's edge to mark the tile.
8. Cut the tile
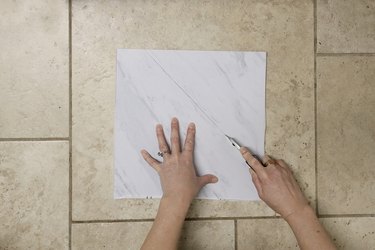
For any cuts that are just one straight line, simply score the line with a utility knife and then snap the tile along the line.
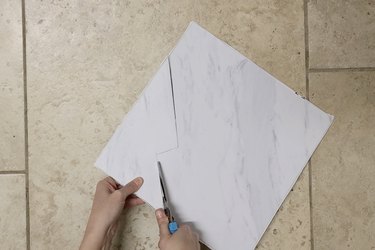
If you have any tiles that involve multiple cut lines (such as those that need to be fitted around cabinets, appliances, toilets, etc.), use scissors to cut the tile instead of a utility knife.
9. Stick the cut tile in place
Before removing the backing paper, place the cut tile into position on the floor and check to make sure that it fits well. Make any adjustments if needed, then remove the backing paper and stick the tile in place.
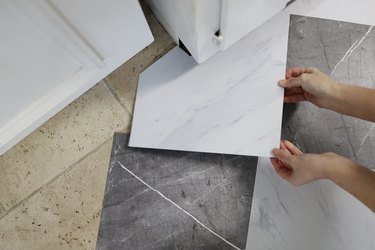
Once you've laid your last tile, stand back and admire how amazing your new floor looks!
