How to make floral arrangements with grocery store flowers that last
Most grocery bouquets wilt within three days, and the problem was set in motion at the kitchen counter. The flowers weren't the issue. They just never got the fifteen minutes of prep that separates a vase that dies over the weekend from one that holds up for two weeks. This guide walks through how to make floral arrangements with grocery store flowers that look deliberate and last from choosing stems in the store to the ongoing maintenance that gets you to the two-week mark.
Well-selected, properly handled cut flowers can last 10 to 14 days, according to NC State Extension (updated June 2025). Illinois Extension confirmed earlier this year that the right care extends vase life by days or weeks. Most people never get close to either number because the conditioning step gets skipped entirely.
What you'll need before starting: a clean vase, a sharp knife or clean scissors, a commercial flower food packet, and lukewarm water.
Step 1: Choose the right stems before you leave the store
Video of the Day
Grocery store flowers have already been in transit. That makes inspection more important, not less.
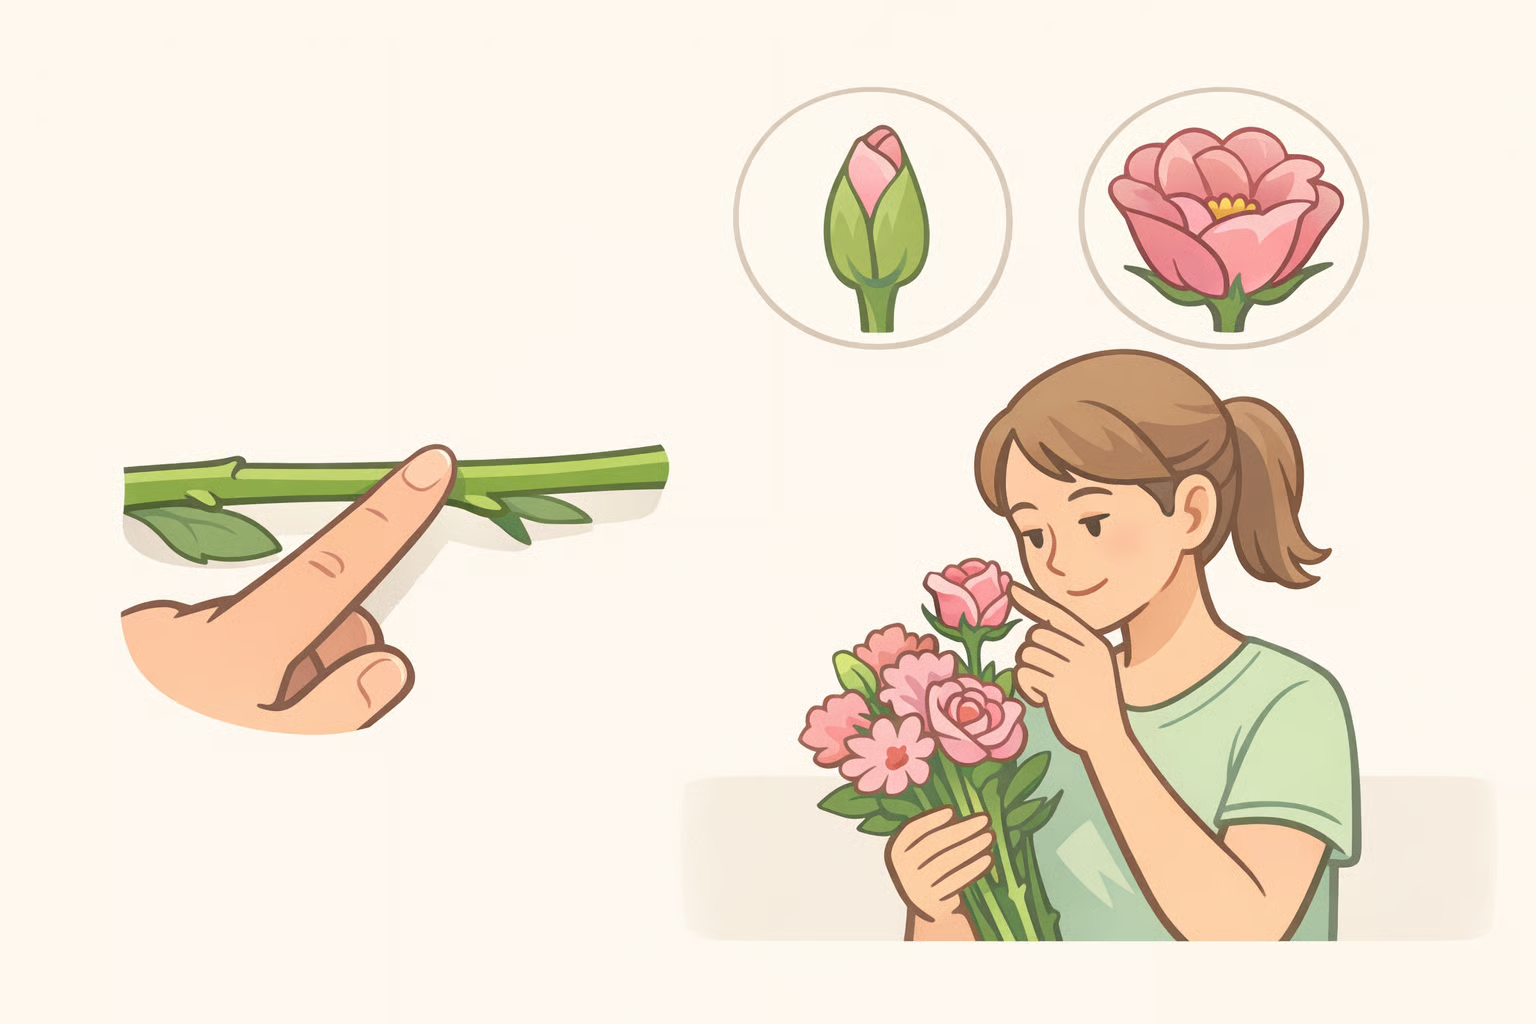
1. Look at the stems first. Run a finger along each stem: it should be firm and smooth, not slimy, cracked, or scarred. Bacteria in the display water can clog stem tissue and block water uptake, so a damaged stem is already compromised before it reaches your vase (NC State Extension, updated June 2025). Reject anything that feels soft or shows obvious bruising.
2. Check the blooms for age. Buy flowers that are just beginning to open they'll continue developing at home and give more display time. For roses, look for a bud with only one petal starting to loosen; for gladiolus, pick spikes with no more than the first two or three flowers open; for sunflowers and daisy-form flowers, the center should still carry a slight green tint (NC State Extension, updated June 2025). Any fuzzy gray coating on petals is Botrytis gray mold put that bunch back (Mississippi State Extension, June 2023).
3. Check the leaves and water. Leaves should be upright and a healthy green. Yellowing, spotting, or drooping means the stem is already stressed. The display water should be clear and clean-smelling; cloudy or foul water signals bacterial buildup that has been working against the stems for a while (Illinois Extension, February 2026).
4. Consider building from separate bunches. If you're buying loose stems rather than a pre-made bouquet, a practical starting combination: one bunch of a focal flower (roses, alstroemeria, or sunflowers), one bunch of a smaller accent flower (spray carnations, lisianthus, or statice), and one bunch of something with foliage or movement (eucalyptus, leather leaf, or grocery-store Italian parsley the soft texture and fresh green fill gaps that flowers can't). Three bunches chosen with purpose tend to read as a designed arrangement rather than a random collection. One pre-mixed bunch works too; Step 3 covers how to break it apart and rebuild it.
Video of the Day
Step 2: Condition your flowers before arranging
The step most people skip is the one that determines everything that follows. Conditioning letting stems properly hydrate before you arrange them is one of the most effective things you can do for vase life.
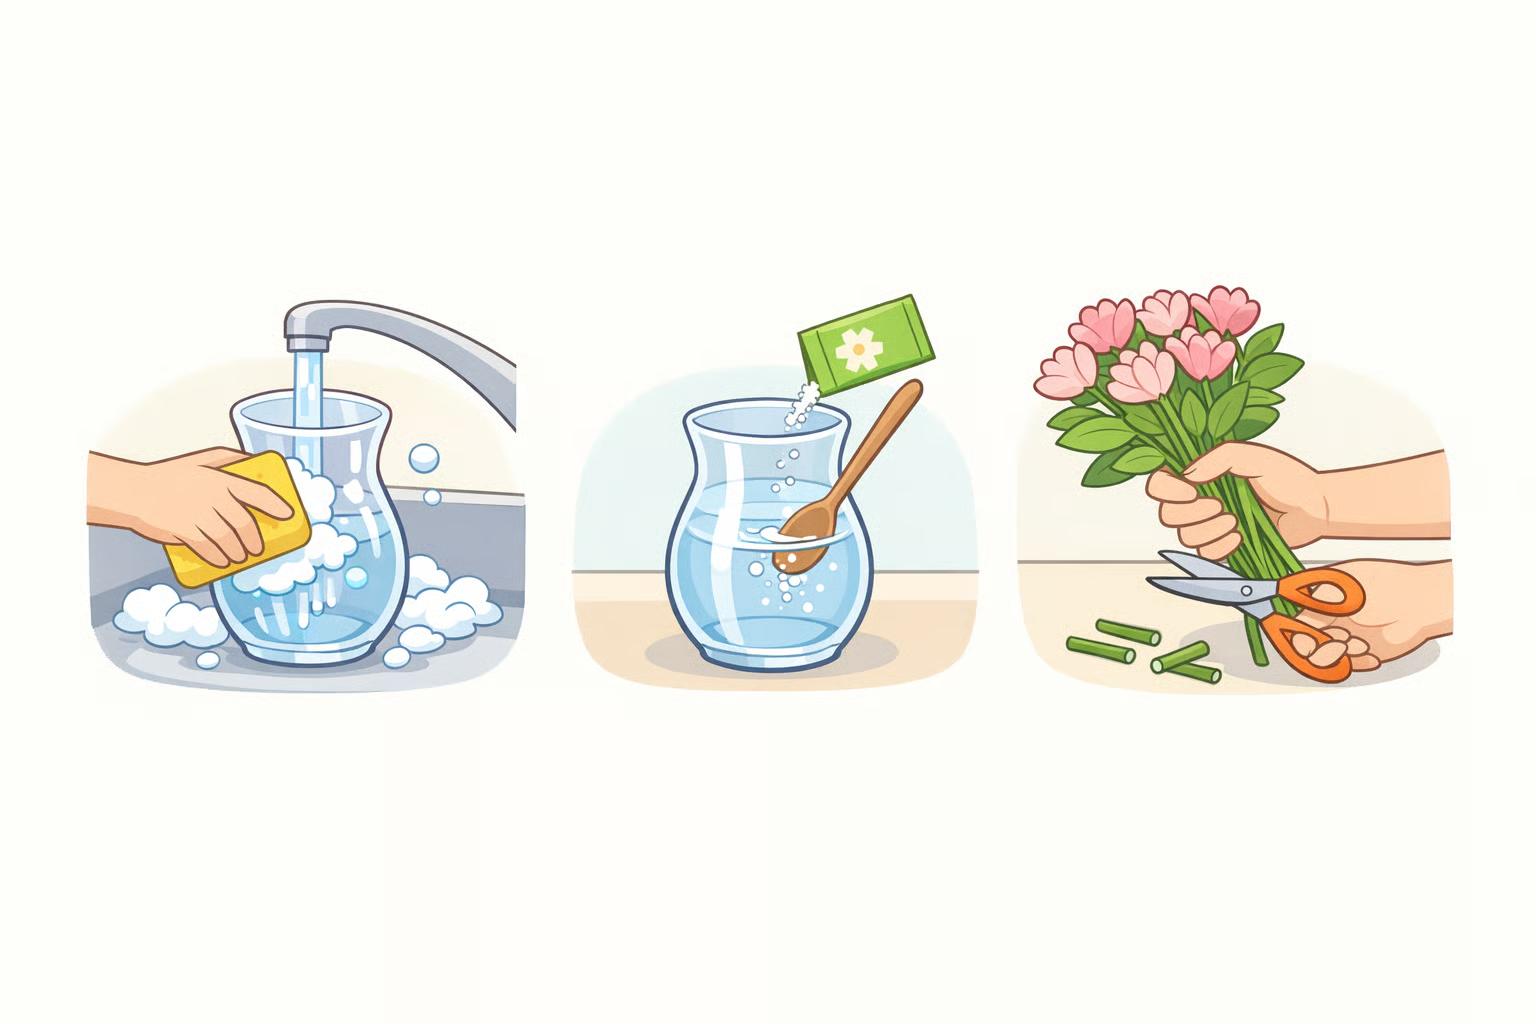
Step 2a: Clean the vase. Wash it with hot, soapy water. Residual bacteria from a previous bouquet will start colonizing new stems almost immediately, clogging tissue and blocking water uptake, even if the vase looks clean (Illinois Extension, February 2026; Purdue Extension, February 2023). Visual cleanliness is not bacterial cleanliness.
Step 2b: Mix flower food into lukewarm water. Use the packet included with the flowers, or buy commercial preservative separately. It contains three components: sugar to fuel the blooms, citric acid to lower pH and inhibit bacteria, and a biocide as a secondary microbial control (Illinois Extension, February 2026). Mix at the ratio on the packet. Home alternatives lemon-lime soda, a teaspoon of sugar per quart of water, a few drops of bleach offer partial benefit, but NC State Extension (updated June 2025) is clear that none match commercial preservative. Pennies no longer do anything useful; modern ones are mostly zinc, not copper, so there's no antifungal effect.
Step 2c: Recut all stems at a 45-degree angle. Remove at least half an inch from each stem using a sharp knife. The angled cut increases the exposed surface area for water absorption and keeps the stem end from sitting flat against the vase bottom (Purdue Extension, February 2023; NC State Extension, updated June 2025). Move each stem into water immediately after cutting even brief air exposure can allow an air pocket to form in the stem tissue and block uptake (Illinois Extension, February 2026).
Step 2d: Strip leaves below the waterline. Submerged foliage decays, producing bacterial growth that clogs stems and shortens every other flower in the vase (Purdue Extension, February 2023; Illinois Extension, February 2026). Remove it cleanly. Foliage above the waterline adds fullness and causes no harm.
Step 2e: Let the flowers drink for one to two hours before arranging. Set the cut, stripped stems in the prepared vase in a cool, dim spot. NC State Extension (updated June 2025) recommends this conditioning window before arranging. Fully hydrated stems are more flexible, easier to position, and less likely to droop once placed.
Daffodil warning: If the bunch includes daffodils, condition them separately. Their sap contains alkaloids that harm other cut flowers without separate conditioning, daffodils can cut the vase life of every other stem by up to half (Illinois Extension, February 2026). Soak daffodils alone in their own water for 12 to 24 hours before combining them with anything else.
Step 3: Arrange your grocery store flowers so the result looks intentional
Stems hydrated, conditioning done. Now arrange. The sequence below works whether you started with separate bunches or a single pre-mixed grocery bouquet.
If you bought a pre-mixed bunch, break it apart first. Remove the binding and separate stems into rough categories: large blooms, small blooms, greenery. Grocery bouquets are typically bound too tightly, cut to one uniform height, and never redistributed which is exactly why they look like a grocery bouquet. Rebuilding with intention is what changes that.
1. Choose the right vase opening. A medium-necked vase, with an opening roughly the width of your fist, is usually easiest for beginners because the neck helps hold stems in place. A wide-mouth vessel gives more freedom but needs support: crisscross two or three strips of tape across the opening to create a grid, or use a few dense foliage stems as a base scaffold.
2. Establish your height. A good starting proportion: cut your tallest stems to roughly one and a half times the height of the vase. This is a practical rule of thumb, not a formula adjust by eye, but it gives visual balance without making the arrangement top-heavy.
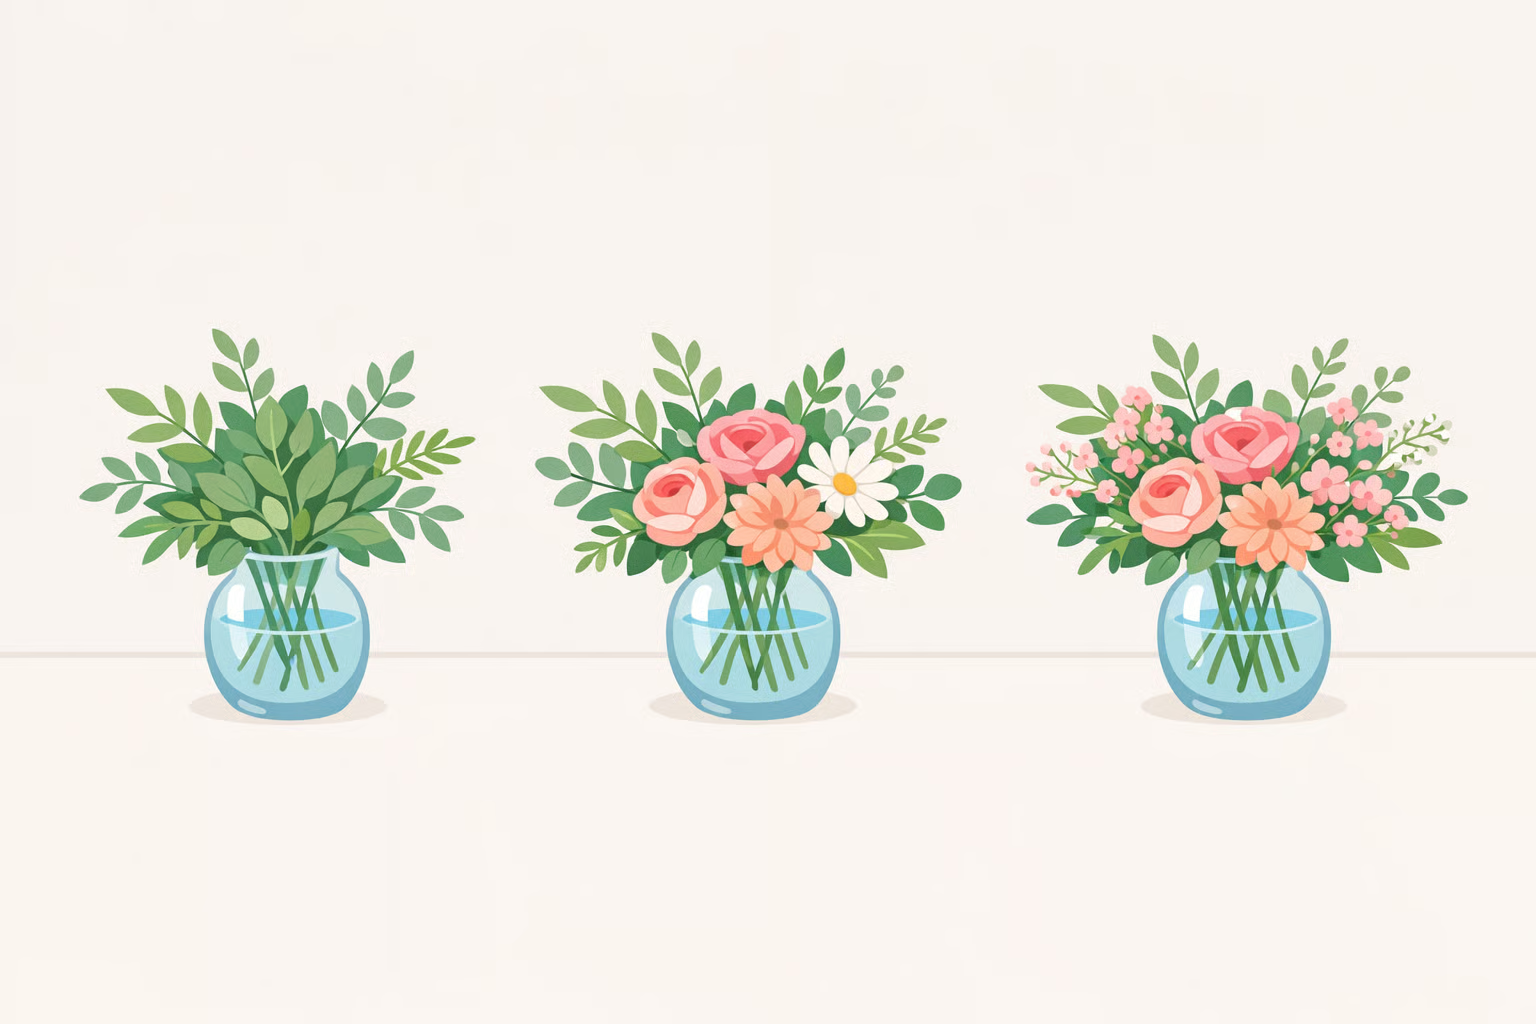
3. Place greens and foliage first. Eucalyptus, leather leaf, or herb bunches create a natural framework and fill the vase opening in a way that supports everything placed after. Let a few stems extend and trail loosely. A slightly asymmetric quality separates a designed arrangement from a geometric dome the foliage layer is where that quality starts.
4. Place focal flowers next, distributed rather than clustered. Space your largest, most visually dominant blooms so the eye moves across the arrangement. Grouping all focal flowers in one spot creates an imbalance that's hard to correct later. Vary heights slightly so each bloom sits at a different level.
5. Add accent flowers to frame and fill. Smaller blooms spray carnations, alstroemeria, lisianthus support and frame the focal flowers. Stagger them in height so the arrangement has visible depth front-to-back as well as top-to-bottom.
6. Rotate and adjust. Turn the vase a quarter-turn and check from each side. An arrangement only seen from the front looks flat from every other angle. Tuck in stems that feel exposed, and coax any overly vertical stems into a slight lean outward for a more open, natural silhouette.
7. Fill the vase close to the top with water. A nearly full vase uses equalizing pressure to help push hydration up through the stems and keeps stem ends submerged even as the water level slowly drops between changes (Illinois Extension, February 2026).
Step 4: Keep the arrangement fresh for the long haul
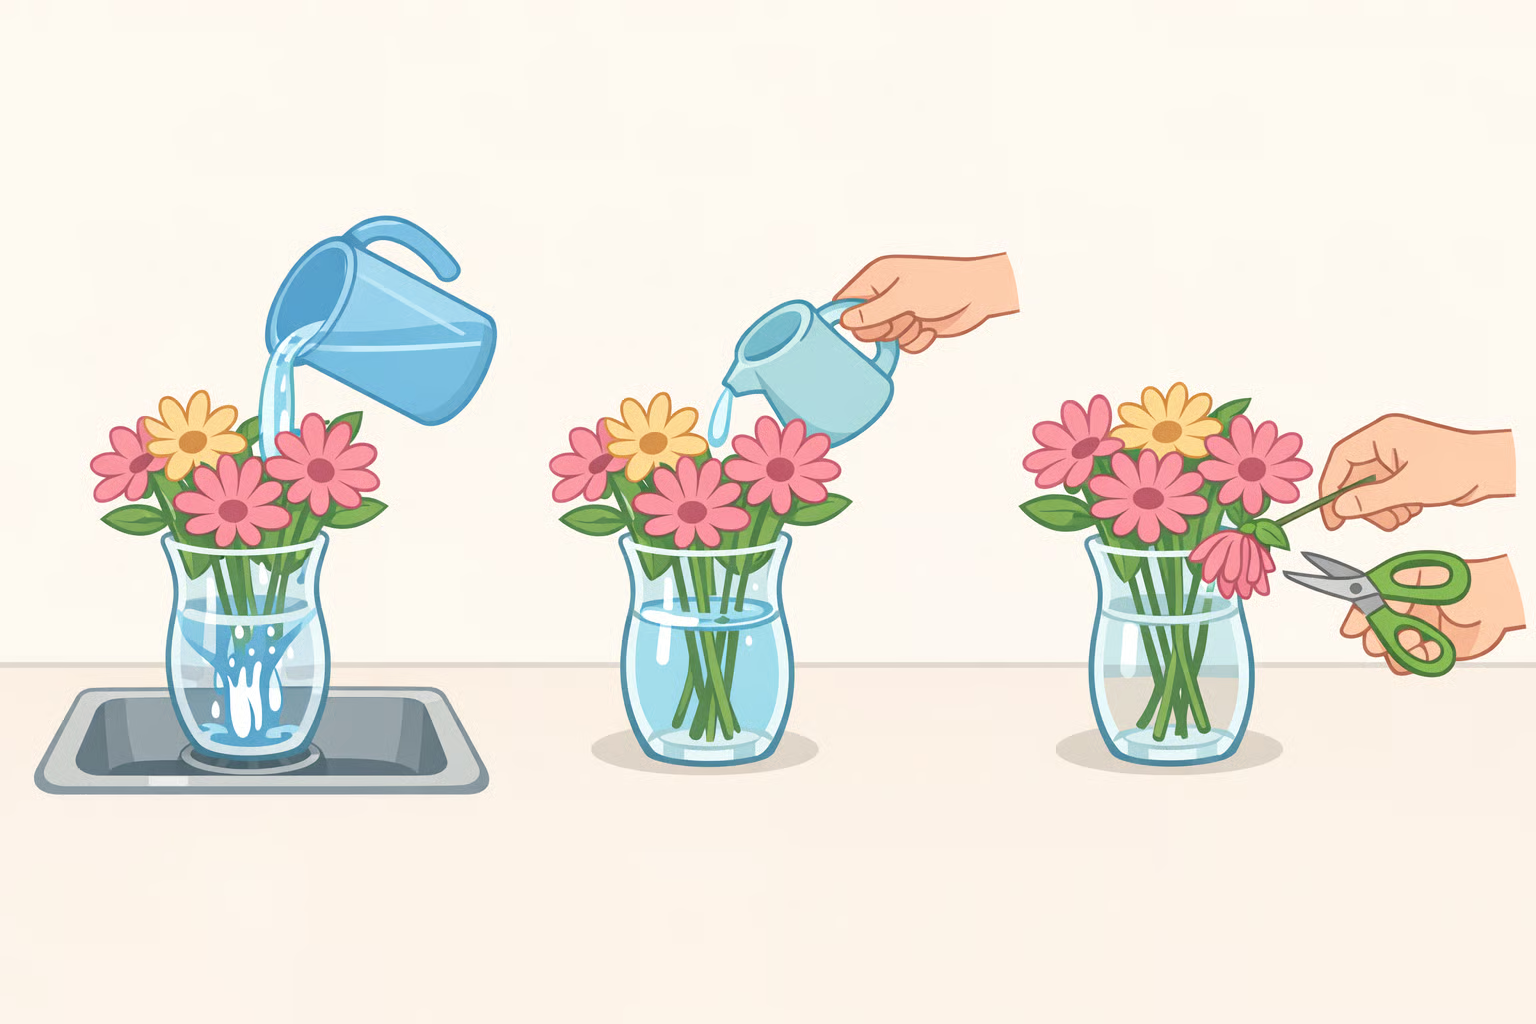
Change the water every two to three days and recut stems each time. NC State Extension (updated June 2025) recommends this cadence and suggests washing the vase at each change or swapping to a freshly cleaned one. Recutting removes blocked tissue at the stem base that can no longer transport water. The cut doesn't need to be large a small fresh trim is enough.
Top off the water level between full changes. Flowers drink more than most people expect. A vase that drops half-empty loses the pressure benefit and risks exposing stem ends to air. Top it off as needed between each two-to-three-day change (NC State Extension, updated June 2025).
Keep the arrangement away from heat, drafts, and fruit. Direct sunlight and heat sources dehydrate blooms faster than almost anything else (Purdue Extension, February 2023). Air vents and drafts do the same. The less obvious hazard: ripening fruit emits ethylene gas, a plant hormone that accelerates aging and causes petals to drop. Keep the fruit bowl and the flower vase on separate counters (Illinois Extension, February 2026).
Remove spent blooms immediately. As individual flowers fade, pull them. Decomposing flowers contaminate the water and accelerate the decline of every still-healthy stem around them (Purdue Extension, February 2023).
Revive drooping roses with a full submersion. If a rose develops a bent, limp neck, submerge the entire stem, bloom included, in a flat pan of warm water. This may rehydrate the tissue and restore the flower (N.C. Cooperative Extension, February 2022). It doesn't always work, but it often does.
Float blooms when the stems are done. When a stem is genuinely past its prime but the bloom still has something left, cut the stem very short and float the flower in a shallow bowl of water. NC State Extension (updated June 2025) suggests this as a simple way to extend visual life by another day or two.
If you want better raw material next time
About 80% of cut flowers sold in the United States are imported from Colombia, Ecuador, Kenya, the Netherlands, and elsewhere (NC State Extension, updated June 2025). The varieties that dominate grocery store bunches tend to be those bred to travel well, which limits the range. "In flower shops, you see about the same dozen varieties of flowers," says Kristen Jas Vietty, farmer and owner of Lunaria Gardens in Philadelphia. "It's kind of like in the food industry. Shipment is king, so you have a lot less variety," (FoodPrint, March 2024).
Local growers at farmers markets, roadside stands, or through the ASCFG's localflowers.org directory tend to offer varieties that don't travel well but look exceptional in an arrangement dahlias, ranunculus, and seasonal zinnias among them. Buying locally also widens what's available because those flowers don't need to survive an international supply chain (NC State Extension, updated June 2025). When the pandemic disrupted imports, florists who turned to local sources discovered the difference. "They started sourcing locally, and then I think it just kind of stuck. They realized how much better quality and fresher the flowers were," says Clara Osborne of Pasture Song Farm (FoodPrint, March 2024).
The grocery store is a perfectly good starting point. The prep process above is what makes it work.