Things You'll Need
Copper pipe
Soldering torch
Pipe cutters
Pliers
Rubber mallet
Tape measure
Pencil
Copper pipe repair sleeves
Copper pipe coupling
Emery cloth
Flux
Flux brush
Solder
Solder wire

Copper piping is designed as a durable, long-lasting pipe system for cold and hot water transport from the main water line to all of the water outlets in a house, which are the sinks, tubs, showers, toilets, boiler, hot water heater and spigots for laundry and outdoor watering spigots. Copper pipes also find their way into creative water fountains and artistic sculptural pieces. In all instances of its use, a copper pipe can be damaged -- either bent or crushed from the impact of something heavy falling on it. Once it is damaged, the copper pipe becomes very weak at that point, sometimes beyond repair of the old pipe.
Evening out the Damage
Step 1
Turn the main water line to the house off to stop the flow of water through the damaged part.
Video of the Day
Step 2
Drain water out of the line. Turn on the water from one of the outlet units the pipe feeds, such as the sink or flush the toilet connected to that line.
Step 3
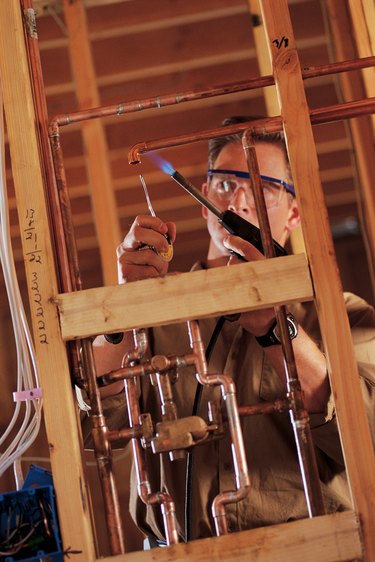
Heat the damaged area with a soldering torch until the pipe is very hot and slightly pliable.
Step 4
Tap the sides of the crushed pipe with a rubber mallet while the pipe is still hot, alternating on sides, and gently straighten out the pipe bend with your hands. Continue to reheat the area in between blows. It will require a keen artistic eye to determine where and how hard to hit to get the softened pipe back into shape.
Step 5
Allow the pipe time to thoroughly cool before turning the water back on.
Replacing the Damaged Part
Step 1
Use a pipe cutter to cut the pipe on both sides of the crushed area. Do this with the main water line turned off. This is the only option for a crushed pipe with a crack, pinhole or for one whose water flow is too restrictive and too difficult to reshape. Use pliers to take out any bends from the cutting.
Step 2
Measure the distance between the two cut ends of the pipe with a tape measure.
Step 3
Cut a copper repair sleeve to rejoin the pipes. Allow for at least a 1-inch overlay at both ends. Apply the flux to the inside of one end of the sleeve, and slide that end over one side of the cut copper pipe. Apply the flux with the brush to the inside of the sleeve's other end, and slide that over the other copper pipe. Center the sleeve's position over pipes, and solder the ends to the old pipes.
Step 4
Cut a replacement piece of pipe to fill in the cut pipe area. This is another option if the copper sleeve option is not long enough for the repair. Mark the measurement on a new piece of copper pipe, and cut it with a pipe cutter.
Step 5
Install the new pipe replacement piece. Clean the old pipe with an emery cloth, and apply the flux compound to the old pipe, the new pipe and the inside of two pipe couplings. Slide them onto the existing pipe, one at each end.
Step 6
Lift the replacement pipe piece up quickly into the gap, and slide each sleeve over the ends -- centered over the ends of the new and old pipe. Wrap the solder wire around and heat it with the solder torch to seal the gaps around each end of the sleeve completely. Repeat for the other pipe sleeve.
Step 7
Turn the water on and check that the connection is leak proof. If not, correct it with more soldering around the gaps.
Video of the Day