Things You'll Need
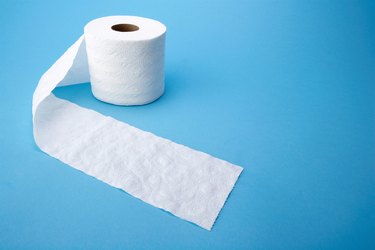
Toilet paper
Tape
Scissors (optional)
Diaper pins

The motif and atmosphere of a baby shower makes the difference between a boring or entertaining party for the parent-to-be and attendees. Showers with a cute décor and activities add to the anticipation of the due date and stimulate guest interaction. Throwing a shower can be an expensive venture; however, a host can save money using a budget-friendly and versatile resource such as toilet paper to create diaper-themed decorations and games.
Diaper Decorations
Step 1
Pull two connected pieces toilet paper squares from the rest of the roll. Fold one square on top of the other to create a layered square.
Video of the Day
Step 2
Find the midpoint of the bottom of the square. Measure a thumbnail's width on both sides of the midpoint to create the groin area of the diaper.
Step 3
Fold the bottom corners of the square up diagonally, creating a rectangular form in the middle and two triangles on the side where the legs would pull through. Tape the folded sides in place or cut along the arch of the fold lines.
Step 4
Flip the diaper over. Fold the top 1/2 inch of the diaper over. Pin the top sides with diaper pins.
Diaper Derby
Step 1
Choose a team member to diaper. Keep the toilet paper connected to the roll throughout the duration of the game. The goal of the game is to see which team of attendees can create a toilet paper diaper on a team member the fastest, using a whole roll and without breaking the paper from the roll. There is no right or wrong way to create the diaper.
Step 2
Wrap the toilet paper around the participant's hips multiple times to secure it in place. Pull the toilet paper roll through the groin area from front to back. Wrap the toilet paper around the hips. Alternate pulling the roll through the groin area and around the hips until creating multiples layers and securing the diaper in place.
Step 3
Wrap the toilet paper around the participant's lower abdomen and backside in a continuous motion. Pull the toilet paper roll from the front to the back of the right leg. Rewrap the bottom area to get the toilet paper roll on the opposite side of the participant's body. Pull the roll from the front to the back of the left leg.
Step 4
Stand back and look at the participant's diaper. Relayer areas to make improvements on the design of the diaper or to use up the roll of toilet paper. Tuck the end square of the roll into toilet paper layers around the waist, hips or legs, depending on where the roll runs out. Raise your hand or yell "Finished Diaper" when the diaper is complete and roll is used up. The first team finished typically wins prizes from the shower host.
Video of the Day