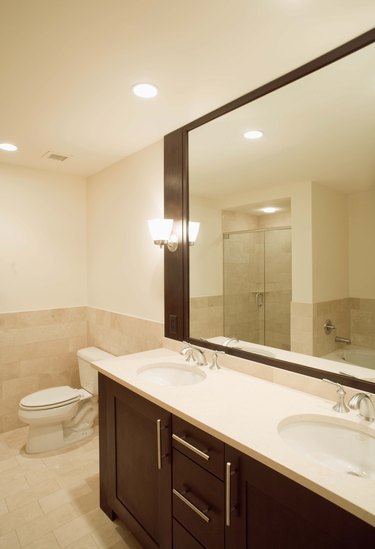
Shims are useful items. These wedge-shaped pieces of wood help keep furniture and fixtures level, which can be very important for a bathroom vanity with a sink. If your vanity legs are even a tiny bit uneven or if the floor has tilted over the years, you need to use a wooden shim. That being said, just because you have to use one doesn't mean you want to look at one.
Hiding Shims on a Bathroom Vanity With a Sink
Video of the Day
Insert the wood shim underneath the shorter two legs until the vanity is even using a level to make sure it's perfect. Mark the spot on the shim where it sticks out from the vanity toe kick using a pencil. Use a utility knife or small wood saw to cut the shim along the line that you made in pencil.
Video of the Day
Since you'll use the wood shim in your bathroom, which is a wet environment, you want to seal it to prevent the moisture from seeping in and causing it to rot. Use either a small paintbrush or a cheesecloth to brush the wood sealer onto the shim. Once dry, sand the shim with 150-grit sandpaper and then stain the wood with a small paintbrush or cheesecloth so that it blends well with your bathroom vanity. Use a color similar to or the same as the wood stain used on the vanity. Allow it to dry completely.
Finally, slide the shim back into place under the leg of the bathroom vanity. You might need to use a hammer or rubber mallet to get it inserted all the way. Once it is, your vanity should be level and stable, and you shouldn't see the shim.
Filling a Gap Between the Floor and Vanity Toe Kick
If your bathroom sink has a vanity toe kick or a space for your toes to rest underneath the vanity cabinets or shelving, you might want to close it. That way, you might be less likely to stub your toes on the vanity legs, and you won't have to clean underneath the bathroom vanity kit anymore.
If the gap is tiny (not a proper toe kick), then you can use caulk to close the gap. However, if it's larger, you'll need to use wood or another solid object to close the gap. The simplest solution is to use tension rods and small pieces of fabric sewn to cover the opening. Measure the opening carefully to a 1/4-inch accuracy.
Filling the Gap With Hardware
If you want actual hardware, cut a two-by-four or other pieces of wood to match these dimensions. You'll need to make adjustments for where the pieces of wood meet. After measuring and making adjustments, seal, sand and stain the wood accordingly. It will be crucial that your stain matches your bathroom vanity perfectly; otherwise, it will look unprofessional and out of place.
To attach them, you have a couple of options, but the best is to use wood glue on the top of the piece of wood and the bottom of the vanity. Keep in mind that wood glue is permanent; you won't remove the kick cover.