Things You'll Need
Phillips screwdriver
Standard screwdriver
Pliers

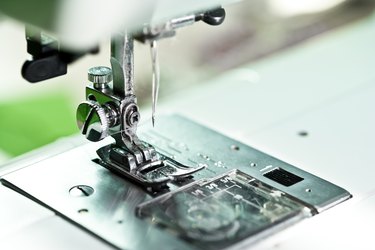
The Brother LS-2125 sewing machine is perfect for basic sewing. It has 10 built-in stitches, a four-step buttonholer, a reverse sewing lever and 25 stitch functions. You can disassemble parts of your sewing machine to clean it or perform routine maintenance, such as changing the belt. Check with a sewing machine repair technician prior to disassembling it on your own, since this will void the 25-year limited warranty.
Step 1
Unplug the sewing machine and remove the needle. Remove the thread.
Video of the Day
Step 2
Open the latch on the shuttle cover and pull out the bobbin and the bobbin case. Remove the shuttle hook by pulling the center post. Use a coin or a standard screwdriver to loosen the two screws on the needle plate.
Step 3
Remove the faceplate of the needle housing by unscrewing the screw on the upper back of the machine, behind the needle housing. Remove the light bulb.
Step 4
Remove the three screws on the back of the machine. Gently lift the back cover off.
Step 5
Unscrew the bolts that secure the motor to the frame using a Phillips screwdriver. Take out the motor. This exposes the wires connecting the motor to the power supply. Pull the connector from the power supply to disconnect the wires.
Step 6
Unscrew the thumbscrews near the top of the machine head to remove the presser foot bar lever. The pressure foot bar level runs through a grub. Remove the grub screw. Using a pair of pliers, gently twist and pull up to remove the pressure foot bar level and the large spring.
Step 7
Loosen the thumbscrews on the tensioner. Take out the spring and the disk. Place the head of a standard screwdriver into the stud of the tensioner and remove the stud. Take out the tensioner and the tensioner spring.
Step 8
Unscrew the bolts on the belt guard with a Phillips screwdriver to remove the belt and the belt guard. Take out the belt and the belt guard.
Step 9
Remove the small screw in the center of the knob of the hand wheel with a Phillips screwdriver. Take out the knob and the washer.
Tip
Lay your parts out in the order that you remove them for ease of reassembly.
Video of the Day