Things You'll Need
Screwdriver
Putty knife
Craft knife
Mask
Goggles
Sandpaper
Damp rag
Measuring tape
Roll of cork
Straight edge
Spray adhesive

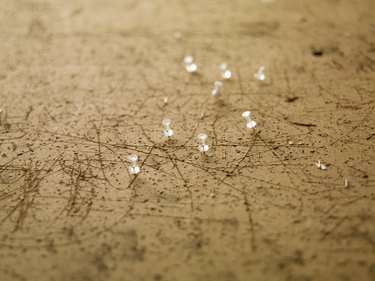
A cork board allows you to keep important notes, reminders, pictures and keepsakes within reach in your office or home. If your cork board is beginning to show its age and use, replacing the cork will bring new life to this favorite organizational tool.
Step 1
Remove the frame from the cork board. In some cork boards, the frame attaches with small screws in the back of the board. If you cannot find any screws, try to carefully pry off the frame from the board with a putty knife. Although more time consuming, the cork can also be removed from the board without removing the frame.
Video of the Day
Step 2
Insert a putty knife under the cork to pry the cork away from the board. If you were unable to remove the frame, use a craft knife to cut an "X" in the middle of the board. Insert the putty knife under the cuts to remove the cork. The cork will likely come off in pieces. Discard the used cork.
Step 3
Put on a mask and goggles and use sandpaper to remove the remaining small pieces of cork from the board. Sand the surface smooth and wipe away the dust with a damp rag. Let the board dry completely.
Step 4
Measure the inside of the cork board frame with measuring tape. Roll out a piece of cork and cut the cork to the measurement of the frame with a craft knife; use a straight edge to keep the cuts straight and even.
Step 5
Spray a thin layer of adhesive onto the board in a well-ventilated area. Align the left side of the new cork and press it onto the board, working across until the cork is in place. If you were able to remove the frame, put it back in place on the board.
Tip
To add a new look to the cork board, consider painting the frame a bright color.
Video of the Day