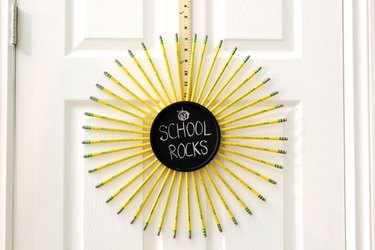
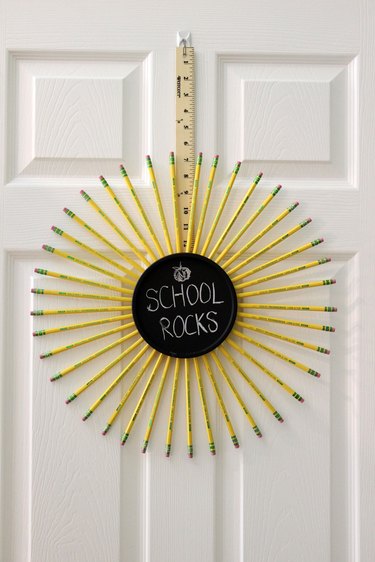
Give this wreath an A+ for creativity. Made of #2 pencils, the wreath has a chalkboard center for writing messages and even hangs from a yard stick. It's the perfect door decoration to celebrate the back-to-school season and it also makes a great teacher-appreciation gift.
Things You'll Need
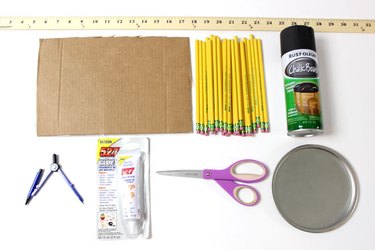
Pencils
Cardboard
Circle compass
Lid from 1-gallon paint can
Chalkboard spray paint
Yard stick
Permanent glue
Step 1: Cut Out a Cardboard Circle
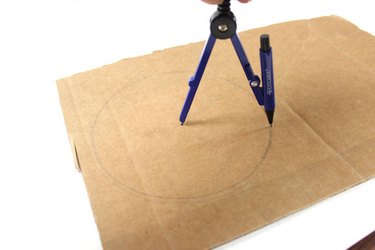
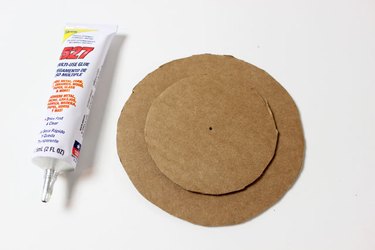
Using a compass, draw a circle on a piece of cardboard that is about 1 inch smaller in diameter than the paint can lid. The circle drawn in the example is approximately 5 inches in diameter. Using scissors, cut out the circle you've drawn.
Video of the Day
Step 2: Cut Out a Smaller Circle
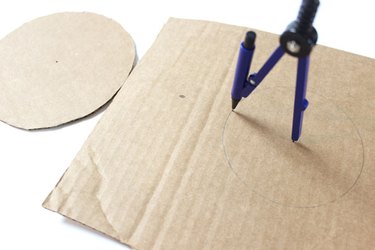
Use the compass to draw a second circle that is about 1 inch smaller in diameter than the first cardboard circle. Cut out the circle. This smaller circle will be used to help line up the pencils evenly.
Step 3: Glue the Cardboard Circles Together
Glue the smaller cardboard circle on top of the larger circle with permanent adhesive. Line up the holes created by the compass on each circle so that they are centered. Allow the glue to dry according to package instructions.
Step 4: Arrange the Pencils
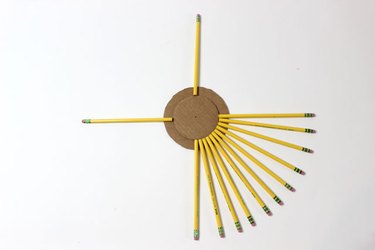
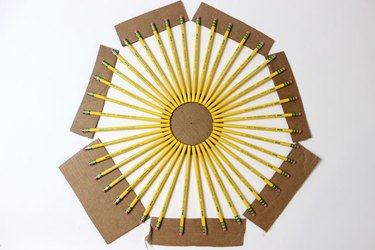
Arrange one pencil at the top, bottom, left and right to create four 90-degree quadrants, placing the bottom tip of the pencils against the smaller cardboard circle. (The smaller circle acts as a guide so that all the pencils extend the same distance from the center.) Position pencils within one of the quadrants to see how many pencils fit.
Step 5: Glue the Pencils One Quadrant at a Time
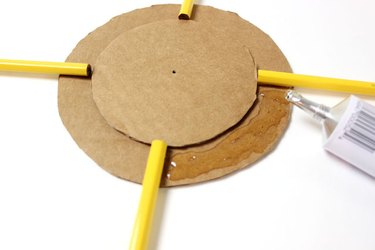
Remove the pencils you positioned within the quadrant and apply some glue onto the cardboard. Then place the pencils back on the cardboard where you applied the glue. Arrange the pencils so that the printing is face up. Adjust the pencils so they are evenly spaced. It helps to use a glue that is fast drying, yet gives you time to adjust the pencils.
Step 6: Glue On the Remainder of Pencils
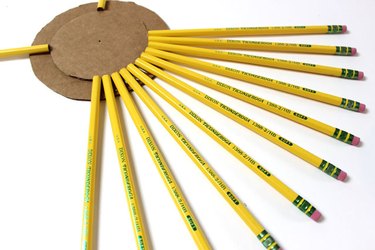
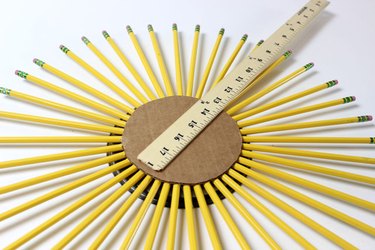
Continue to glue the pencils around the cardboard center one quadrant at a time. You will notice that because the bottom of the pencils are sitting on cardboard while the pencil tops are not, they are not flat on the same plane. To remedy this, cut scrap pieces of cardboard and place them under the tips of the pencils. Make final adjustments to the pencils so that they are evenly spaced. Allow the glue to dry overnight.
Step 7: Spray Chalkboard Paint on the Paint Lid
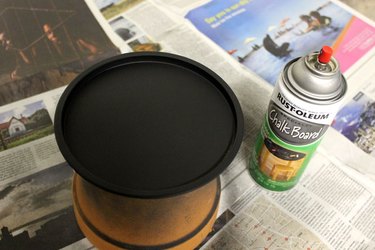
A lid from a 1-gallon paint can makes an ideal chalkboard to place in the center of your wreath. (You can purchase empty paint cans and lids at hardware and craft stores.) Apply two to three coats of chalkboard spray paint to the lid and allow it to dry. Instant chalkboard!
Step 8: Glue the Chalkboard on Top of the Pencils
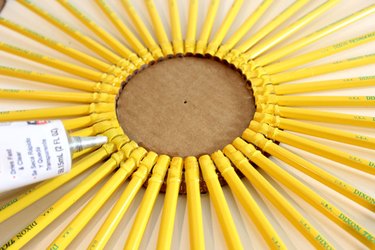
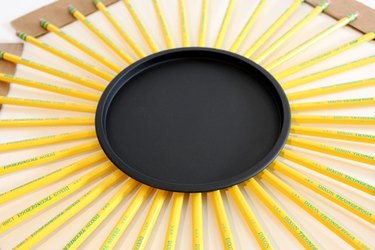
Apply glue on top of the pencils, being careful not to extend past the larger cardboard circle. Center the chalkboard paint lid on the pencils and press firmly so it makes contact with the glue. For a more secure hold, place a heavy book on top of the lid. Allow it to dry thoroughly.
Step 9: Cut the Yard Stick in Half
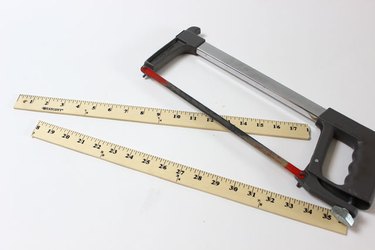
Using a saw, cut a wooden yard stick in half so you have two 18-inch pieces. One end of the yard stick should have a hole in it for hanging. Use this half of the yard stick for your wreath.
Step 10: Glue the Yard Stick to the Cardboard
Turn the wreath over and glue the yard stick onto the cardboard on the back. If the cut you made with the saw is not very clean that's all right -- the uneven edge is hidden on the back of the wreath. Allow your wreath to dry completely before hanging.
Step 11: Hang the Wreath
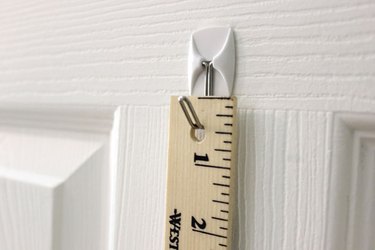
The hole in the yard stick is very useful for hanging the wreath. If you do not want to place a permanent hook or nail on your door, use a hook with a removable, adhesive backing.
Video of the Day