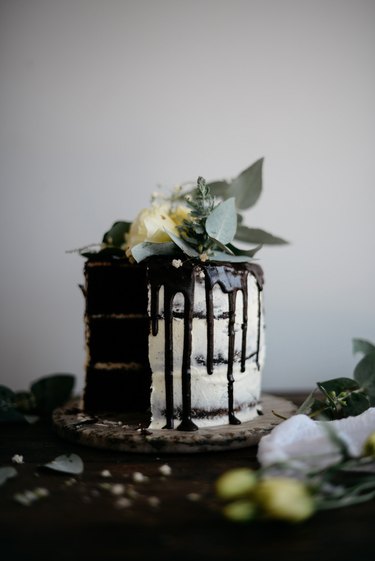
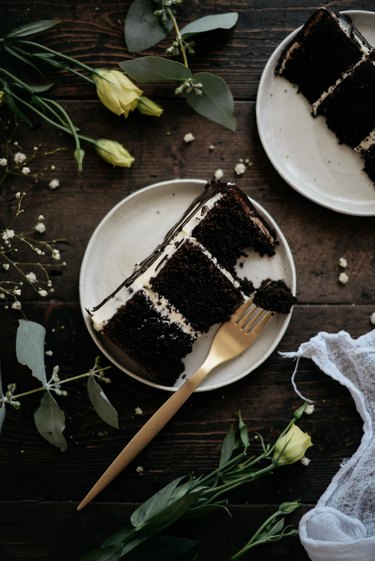
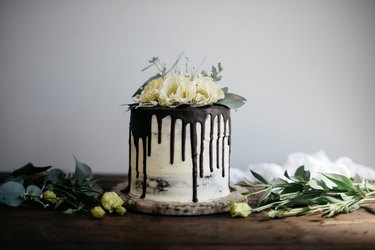
This naked cake with champagne buttercream frosting is the perfect cake to impress! It's comprised of three dark chocolate cake layers that sandwich a super sweet champagne buttercream (that's also flavored with a hint of rose!). There's also a thick layer of a very, very dark chocolate drippy glaze that coats the cake, and a bouquet of fresh flowers adorning the top, too! It's the most pretty, delicious and rich cake, that's surprisingly easy to make, too!
Video of the Day
Things You'll Need
11.8 ounces (335 grams) all-purpose flour
3.5 ounces (100 grams) dutch processed cocoa powder
2 teaspoons baking powder
1 teaspoon baking soda
1/2 teaspoon salt
15.8 ounces (450 grams) granulated sugar
7.7 fluid ounces (230 milliliters) whole milk
3 large eggs
2 teaspoons vanilla bean extract
6.3 ounces (180 grams) unsalted butter, melted
6.6 fluid ounces (195 milliliters) boiling water
7 ounces (200 grams) unsalted butter, at room temperature
15.8 ounces (450 grams) powdered sugar, sifted
1 teaspoon vanilla bean extract
1/4 teaspoon rose water, optional
4 tablespoons champagne
3.5 ounces (100 grams) dark chocolate, finely chopped
1.8 ounces (50 grams) unsalted butter, at room temperature
Pesticide-free flowers (optional)
Step 1: Pre-heat and prepare
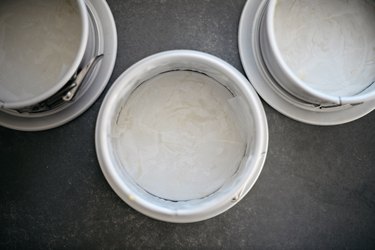
Pre-heat your oven to 350 degrees Fahrenheit (180 degrees Celsius). Grease and line three 6-inch (15 centimeter) cake tins with parchment paper. Set aside.
Video of the Day
Step 2: Mix the dry ingredients
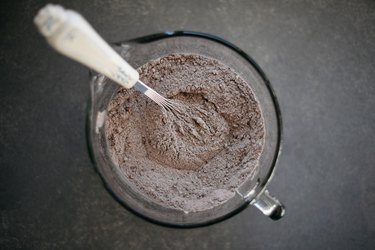
Whisk together the flour, cocoa powder, baking powder, baking soda and salt. Stir in the granulated sugar.
Step 3: Add the milk and eggs
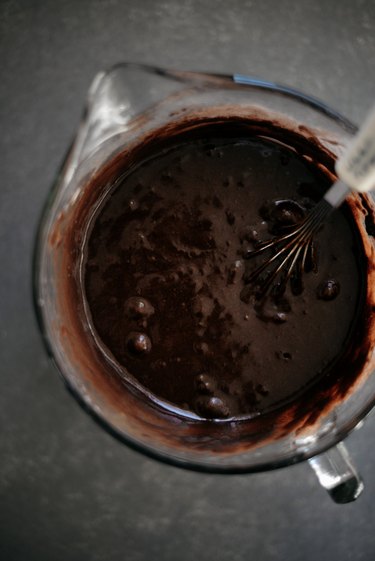
Stir in the milk, eggs and vanilla bean extract until evenly combined. The batter should be very thick.
Step 4: Add in the melted butter and water
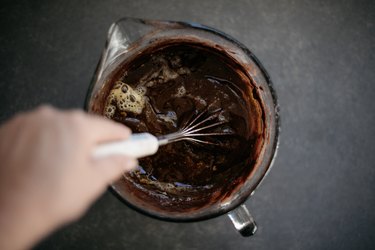
Pour in the melted butter and whisk until just combined, then pour in the boiling water and whisk until smooth. The batter will be fairly liquid and runny.
Step 5: Bake.
Divide the cake batter between the prepared cake tins.
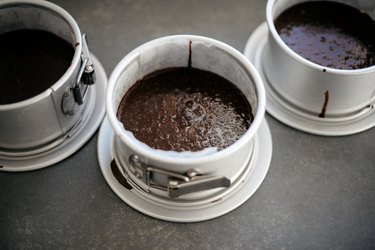
Bake, for 30 to 35 minutes, or until the tops spring back when lightly pressed. A cake skewer or toothpick inserted into the middles of the cakes should also come out clean. Remove from the oven.
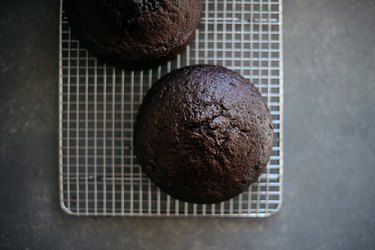
Step 6: Level the cakes
Let the cakes cool in their tins for 15 minutes before turning out onto a wire rack to let cool completely. Once the cakes have cooled, level off any domed tops with a serrated knife or cake leveler, then set aside to cool completely before assembly.
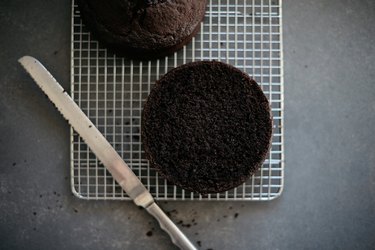
Step 7: Make the champagne buttercream
In the bowl of a stand mixer fitted with the beater attachment (or using handheld beaters), beat 7 ounces (200 grams) of the remaining butter on medium speed until smooth and malleable, 2 minutes. Add in the powdered sugar and beat until smooth fluffy, 4 minutes. Add in the rosewater (if using) and vanilla bean extract. Beat until just combined. Add in the heavy cream and increase the speed to medium-high. Beat until very pale and fluffy, 3 more minutes. Then, add in the champagne, a tablespoon at a time, until combined. Set aside for assembly.
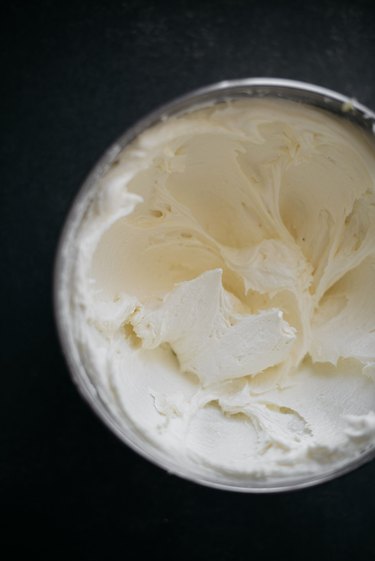
Step 8: Make the chocolate glaze
Place the dark chocolate and remaining 1.7 ounces (50 grams) of butter in a small saucepan set over medium-low heat. Heat, stirring often, until melted and smooth. Remove from the heat and pour the chocolate glaze into a small bowl. Let cool to room temperature before using on the cake.
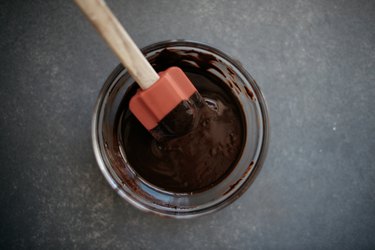
Step 9: Frost the cake
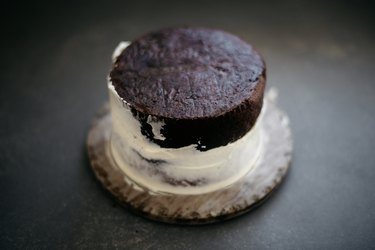
To frost the cake, place the first leveled cake layer, cut side facing up, on a cake stand or serving platter. Then, use an offset spatula to spread about 3-4 tablespoons of the champagne buttercream over the top of the cake. Gently press on the next cake layer and repeat by spreading over 3-4 tablespoons of the champagne buttercream on the second cake layer. Top with the final cake layer, cut side facing down. Finally, coat the entire cake in a thin layer of the champagne buttercream to give it a "naked" effect. Set the cake in the refrigerator to chill until the buttercream is firm, 30 to 40 minutes.
Step 10: Decorate
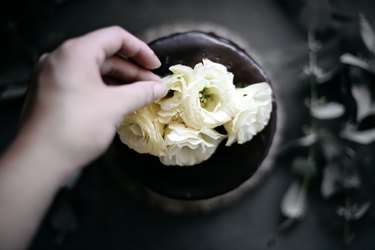
Remove the cake from the refrigerator. Pour the chocolate glaze over the entire top of the cake, then, use a clean offset spatula to help spread it over the edges so that it forms a 'drippy' glaze. You can now decorate the cake however you like! Here, we used fresh, pesticide-free flowers to decorate the top of the cake. Set the cake in the refrigerator to set the drippy glaze before serving, 15 more minutes.
Step 11: Slice and serve
Slice and serve the cake! It's best eaten on the day it's made, but you can place it in an airtight container and store it in the fridge for up to three days. Or, stored in the freezer for up to one month. Bring to room temperature before serving.
