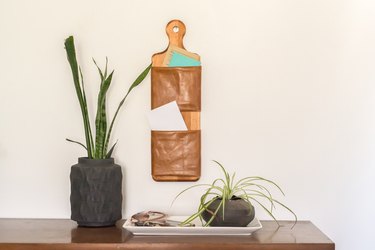
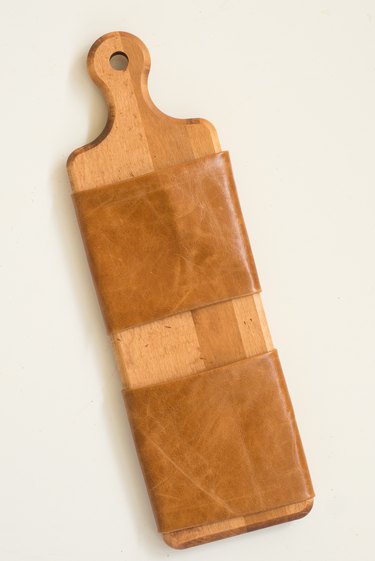
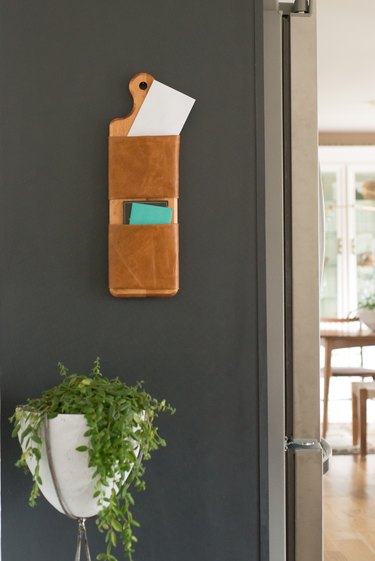
Do you let your mail pile up on the edge of the counter? With just a few supplies, you can create this rustic mail organizer perfect for hanging on the wall in your entryway. Instead of piles of clutter, keep your mail organized and add a bit of flair to your space at the same time.
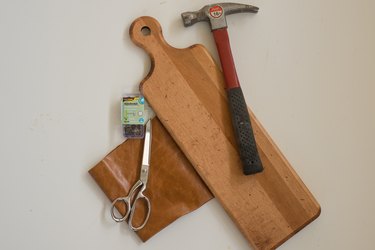
Things You'll Need
Cutting board (at least 16-inches long by 6-inches wide)
Leather
Small decorative nails
Hammer
Tape measure
Scissors
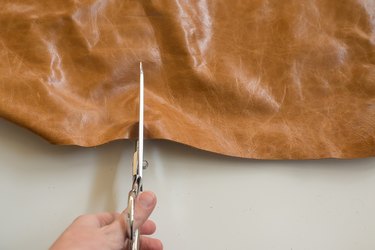
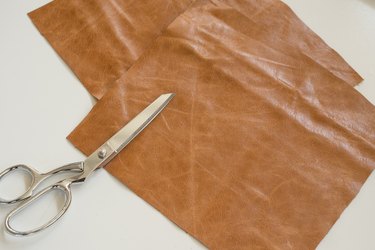
Step 1: Measure and cut leather
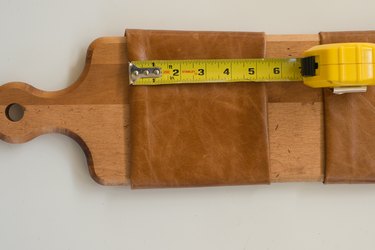
Measure the cutting board to get an idea of what size pieces of leather need to be cut. This cutting board is 16-inches long by 6-inches wide. Cut two pieces of leather in to a 9 1/2 inch by 9 1/2 inch square.
Video of the Day
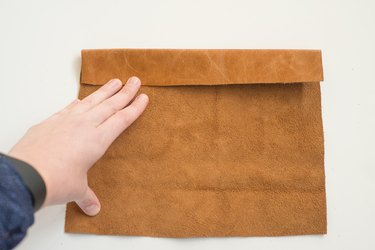
Step 2: Fold leather and nail bottom corners
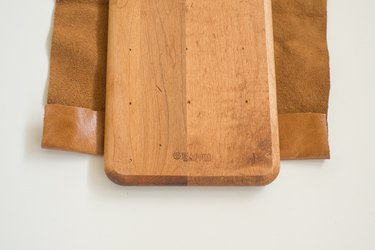
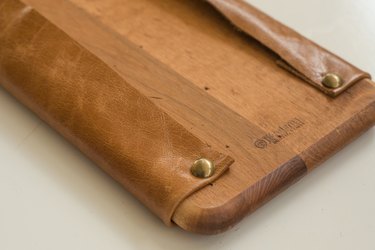
To create an even edge, fold the leather down on one side about an inch. Place the cutting board front-side down over the fold where the bottom of the pocket will be.
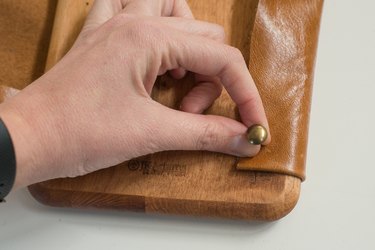
Fold the leather around the cutting board, pulling tightly. Using a small nail and a hammer, nail the two bottom corners in place.
Step 3: Fold leather top and nail upper corners
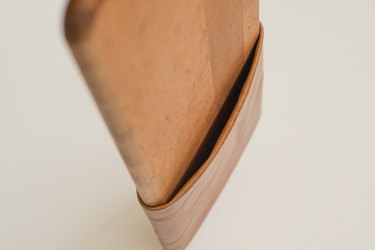
Fold the top edge of the leather down and pull around the back. Pull the top edge of the pocket gently, so that there is a gap between the leather and the cutting board. This "gap" creates the pocket for the mail.
Use two nails to secure the back, making sure to maintain the gap.
Step 4: Measure pocket and repeat
Before you repeat the same process for the top organizer, measure the bottom organizer pocket. Once you have your measurements, fold the leather on the top pocket to the same dimensions and then nail in place, following the steps above.
Tip
If the cutting board doesn't already have a hole (like the hole in the handle of the board I used), grab a drill and a few drill bits. Start with a small drill bit and drill a pilot hole. Put a slightly larger drill bit on the drill and enlarge the hole. Keep repeating this process until you have a hole size that you like.
Video of the Day