Things You'll Need
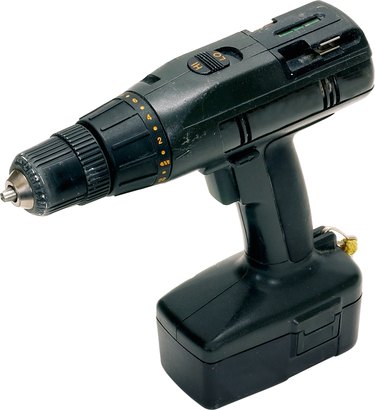
Drill
Marker
Ice pick
Coarse saw
Cardboard
Voltage tester
Wall exhaust fan

A wall exhaust fan eliminates humid air, fumes and odors, primarily in commercial facilities. These fans work wonders to remove humid air from laundry areas, tobacco-filled recreational rooms, fumes from car body shops or garages, and odors and heat from the kitchen. Shop online or at your local hardware or home improvement store to compare brands, styles, features and prices.
Step 1
Place the fan's housing on the wall and trace around the inner part of the fan housing with a marker or make a template using a piece of cardboard and the fan housing. Drill a starter hole in each corner of the outline you made on the wall. Place the coarse saw into one of the starter holes and cut from hole to hole until the cutting is complete for the interior wall.
Video of the Day
Step 2
Mark around the inner duct of the housing front that will connect to the ductwork going to the outside or make a template for the outside wall using the fan's dimensions. Place the exhaust fan in the hole so that you can see where the screws will need to go. Mark the location of the screws by placing an ice pick into the screw holes on the fan. Twist the ice pick left to right while gently pushing inward so that it will leave a mark on the interior wall.
Step 3
Place your drill on each screw mark and drill the hole. Install the toggle bolts in each of the screw holes. Drill four holes inside the marked line so that you can locate where you'll need to line up your exterior wall template. Make an exterior wall template using the damper door housing dimensions and a piece of cardboard. Align the holes to the exterior template then trace the template with the marker.
Step 4
Drill a starter hole in each corner of the exterior wall template. Place the saw in one of the corner holes and cut from hole to hole to make the opening for the damper door housing. Place the fan in the hole and attach the damper door housing using the fasteners provided. Turn the power off at the main circuit breaker or fuse box located in the basement or utility room. Test the hot wire (black) with a voltage tester to make sure there is no electrical current.
Step 5
Connect the exhaust fan to the power supply feed by connecting the white wire (neutral) from the power supply feed to the white wire on the fan's motor then the black wire (hot) from the power supply to the switch or thermostat's black wire with wire nuts. Plug in the exhaust fan. Turn the power on at the main circuit breaker or fuse box to test the connections. Check the fan blades to make sure that they are spinning freely.
Video of the Day