Things You'll Need
Store bought or custom frame
Archival-quality matte
Hammer
Nail
Art light
Pencil
Level

With the advent of modern communications technology, the art of letter writing has fallen by the wayside. Framing and displaying a vintage letter is a beautiful tribute. Or perhaps the letter you wish to frame is a modern tiding of inspiration or good fortune. Either way it will be a unique addition to your home decor. Always use archival quality paper for matting when framing. Existing decor must be considered when selecting a matte and frame style. Adding an art light above your letter will illuminate the text and highlight its special qualities.
Step 1
Visually assess your current decor. Take into account the colors in the room, the style and any wood furnishings. Pick a place for the letter to be displayed. Measure the space and determine how much room you'd like the frame to take up. Take into account the size of the letter and the addition of a matte. Measure the height and width of the letter. Standard paper size is 8½ by 11 inches, but your letter may be written on larger or smaller sized paper.
Video of the Day
Step 2
Go shopping. Visit a store that specializes in custom framing. They will most likely also have ready-made frames available for purchase. Speak with an employee about your needs. If your letter is an unusual size, or is particularly delicate or valuable, you'll want to get it custom framed. If your letter is of ordinary size, a ready made frame will be a less expensive option. Consider using a UV protective glass when framing to protect your letter from damage by the sun.
Step 3
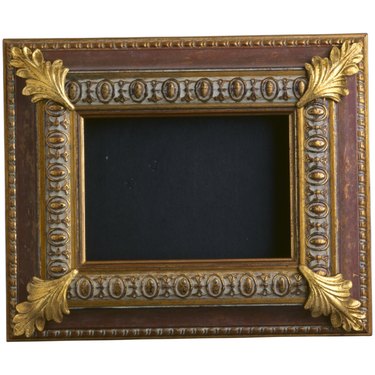
Choose your frame style with your existing decor in mind. Flow and harmony with your current design scheme should be your goal. Choose a matte color and style that also reflects the current design of your home. Consider the style of the letter as well. Choose a vintage-style frame for an antique letter, and a more modern design for a letter written recently. Look to achieve a balance in proportion to the size of the frame, matte and letter while keeping the amount of space in mind and the desired dimensions of the final product.
Step 4
First, find the center of the space in which you desire your letter to hang. Second, measure up to an average eye level (approximately 60 inches from the floor), then make a pencil mark where the first two points intersect. Hold your framed letter up to the wall so this mark is in the center of the frame (it will be hidden by the frame, but the best possible estimate will do). Mark where the top of the frame touches the wall with a faint pencil line. Measure the distance from the top of the frame to the hanging wire or hook on the back of the frame. Make an "X" at the corresponding spot below the pencil line on the wall. Hammer your nail in a slight upward angle into the center of the "X." Place your frame on the nail and use a level to ensure it is hanging straight.
Step 5
Position your art light above the letter so the light hangs over, but does not obscure, the document. Mark the desired position. Remove the letter from the wall. Follow the directions for mounting the art light that were included with the purchase. Run the cord of the light down through the center of the framed letter. Secure with tape behind the frame to ensure the cord is as invisible as possible. Plug in. Replace the frame on the nail. Turn on the light and enjoy your new artwork.
Video of the Day