Things You'll Need
Socket wrench
Replacement spark plug
Gap tool

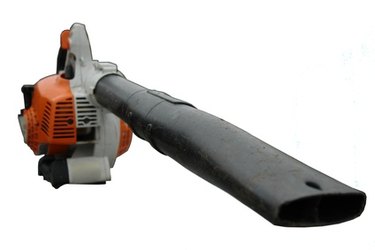
A leaf blower that will not start may have a faulty spark plug. To change the spark plug in your leaf blower, you first need to locate it. Most brands have the spark plug in plain view, while others hide the spark plug behind the motor cover. When purchasing a new spark plug, it is best if you take the old plug with you. This way you can ensure you are purchasing the correct size spark plug with the correct heat range for your leaf blower.
Step 1
Pull the motor cover off your blower if your spark wire is not visible. Push the two retaining tabs on each side of the motor cover and pull the cover away from the motor.
Video of the Day
Step 2
Grasp the spark plug wire boot with your fingers and pull the boot off the spark plug. Some spark plug boots will require that you twist them slightly before pulling the boot off the plug.
Step 3
Remove the spark plug from the engine with a socket wrench. Take the spark plug to a home improvement center or small engine shop to purchase a replacement. Compare the new plug to the old one for correct size.
Step 4
Set the gap on the spark plug electrode between 0.023 inches and 0.028 inches if you do not have the owners manual to refer to the brand specifications. Use a gap tool and slide the tool between the spark plug electrodes and bend the outer electrode until you have the gap set.
Step 5
Insert the spark plug into the engine and thread the plug until it is hand-tight. Tighten the spark plug one full turn with a socket wrench.
Step 6
Set the spark plug wire boot back on the plug until the boot snaps into position. Place the cover back on the engine until the cover locking tabs lock into place.
Video of the Day