Things You'll Need
Air hose
Pneumatic tool oil

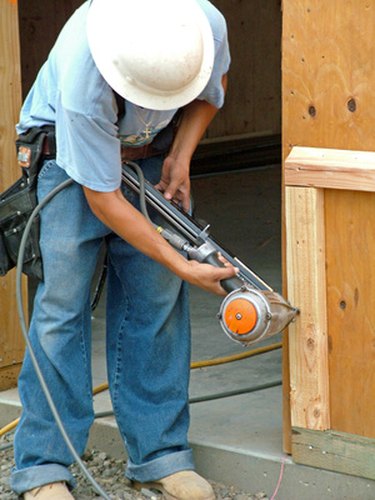
Fewer power tools have revolutionized the speed and production of wood products and carpentry like the compressor and nail gun. From rough framing to finish nailing to roofing, this modernization has helped carpenters improve turnaround time on projects spanning all aspects of their work. The process of connecting a nail gun to a compressor is simple, but can be dangerous if done improperly.
Safety Checks
Step 1
Inspect the safety on the barrel. This safety slides back, allowing the trigger to engage, shooting the nail. If it seems stuck, stop and check it for blockages.
Video of the Day
Step 2
Test the trigger. With no air pressure on the gun, the trigger should be loose with a lot of play.
Step 3
Test the quick disconnects. When the collar is pulled back, it should snap back in place.
Video of the Day
Connecting the Tools
Step 1
Connect the air hose to the compressor, making sure that the quick disconnect collar snaps back. The air line should become rigid and is now pressurized.
Step 2
Place three to four drops of pneumatic tool oil into the male quick disconnect of the nail gun. This helps lubricate the slides of the gun and prevents jamming.
Step 3
Connect the male connector of the gun to the air hose, making sure the collar clicks. Make sure that the safety does not engage while the air connects.
Tip
Disconnect starting from the gun backward.
Use two hands when connecting to keep control of the hose and compressor.
Check for air leaks at threaded unions.
Try to empty the gun after each use.
Warning
Always treat the gun as if it is loaded.
When disconnecting the hose from the compressor, hold on to it until the air is expelled.