Things You'll Need
Bathtub refinishing kit (cleaner, sandpaper, hardener, tray, paint brush, paint roller)
Epoxy filler
Putty knife
Paper tape

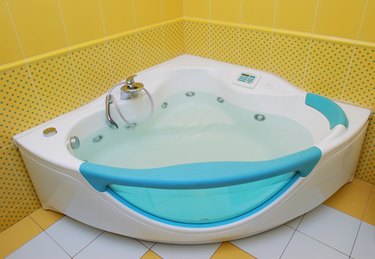
Once the veneer has worn off your plastic tub, it is easy for the material to become stained with the oils that naturally secrete from bodies. Soap scum and hard water are also among the agents known to tarnish the surface and brightness of a new bathtub. Bathtub refinishing kits provide most of the materials and tools you will need to restore your old plastic bathtub to its former glory. Using a kit, you will first remove the outer layer of your tub and then reapply a new coat. This is a welcome alternative to the time- and money-consuming task of installing a brand-new tub.
Step 1
Clean the surface of your plastic bathtub with cleaner to remove soap scum, body oils and grime. Use either a household cleaner or the cleaning agent provided in the bathtub refinishing kit, following the directions in the kit.
Video of the Day
Step 2
Sand your bathtub using waterproof 120-grit sandpaper and warm water to remove the shine. Sand until the sandpaper is worn down. Rinse residue off your tub with warm water.
Step 3
Fill in cracks, holes and dents with epoxy filler, and smooth out with a putty knife. Let the epoxy dry for 24 hours.
Step 4
Place paper tape on surrounding knobs, faucets and other fixtures, so hardener won't get on them.
Step 5
Mix and shake the hardener provided in the kit, according to instructions, and pour a third of it onto a plastic paint tray.
Step 6
Brush on hardener in hard-to-reach areas, such as corners, drains and around fixtures.
Step 7
Coat the rest of your bathtub with hardener, using a paint roller. Paint on three coats with one to two hour drying intervals between coats.
Step 8
Remove the paper tape, and let your bathtub dry for two days.
Tip
Purchase a refinishing kit that is compatible with plastic if refinish a plastic bathtub.
Video of the Day