Things You'll Need
Carpenter's level
T-bevel square
Table saw
Compressor nail gun
Paneling nails
Spackling
Spackling gun
Fine-grit sandpaper
Paint
Paintbrush

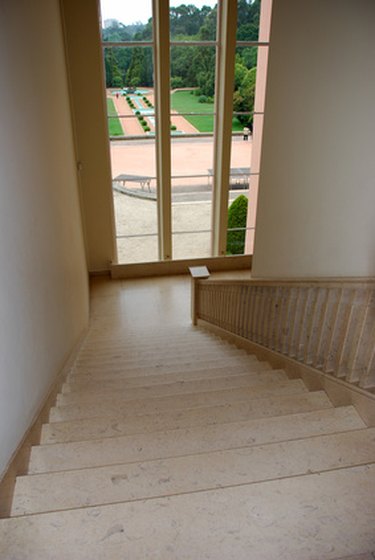
Beadboard, also known as wainscot, is the wood paneling that runs halfway up a wall or staircase and can create an elegant addition to your home. The challenge with installing beadboard along your stairs is getting the angles just right. The beadboard is installed vertically, so it's easy to find the plumb with a carpenter's level. The horizontal sides of the beadboard follow the angle of your stairs, so that's easy to measure with a sliding T-bevel square. After you've measured and cut the beadboard correctly, installing it is a simple job.
Step 1
Hold a carpenter's level vertically on top of the wall trim next to the stair. Adjust the level until you see the bubble exactly at the center of the level. Ask a friend to hold the level in place.
Video of the Day
Step 2
Place the handle of the T-bevel square on the wall trim next to the stair. Adjust the blade of the square so that it rests against one of the sides of the level.
Step 3
Transfer the angle you created in steps 1 and 2 to your table saw. Lay the square on the table of your saw with the blade of the square flush with the blade of the saw. Adjust the position of the square so that the handle of the square is flat against the miter gauge of the saw.
Step 4
Cut all panels for the beadboard using the miter gauge setting you set in Step 3. Place the panel against the saw. The panel should line up along the bottom of the saw. Push the panel through the saw and cut it at the angle you set.
Step 5
Place the panels against the wall next to the stairs, beginning on one end and working your way up or down, depending on where you want to start. Ask a friend to hold the panel while you attach it to the wall with a compressor nail gun and paneling nails. Insert the nails at least 1/2 inch from the edge of the panel to avoid splitting the wood panel.
Step 6
Apply spackling with a spackling gun. Squeeze spackling into nail head holes, seams and corners of the beadboard. Let the spackling completely dry. Sand over the spackling with fine-grit sandpaper.
Step 7
Paint the beadboard with paint and a paintbrush. Choose a paint that is easy to clean, since the bottom of the beadboard will get dirty and scuffed over time.
Tip
Apply paint or varnish before or after installing the beadboard on your stairway.
Video of the Day