Things You'll Need
320-grit sandpaper
Muriatic acid
Gloves
Painter's tape or masking tape
Primer
Epoxy-based paint
Paint sprayer

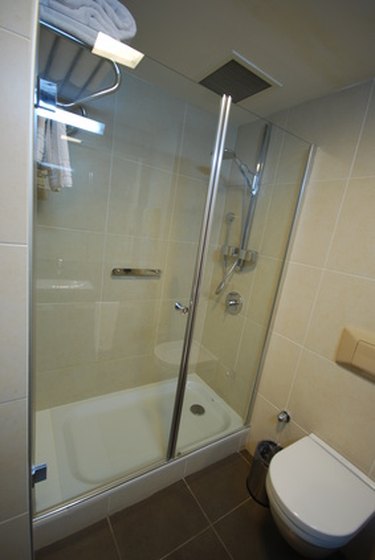
Replacing an entire shower enclosure can be difficult, expensive, and even unnecessary. It is possible to freshen the look of your shower, and make it last, by painting the entire enclosure. If done properly, including taking the time needed to prepare the surface for paint, a painted shower enclosure can look great for several years before needing touch-ups. Painting a shower enclosure not only freshens the look of the shower but also gives you the opportunity to change the color of your shower to better suit your bathroom's decor.
Step 1
Sand the enclosure to remove the glossy finish. You need to sand only enough to give the paint a roughened surface to adhere to.
Video of the Day
Step 2
Clean the shower enclosure with muriatic acid to remove any remaining dirt as well as the dust created from sanding.
Step 3
Rinse the shower thoroughly, being sure to remove all traces of the muriatic acid.
Step 4
Wait for the shower to dry completely.
Step 5
Tape off any areas you do not want painted, such as metal trim or faucet handles.
Step 6
Apply a coat of primer to the enclosure, using a paint spray gun.
Step 7
Wait for the primer to dry completely.
Step 8
Spray a thin coat of paint onto the shower enclosure, wiping away any drips as they occur.
Step 9
Wait for the coat of paint to dry completely.
Step 10
Apply a second thin coat of paint, spraying it on and taking care to avoid drips. Wipe away any drips immediately.
Step 11
Allow the paint to dry for at least 24 hours before using the shower.
Tip
Remove any old or damaged caulking prior to painting, and replace caulking after the paint job is complete.
Warning
Don't use a paint brush to apply the paint or you will end up with brush marks on your shower walls.
Video of the Day