Things You'll Need
Degreaser
Clean rags
Metal scraper
Utility knife

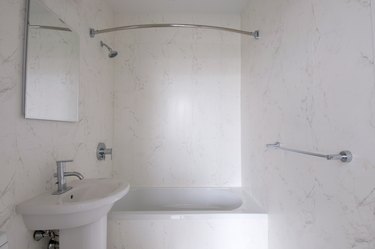
The best protection available for your one-piece tub and shower is a good trim around the entire unit, so water can't behind the wall panels and into your wall. Wall trim for showers should be both waterproof and mildew-proof since it will constantly be exposed to moisture. Installing it is within many do-it-yourselfers' capabilities.
Step 1
Remove any silicone around the one-piece tub and shower unit with the metal scraper or utility knife.
Video of the Day
Step 2
Spray a good degreaser on the area surrounding the one-piece tub and shower stall. Use clean rags to remove any dirt, grime, or grease. The area must be clean for the new trim to adhere to the wall properly.
Step 3
Unroll the tub and shower trim. This type of trim is the easiest to use and comes in a roll form. It is both waterproof and mildew-proof. It comes in a variety of widths and lengths.
Step 4
Remove the sticky back tape and start to apply the tub and shower trim from one end of the tub. This trim is completely flexible, so even if you have slightly curved surfaces or an uneven wall, it will still work well.
Step 5
Press a small section in place at a time while you remove the sticky backing. The trim is split in the middle, so half of it goes vertical on the wall, while the other half sits horizontal against the one-piece tub and shower unit. This assures the best possible seal.
Step 6
Install the flexible tub and trim, working your way around the entire tub and shower unit. Cut off the ends with the utility knife. Wrap the trim around corners. There is no need to cut it because it's flexible.
Video of the Day