Things You'll Need
Prehung exterior door unit
Shims
Drill
3/16-inch rotary mason's bit
2½-inch by ¼-inch concrete screws
Nails
Hammer
Level
Door casing
Door knob

Doors can be intimidating. But installing exterior doors is actually a very simple process, especially with today's prehung door units that allow you to shortcut the process with preset hinges and door-knob mortise. Prehung exterior doors have five main parts: the two side jambs, the top jamb header, the door slab itself and the threshold, or base plate. Installing on concrete requires specialized hardware to make the attachment. Concrete screws make the job easy.
Step 1
Stand the prehung door in the center of the door opening. Line up the inside of the door threshold with the inside wall and center it in the frame with a tape measure. Wedge shims between the jamb header and the frame header above to hold the door upright.
Video of the Day
Step 2
Drill through each hole in the threshold with a 3/16-inch rotary mason's bit to a depth of 2½ inches. Wrap a piece of tape around the bit 2½ inches from the tip of the bit to mark the depth for simple visual reference. Blow the dust from the holes. Drive one 2½-inch concrete screw into each hole. Drive the screws tight until the threshold is pulled tight to the floor.
Step 3
Tap shims in behind the top corner of the jamb side hinge. Place a level against the edge of the jamb and tap the top of the jamb in or out to adjust the bubble in the level to the center of the indicator. Nail through the jamb and shims into the frame behind.
Step 4
Repeat the shimming and leveling process with the knob side jamb. Add shims behind the bottom of the side jambs. Nail through the jambs and shims into the frame behind. Drive one nail up through the header and shims into the frame above.
Step 5
Nail the brick mold to the framing studs behind on the sides and the frame header at the top.
Step 6
Cut door casing for the inside of the door. Cut one right-side piece and one left-side piece. Cut the top ends at 45 degrees. Cut the miter so that the short side is even with a point ¼ inch above the bottom edge of the jamb header. Nail the side pieces to the edges of the jambs, ¼ inch from the inside edge.
Step 7
Measure between the top corners and cut a piece to fit with 45-degree miters at each end, one right and one left. Place the piece above the door snugly between the two side pieces. Nail it to the edge of the jamb header.
Step 8
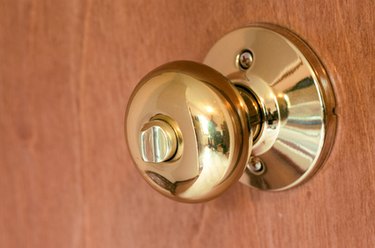
Slide the door-knob striker into the hole in the edge of the door and attach it with the two provided screws through the holes in the striker bolt plate. Slip the two sides of the knob through the holes in the striker. Thread the two screws through the holes and tighten them with a screwdriver.
Step 9
Place the striker plate in position on the jamb. Attach it with the two provided screws.
Video of the Day