Things You'll Need
Stud finder
Pencil
Small level
Drywall anchors
Electric drill
Drill bit set
2 inch wood screws
Philips screwdriver
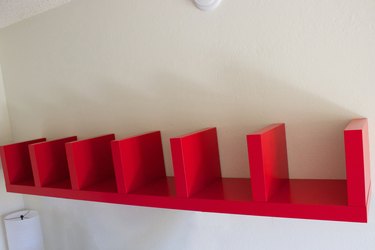
The Lack wall shelf is sold by IKEA furniture stores. IKEA sells a large variety of items that are assembled at home by the buyer. The Lack shelf utilizes a metal bracket that is attached to your wall. The shelf slides over the bracket and completely covers it, giving the shelf the appearance that it is floating on the wall with no apparent fasteners or brackets to hold it up.
Step 1
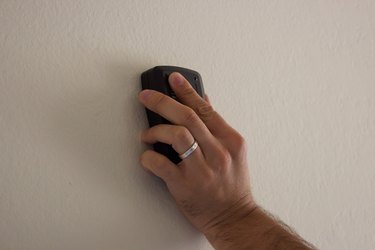
Use a stud finder on the wall in the general location where the shelf will be mounted. Mark the location of one or two studs with a pencil mark on the wall.
Video of the Day
Step 2
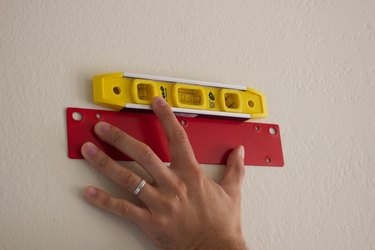
Hold the metal shelf bracket to the wall in the desired location so that at least one of the mounting holes lines up with the pencil mark for the studs. Place a small level across the top of the bracket. Move the bracket up or down as needed until the bubble in the center of the level is centered between the two lines.
Step 3
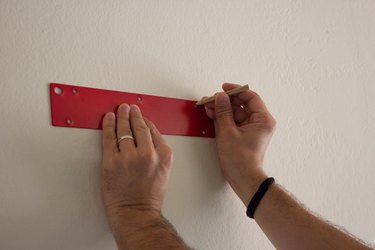
Remove the level and continue to hold the shelf bracket in place while marking the wall with a pencil through the remaining mounting holes of the bracket. Remove the bracket and place it aside.
Step 4
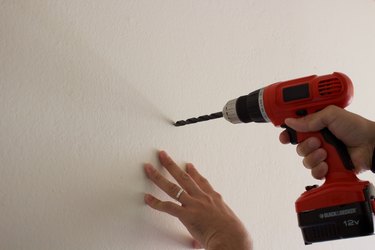
Install drywall anchors in the wall on the pencil marks that do not correspond with a stud. Use anchors that will have the ability to support the weight of the shelf and its contents. Follow the directions that came with your anchors and drill the correct size hole using the pencil marks on the wall as a guide. Remove the screw from the center of the anchor. Push the anchor into the drilled hole until the lip is flush with the surface of the wall.
Step 5
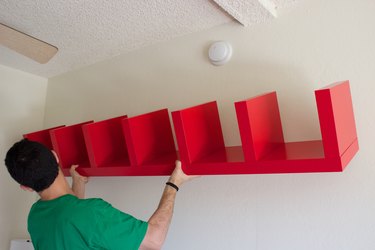
Place the shelf bracket against the wall and line up the mounting holes with the drywall anchors and the pencil mark for the stud or studs. Thread the drywall anchor screws through the mounting holes in the bracket and into the anchors mounted in the wall and tighten with a Philips screwdriver. Thread a two-inch wood screw through the mounting hole or holes that are over studs and tighten with a Philips screwdriver or a Philips head bit inserted into an electric drill.
Step 6
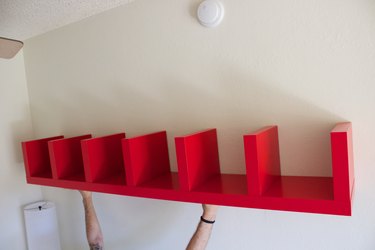
Slide the wall shelf over the bracket and push it until it is flush against the wall. Thread the two screws that came with your Lack shelf into the bottom of the shelf and into the each side of the wall bracket and tighten with a Philips screwdriver.
Video of the Day