Things You'll Need
Mounting bolts
Wax ring
Nuts
Wrench
Level
Shims
Mini-hacksaw
Bolt cap
Plumber's putty
Tank anchor bolts
Screwdriver
Shutoff valve
Marker
Tubing cutter

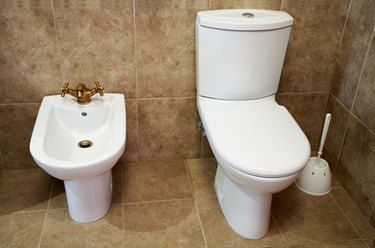
A back-flush toilet is a modern, water-efficient model that contains a receding bowl that only pools water at the very back of the water trap. If you are living in a house built after 1940, the installation of this type of toilet is the same as with a standard bowl toilet. If your house was built before 1940, measure the distance between the wall and the waste pipe and purchase a back-flush toilet with that matching measurement.
Step 1
Set the toilet's mounting bolt into the old toilet's flange by screwing them into the flange by hand.
Video of the Day
Step 2
Place the wax ring onto the opening on the underside of the toilet.
Step 3
Straddle the toilet bowl and lift it into position with your legs. Set the toilet over the mounting bolts (a hole is on both sides of the toilet for the mounting bolts), then sit on the toilet and rock back and forth to mold the wax ring into place.
Step 4
Place the nuts into position and tighten them by hand until they are hand-tight against the mounting bolts. Check the toilet for level and use shims if necessary to bring it to level. Tighten the nut the rest of the way by rotating 1/2 rotations at a time on both sides. Do not overtighten the nuts, as it will crack the porcelain.
Step 5
Cut the bolts so that they are only 1/4 inch from the nut, using a mini-hacksaw.
Step 6
Fill the bolt cap with plumber's putty and press it onto the bolt.
Step 7
Set the tank on top of the toilet and press the tank anchor bolts into position.
Step 8
Tighten the bolts by holding a wrench underneath and screwing them into place with a screwdriver.
Step 9
Install the shutoff valve by placing it into position and tightening the compression ring. Tighten it until snug with a wrench.
Step 10
Set the tank supply tube against the shutoff valve and mark it for cutting. The tube should be marked to fit snugly into the shutoff valve outlet.
Step 11
Cut the pipe with tubing cutters.
Step 12
Seat the tube into the shutoff valve and slide the compression nut into position. Tighten the compression valve by hand and then with a wrench until snug.
Step 13
Turn on the water supply and test your new toilet.
Video of the Day