Things You'll Need
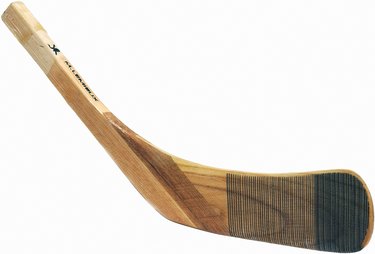
Wooden hockey stick
Wood glue
Router
Router table
Square router bit
Table saw
Miter gauge
Glass
Matte board
Glazier's points

Making picture frames out of old or broken hockey sticks is an easy way to recycle your hockey equipment. You already have your basic frame material, so the project is simplified to a few measurements, cutting and gluing. Frames made of hockey sticks add the finishing touches to the walls of rec rooms, home bars and any sports-themed room.
Step 1
Measure and mark your hockey stick to the desired dimensions for your frame width and length. The measurements refer to the interior of your frame where the rabbet will be cut (on the underside). Leave room between lengths of the frame for the waste from cutting the 45-degree joints.
Video of the Day
Step 2
Set your miter gauge to cut a 45-degree angle for the corners of your frame. Make the miter cuts to produce the four sides of your frame.
Step 3
Affix a square router bit to your router and set your router table's stop block to cut to the desired depth for the rabbet. Adjust the depth of the cut according your framing needs; 1/4 inch is usually enough. Once finished, the rabbet will hold your picture properly in the frame.
Step 4
Carefully cut the rabbet into the wooden hockey stick. This will be the wall side or back of your frame. All frame measurements that designate the size of picture able to fit are determined by the interior (rabbet side) length and width.
Step 5
Apply wood glue to each of the four miter joints and secure all pieces of the frame together. It might be helpful first to glue the sides together in two pairs, wait a half-hour and then glue the pairs together for the full frame. Wipe away any extra glue. Allow the joints to dry overnight.
Step 6
Place a plate of glass, your picture and a piece of cardboard or matte board for protection into the rabbet on the wall side of the frame. Use glazier's points to secure the glass, picture and board in place.
Tip
Using corner clamps if possible while allowing the wood glue to dry will help ensure a square frame. Also, adding a finishing nail to each of the four corners will help strengthen the frame if you have access to corner clamps, which will allow you to drill pilot holes and add finishing nails without splitting the sides of the frame.
Video of the Day