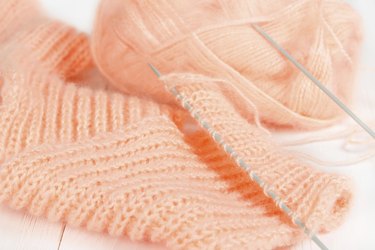
Blocking serves the same purpose with acrylic yarn as it does with any other fiber: Evening out irregular stitches, straightening edges, and generally shaping the final project to your satisfaction. Even though acrylic yarn is one of the most forgiving fibers to work with, it'll still benefit from a good blocking -- in fact, blocking is the best way to make an acrylic project look ironed without actually subjecting it to the direct heat that can ruin it.
Materials Needed
Video of the Day
Before you start blocking, you need either a spray bottle or a bowl large enough to hold your project, a blocking board and a number of blocking pins -- ideally T-pins, which are shaped just like a wire version of the letter they're named for. The crossbar of the T makes the pins very easy to handle.
Video of the Day
Craft stores sell blocking boards that are rigid enough to hold your project in the desired shape, but soft enough to stick pins through repeatedly without causing damage; or you can make your own out of thick cardboard with a plush towel over it. Or, if you don't mind sticking pins through your carpeting, spread a clean towel out on the floor and use that as your blocking board.
Wet Blocking the Project
Acrylic yarn responds well to wet blocking and, most importantly, wet blocking doesn't use any heat that could damage the project you've put so much time and labor into. You can wet down the yarn using one of two ways. First, you can soak smaller projects, like individual motifs or even small scarves, in a bowl of water. Then remove the item; lay it on a towel; roll up the towel and press on it to remove excess water. Once you've done that, you can pin the item into the desired shape and leave it to dry.
The second option is to pin the project into shape first; then saturate the stitches with water from a spray bottle. This method is usually easier for large projects that would be hard to fit into a bowl of water; mid-size projects like scarves or pieces of a sweater could go either way.
Pinning the Project to Shape
Spread your project out on the blocking board and use the blocking pins to stretch it to the desired shape. Pins should go anywhere that you want a sharply defined corner or a straight edge. No hard and fast rule exists for how close together to place the pins; just eyeball the project, and if the edges aren't as straight or the corners as sharp as you want, add another pin to hold it in place. Once your acrylic project is pinned in place and saturated with water, let it dry completely before you remove the pins. Depending on local humidity and how thoroughly you soaked the yarn, this could take hours or days.
Steam-Blocking Acrylics
Many crafters think you can't steam-block acrylic yarn, because it's so easy for heat to damage this fiber. The truth is that you can, but only if you have nerves of steel. Pin the item to shape; then hold your steam iron just near enough to the acrylic to gently steam it. Once you see the garment relax into the desired shape, you're done. Don't let the iron actually touch the acrylic, or it will melt. If your acrylic takes on a shiny look, washing it -- once the blocked piece has dried -- might help restore the fibers.