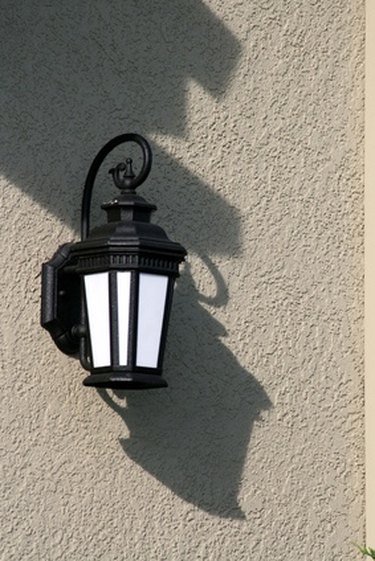
Things You'll Need
Wire cutting pliers or needle nose pliers
Outdoor extension cord
Phillips and flat head screwdrivers
Step ladder
Wire nuts
Drill

Do-it-yourself electrical wiring projects can be rewarding tasks when armed with the proper knowledge and tools. Turning an outdoor light fixture into a plug-in fixture is not a commonly performed task, so it will take a little improvising to complete it successfully. When working with electricity, the most important thing to keep in mind is your safety. Always make sure that the electricity is turned off before handling electrical wires.
Step 1
Turn off the electricity to the area where you'll be working – preferably to the entire house.
Video of the Day
Step 2
Remove the light fixture (if it's already mounted) by loosening the mounting screws holding it in place and disconnecting the wires inside the junction box. If there are any extra wires involved in the connections, note how they were connected before disconnecting them. If the light fixture wasn't previously installed, you will need to drill into the concrete (assuming that it is brick or concrete) and install concrete anchors to hold the base of the fixture in place after you wire it. If the surface where you'll be mounting the fixture isn't brick or concrete, you will have to come up with a way to securely mount the base of the fixture to the wall.
Step 3
Assuming that you plan to plug the light into an outdoor receptacle, drill a hole into the base of the fixture large enough for the cut extension cord (which you will do in another step) to pass through. Keep in mind that this hole will look better towards the bottom of the base of the fixture.
Step 4
Cut a long enough piece of the extension cord off to use as the plug for the outdoor light fixture. Be sure to measure from the male end of the extension cord that you'll use to plug in the light fixture to the place on the cord where you will need to cut it, leaving enough slack to wire it to the light fixture and reach the desired receptacle.
Step 5
Strip approximately 6 inches of the outer insulation from the cut end of the extension cord, exposing the inner wires.
Step 6
Strip 1/2 to 3/4 inch of the insulation from each of the three inner wires coming from the extension cord.
Step 7
Place the stripped end of the extension cord through the hole that you drilled in the base of the light fixture. If the fixture was installed and wired before making this alteration, be sure to cap off the wires inside the junction box with wire nuts and electrical tape (for added safety) since these wires will no longer be needed.
Step 8
Connect the wires from the light fixture to the wires from the extension cord in the following manner: Twist the black wire from the extension cord together with the black wire from the light fixture in a clockwise direction and screw on a properly sized wire nut rated for two 14 gauge wires. Repeat this procedure to connect the white wire from the extension cord to the white wire from the light fixture. Repeat the process one last time to connect the two green wires together.
Step 9
If there is a junction box present, push the wires into the junction box and mount the fixture as you normally would using the long mounting screws. If there is no junction box, Use the holes in the base of your fixture to mark the area where you will need to drill holes and install anchors to mount the fixture.
Step 10
Use a silicone sealant to seal the hole around the extension cord to keep moisture out.
Step 11
Turn on the electricity and test your "plug-in outdoor light fixture."
Tip
If the plug you are trying to reach is located inside, you will likely need to access the outdoor light fixture from the back by drilling a hole from the inside of your house to the outside, that is, unless you plan on running the cord through a window or other point of entry.
Warning
This is not a standard electrical practice; be wary of possible mishaps regarding the this procedure.
Video of the Day