Things You'll Need
Black #14 wire
White #14 wire
Wire cutters
Wire strippers
Screwdriver
Switch

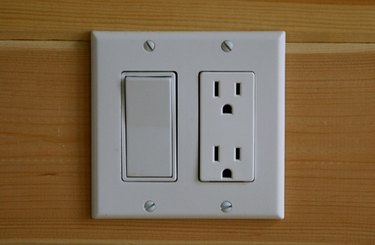
In home electrical, jumper refers to a wire that transfers electricity from one circuit to another for which it wasn't originally designed. In the case of jumping from an outlet to a switch, this is typically done by a homeowner who wants to install a new fixture from a nearby outlet on an existing circuit. Most building codes allow this, provided the total load will not exceed 20 amps on a single indoor circuit.
Step 1
Shut off the power to the circuit being modified by turning the home's breaker switch to the off or reset position.
Video of the Day
Step 2
Cut about 3 inches of the black #14 wire.
Step 3
Insert the black wire into the #14 notch on the wire strippers, about 1/2 an inch from the end. Close the strippers around the wire and twist until the coating is cut. Push the excess coating off the end. Repeat for the other end of the wire.
Step 4
Locate the power supply (usually a black wire) on the back of the outlet. Loosen the screw that fastens this wire by turning counterclockwise with a screwdriver.
Step 5
Insert one end of the black wire into the same hole that contains the power supply and tighten the screw by turning clockwise with a screwdriver. Insert the other end of the short black wire into the hole at the bottom of the switch.
Step 6
Complete the wiring for the new fixture according to the manufacturer's instructions. This usually requires the fixture's white wire to be capped into a bundle with the white wire that was already attached to the outlet, while the black wire is fastened to the top portion of the switch in the same manner as in Step 5.
Video of the Day