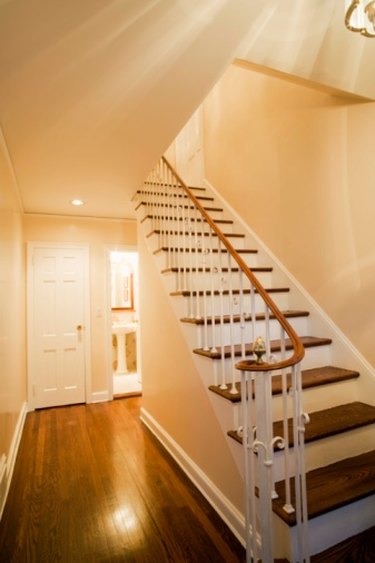
Things You'll Need
Flexible metal tape measure
Hammer
Scrap paper
Painter’s blue tape
Pencil
Picture hooks
Carpenter’s level
Framed art work

The empty wall space above the stairs is a gallery waiting to happen. If you have a collection of framed photographs, posters or paintings, the stair wall can handle them. But, without some planning, your vertical gallery can become a jumble where nothing stands out and the impression is one of clutter. Follow some simple visual cues to create a professional appearance and a display your family and guests will enjoy.
Step 1
Lay out the art work to be hung and select the final pieces that will go on the wall. Look at their frames to see if anything is jarring. Matched or similar frames are symmetrical and proportioned. An eclectic group of frames is fine. But a collection of various wood frames and one hot pink enamel frame isn't going to work. In a case like that, consider reframing the piece or switching it out for something more appropriate.
Video of the Day
Step 2
Decide on your center line. The center line is the midpoint of the artwork in relation to the floor. Most center lines are between 55 and 60 inches high. And most people hang art work too high, according to Steven K. Roberts, a Washington D.C. art installer. His preference, in an older, period home, is to use a center point 60 inches up from the top of the baseboard. Once you know your center line, measure each art work to find its center point.
Step 3
Measure the length of the stair, top to bottom of staircase, and figure out how to make your series of pieces equidistant from each other as they climb the stairs. The center point of each piece should correspond to the height of each step and your center line. This is where you need to take a bit of extra time. Measure the height of the framed art and divide it by two. Add this number to your center line height. Stick a piece of tape on the wall at this point and mark it. This is the top of the frame. Now pull the wire on the back of the picture or painting taut and measure the distance from the top of the frame to the top point of the stretched wire. Subtract this distance from the tape mark and place another piece of tape with a mark on the spot to hammer in a picture hook.
Step 4
Put the scoop or curve of the hook on the mark and pound the hook into the wall. Hang the art work and adjust so it is level. Remove the tape. Keep checking for equidistance and measuring to find the center line and hook spot as you hang all the art. By working with the concept of center line you create a harmonious flow of visual art up the staircase.
Step 5
If you are hanging a mixed gallery of art – like a photo collection – begin by finding the middle of the stairs and the center line. Arrange the art work around this center point in a balanced cluster, not spread out widely. Try arranging paper models on the floor to see where to place each piece and then tape the configuration to the wall for last-minute adjustments before measuring and hanging the pieces. A gallery can be added to as more photographs or art works are acquired. Adjust the flow of art up and down the staircase by using the center line measurements to place new pieces.
Tip
It's worth the extra effort to trace the outlines of the art on scrap paper, cut them out and arrange them on the floor the way you want them on the wall. You can tell right away if something is badly out of balance. Refine the arrangement by fastening it to the wall with painter's blue tape. Then stand back to see if it works. Painter's tape will pull right off the wall without leaving a mess.
For frames wider than 24 inches, use two hooks, spaced evenly and as widely as the picture wire will stretch taut. This provides more support and keeps the frame level once it is hung.
Video of the Day