Things You'll Need
1 to 4 empty wine bottles
Safety goggles
Welding gloves
Glass firing kiln
Shelf primer / kiln wash or fiber paper
Haik Brush
Optional:
Mold

Turn a commemorative wine bottle into a useful kitchen accessory with a kiln and some basic tools. You can make a fused glass spoon rest for yourself or as a thoughtful homemade gift. The process of melting or "slumping" glass at high temperatures will cause a glass bottle to collapse onto itself and the glass to fuse together. Creating a spoon rest allows for continued enjoyment of the bottle of wine and gives the glass new life and function.
Preparation
Step 1
Clean and dry the wine bottle(s). Soak the bottles in hot soapy water to loosen labels and adhesive. Scrape off the labels with a knife or razor blade.
Video of the Day
Step 2
Dilute kiln wash with water according to the product instructions. Spread the kiln wash evenly with a haik brush on the surface of the shelf and on the mold if you are using one.
Step 3
Position the mold if you're using one on the kiln shelf so there is plenty of room for heat to circulate. Take care that the mold is thoroughly coated with kiln wash.
Step 4

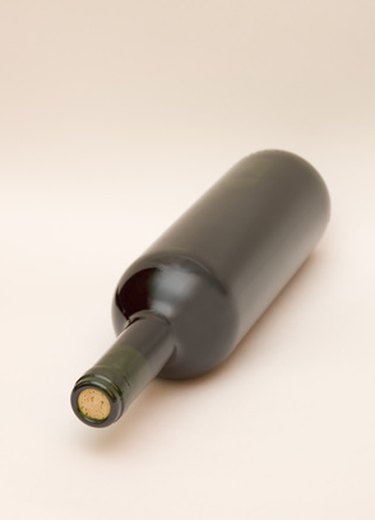
Place the bottle(s) on their sides in the kiln. Without a mold, the finished product will be relatively flat. The result of using a mold will be a more contoured piece shaped to fit a spoon. If you're using a mold, center the bottle on the mold.
Firing
Step 1
Secure the kiln. Bring the temperature up to 1,000 degrees Fahrenheit in 500 degree per hour increments. When the temperature reaches 1,000 degrees, allow the glass to remain at this temperature to "soak" for 10 minutes.
Step 2
Increase the temperature to 1,450 degrees Fahrenheit to fully fuse the glass. Check the progress every 10 or 15 minutes through the viewing window because as the temperature increases, the glass will continue to melt and may lose its desired shape.
Step 3
Allow the kiln to cool down to 950 degrees, and maintain this temperature for approximately one hour. This process of annealing glass reduces internal stress from the heating and cooling process, making the item stronger and less prone to breakage.
Step 4
Allow the kiln to return gradually to room temperature before attempting to remove your new spoon rest.
Tip
Using a mold for making a wine glass spoon rest is optional. Molds come in either ceramic or stainless steel and can be purchased at a ceramics supply store or online.
Wear welding gloves to remove glass from the kiln.
Use safety goggles when checking the kiln at high temperatures.
If you don't own a kiln, check with local ceramic and glass studios or art schools about renting time in their kiln.
Warning
Allow your finished spoon rest to cool slowly (anneal) or it may crack.
Take care that the kiln has at least 18 inches of space around it on all sides and that heat from opening the door will not come into contact with flammable objects. Once your spoon rest achieves the desired shape, do not allow the temperature to increase or the piece may lose its shape.
Video of the Day